CHAPTER 3: Replacing notebook components
Adding or replacing memory modules
Important
Use only memory modules designed for this Gateway notebook.
Tools you need to complete this task:
Phillips #0 screwdriver
![]() To add or replace memory modules:
To add or replace memory modules:
1Complete the steps in “Preparing the notebook” on page 57.
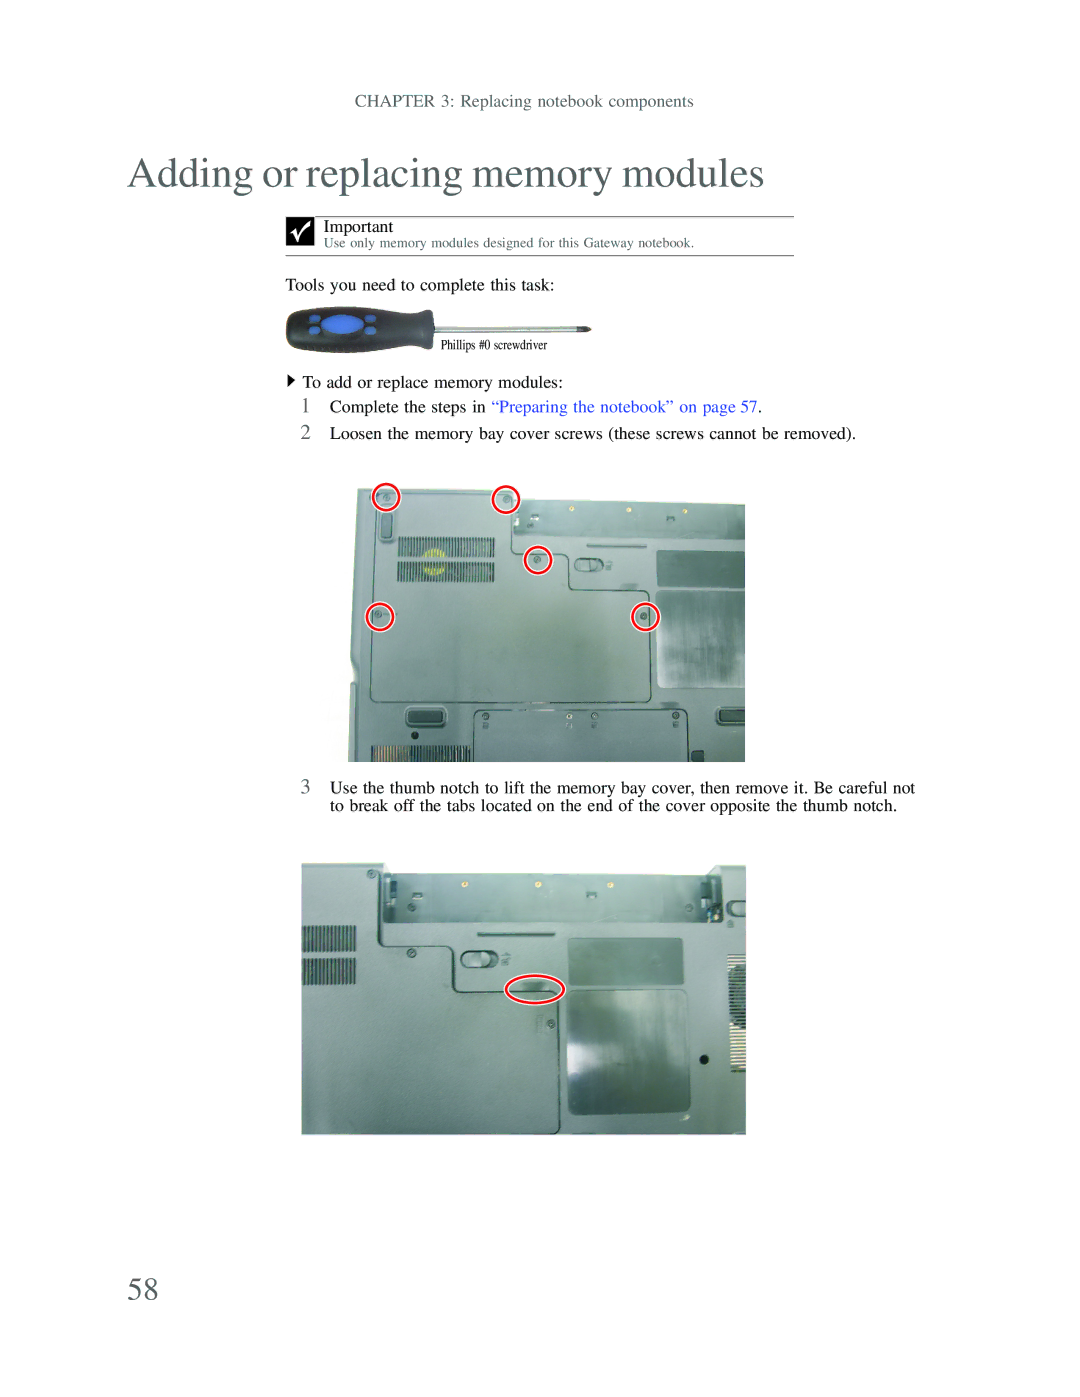
2Loosen the memory bay cover screws (these screws cannot be removed).
3Use the thumb notch to lift the memory bay cover, then remove it. Be careful not to break off the tabs located on the end of the cover opposite the thumb notch.
58