www.gateway.com
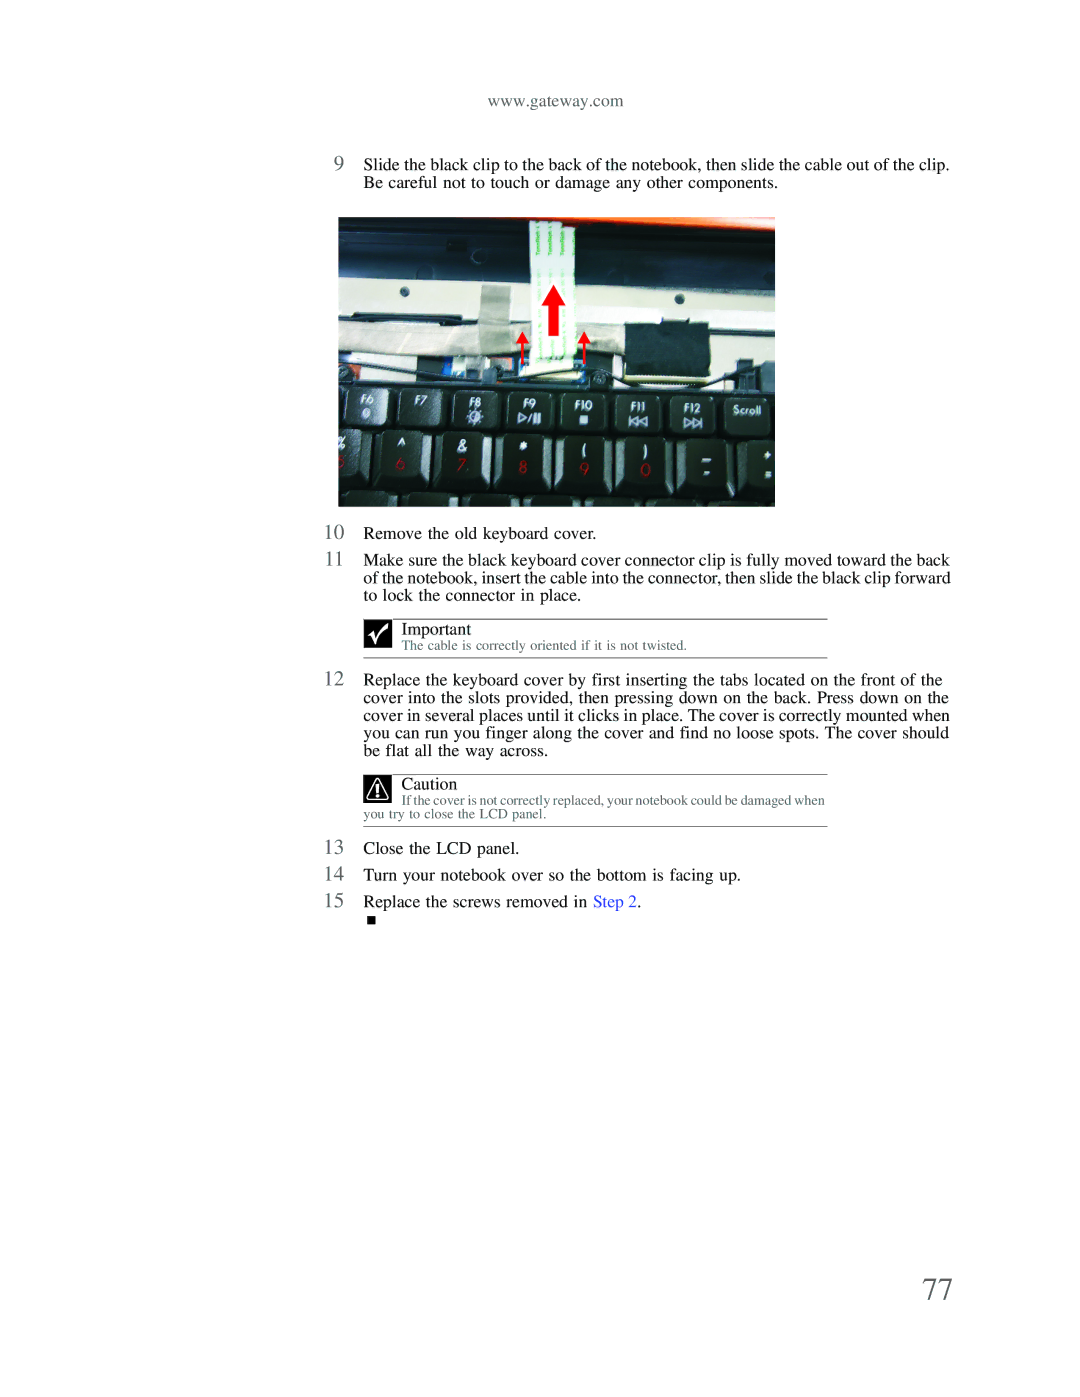
9Slide the black clip to the back of the notebook, then slide the cable out of the clip. Be careful not to touch or damage any other components.
10Remove the old keyboard cover.
11Make sure the black keyboard cover connector clip is fully moved toward the back of the notebook, insert the cable into the connector, then slide the black clip forward to lock the connector in place.
Important
The cable is correctly oriented if it is not twisted.
12Replace the keyboard cover by first inserting the tabs located on the front of the cover into the slots provided, then pressing down on the back. Press down on the cover in several places until it clicks in place. The cover is correctly mounted when you can run you finger along the cover and find no loose spots. The cover should be flat all the way across.
Caution
![]() If the cover is not correctly replaced, your notebook could be damaged when you try to close the LCD panel.
If the cover is not correctly replaced, your notebook could be damaged when you try to close the LCD panel.
13Close the LCD panel.
14Turn your notebook over so the bottom is facing up.
15Replace the screws removed in Step 2.
77