CHAPTER 3: Replacing notebook components
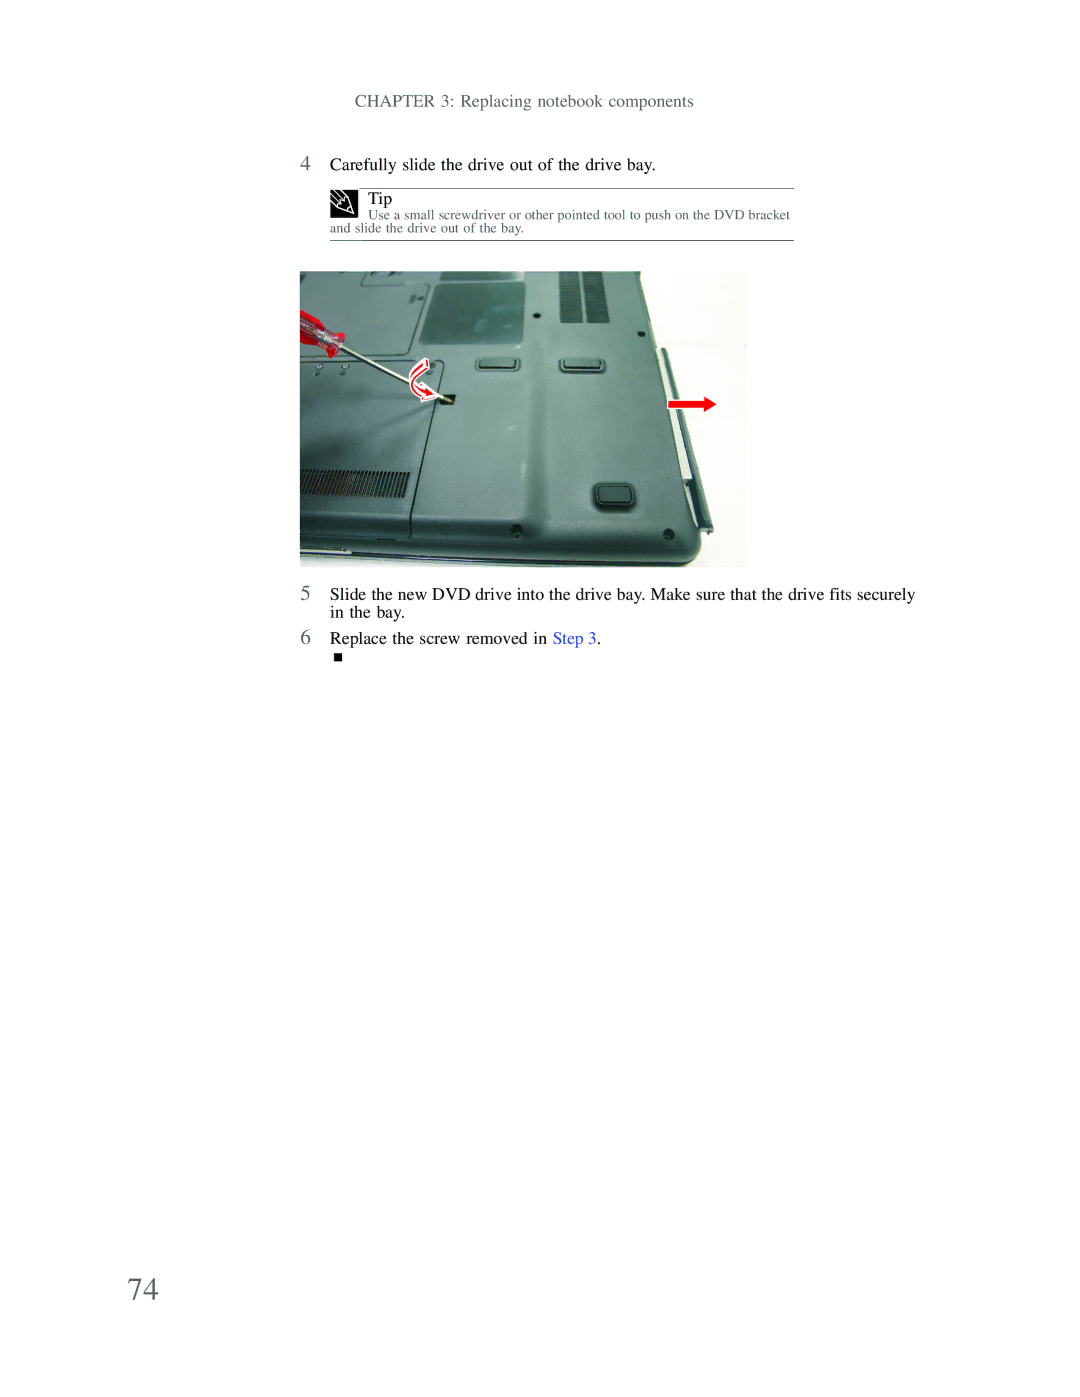
4Carefully slide the drive out of the drive bay.
Tip
Use a small screwdriver or other pointed tool to push on the DVD bracket and slide the drive out of the bay.
5Slide the new DVD drive into the drive bay. Make sure that the drive fits securely in the bay.
6Replace the screw removed in Step 3.
74