CHAPTER 3: Replacing notebook components
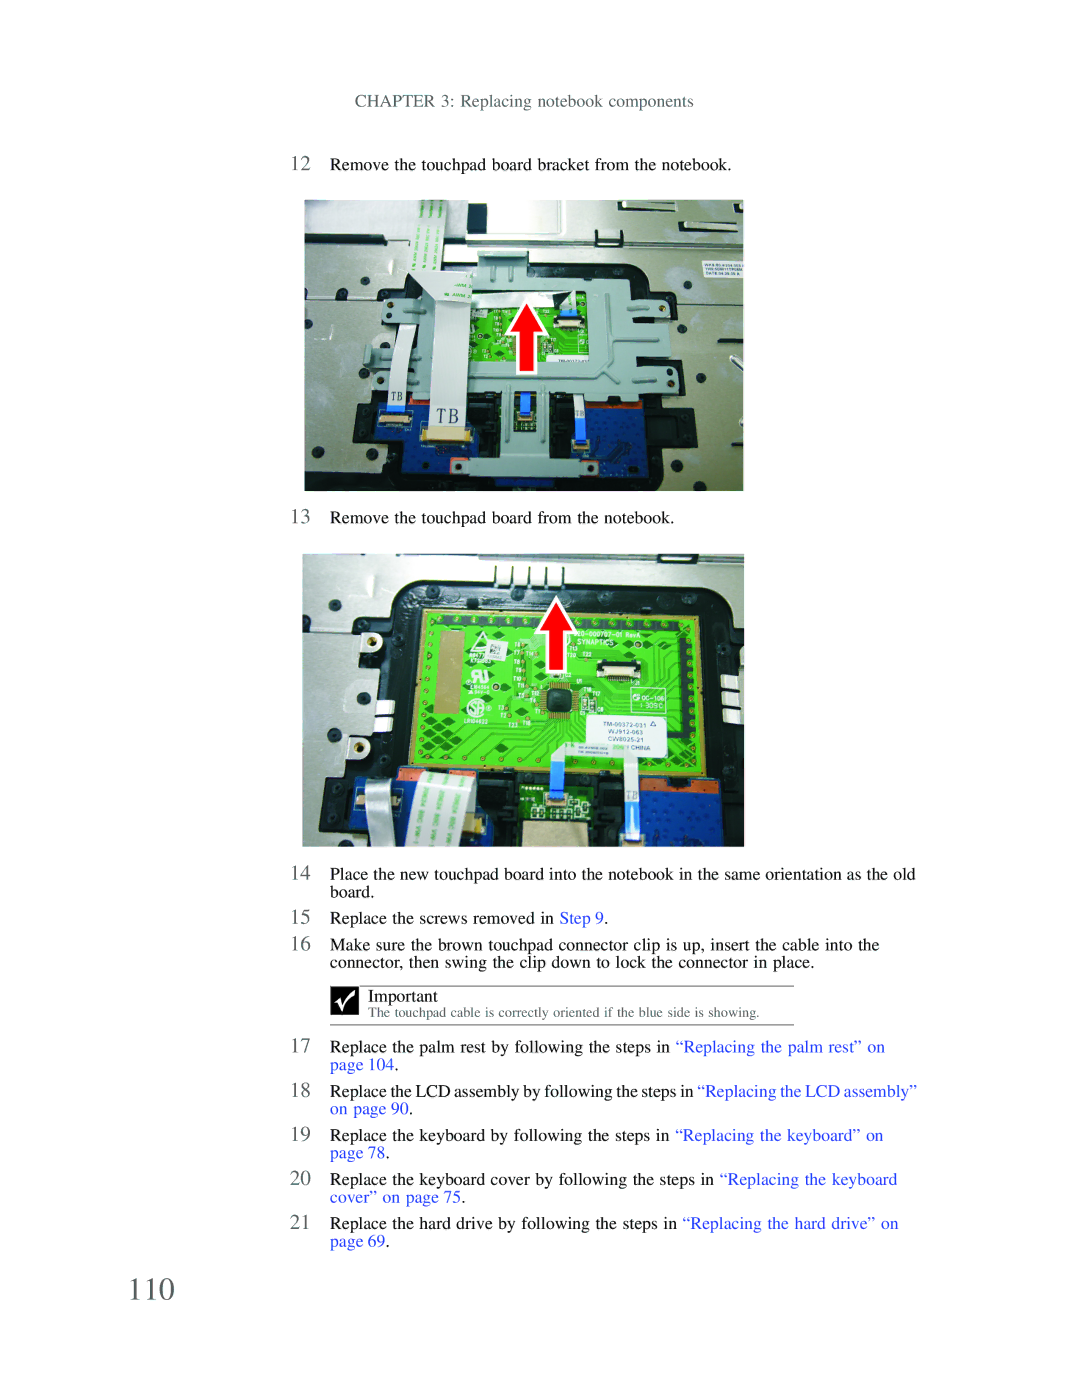
12Remove the touchpad board bracket from the notebook.
13Remove the touchpad board from the notebook.
14Place the new touchpad board into the notebook in the same orientation as the old board.
15Replace the screws removed in Step 9.
16Make sure the brown touchpad connector clip is up, insert the cable into the connector, then swing the clip down to lock the connector in place.
Important
The touchpad cable is correctly oriented if the blue side is showing.
17Replace the palm rest by following the steps in “Replacing the palm rest” on page 104.
18Replace the LCD assembly by following the steps in “Replacing the LCD assembly” on page 90.
19Replace the keyboard by following the steps in “Replacing the keyboard” on page 78.
20Replace the keyboard cover by following the steps in “Replacing the keyboard cover” on page 75.
21Replace the hard drive by following the steps in “Replacing the hard drive” on page 69.