NOTE: This feature is only for EVA physical disk arrays. That is, XP disk arrays cannot be discovered with this feature.
To populate the list of physical disk arrays that are managed by a device (EVA Command View server), perform the following procedure:
1.Start the Utility Meter GUI. For details, see Starting the Utility Meter GUI.
2.In the Utility Meter GUI, click the Devices tab.
3.In the Utility Meter GUI's Managed Devices Tree (left pane), click the Command View server (device) that is managing the physical disk arrays you want to discover.
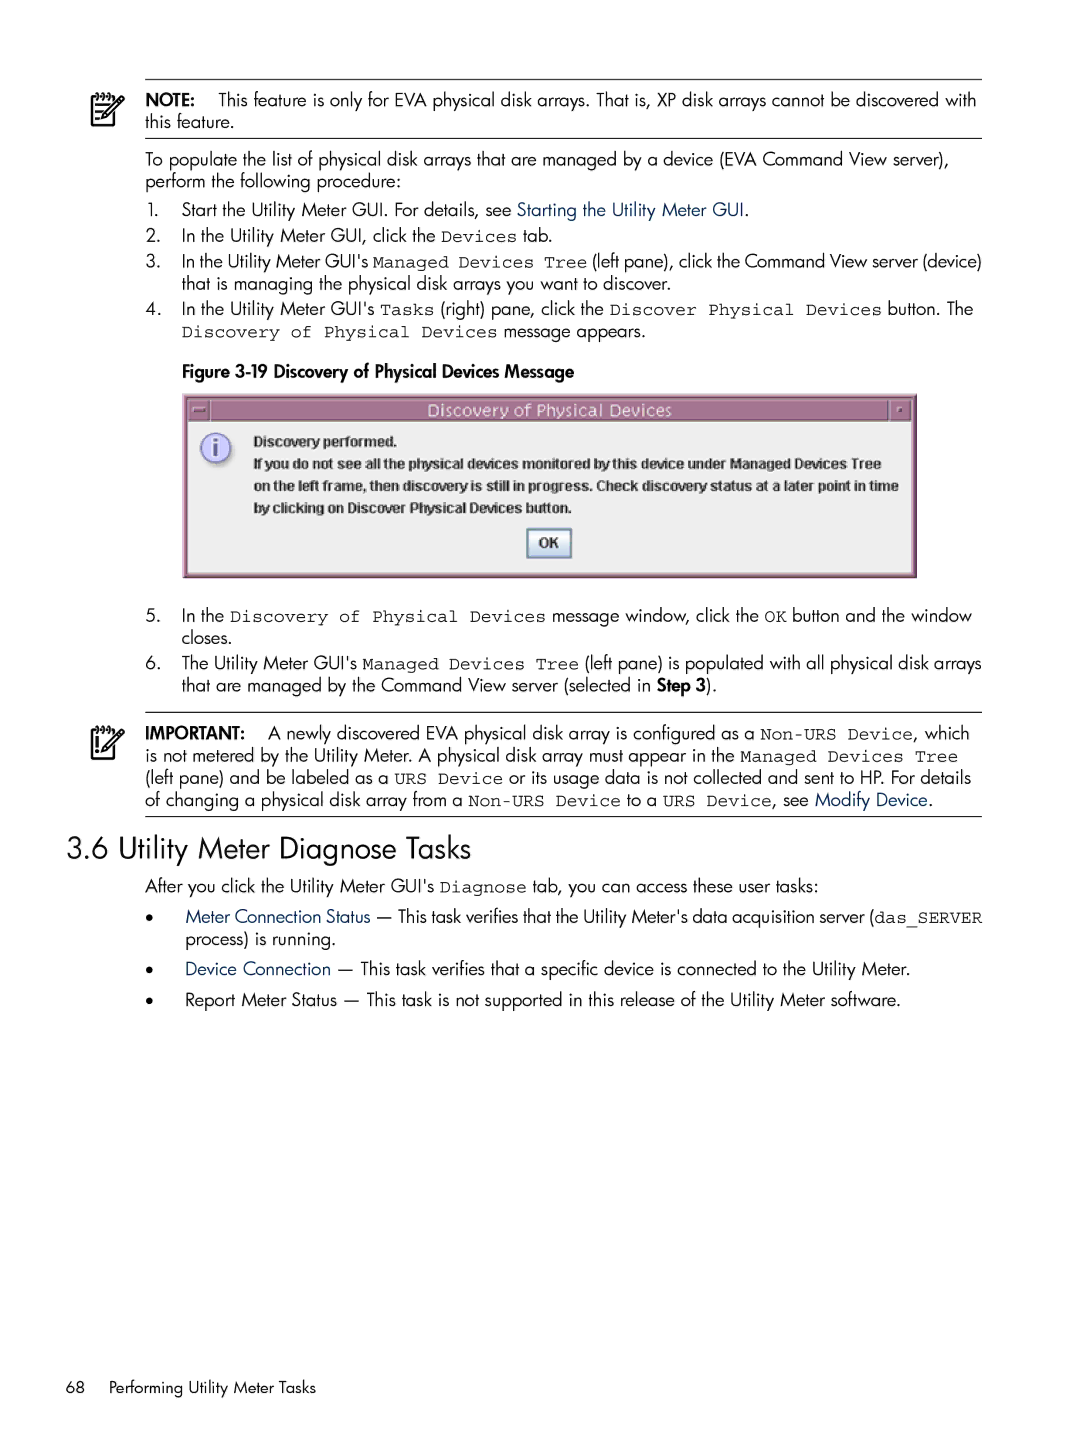
4.In the Utility Meter GUI's Tasks (right) pane, click the Discover Physical Devices button. The
Discovery of Physical Devices message appears. Figure
5.In the Discovery of Physical Devices message window, click the OK button and the window closes.
6.The Utility Meter GUI's Managed Devices Tree (left pane) is populated with all physical disk arrays that are managed by the Command View server (selected in Step 3).
IMPORTANT: A newly discovered EVA physical disk array is configured as a
3.6 Utility Meter Diagnose Tasks
After you click the Utility Meter GUI's Diagnose tab, you can access these user tasks:
•Meter Connection Status — This task verifies that the Utility Meter's data acquisition server (das_SERVER process) is running.
•Device Connection — This task verifies that a specific device is connected to the Utility Meter.
•Report Meter Status — This task is not supported in this release of the Utility Meter software.