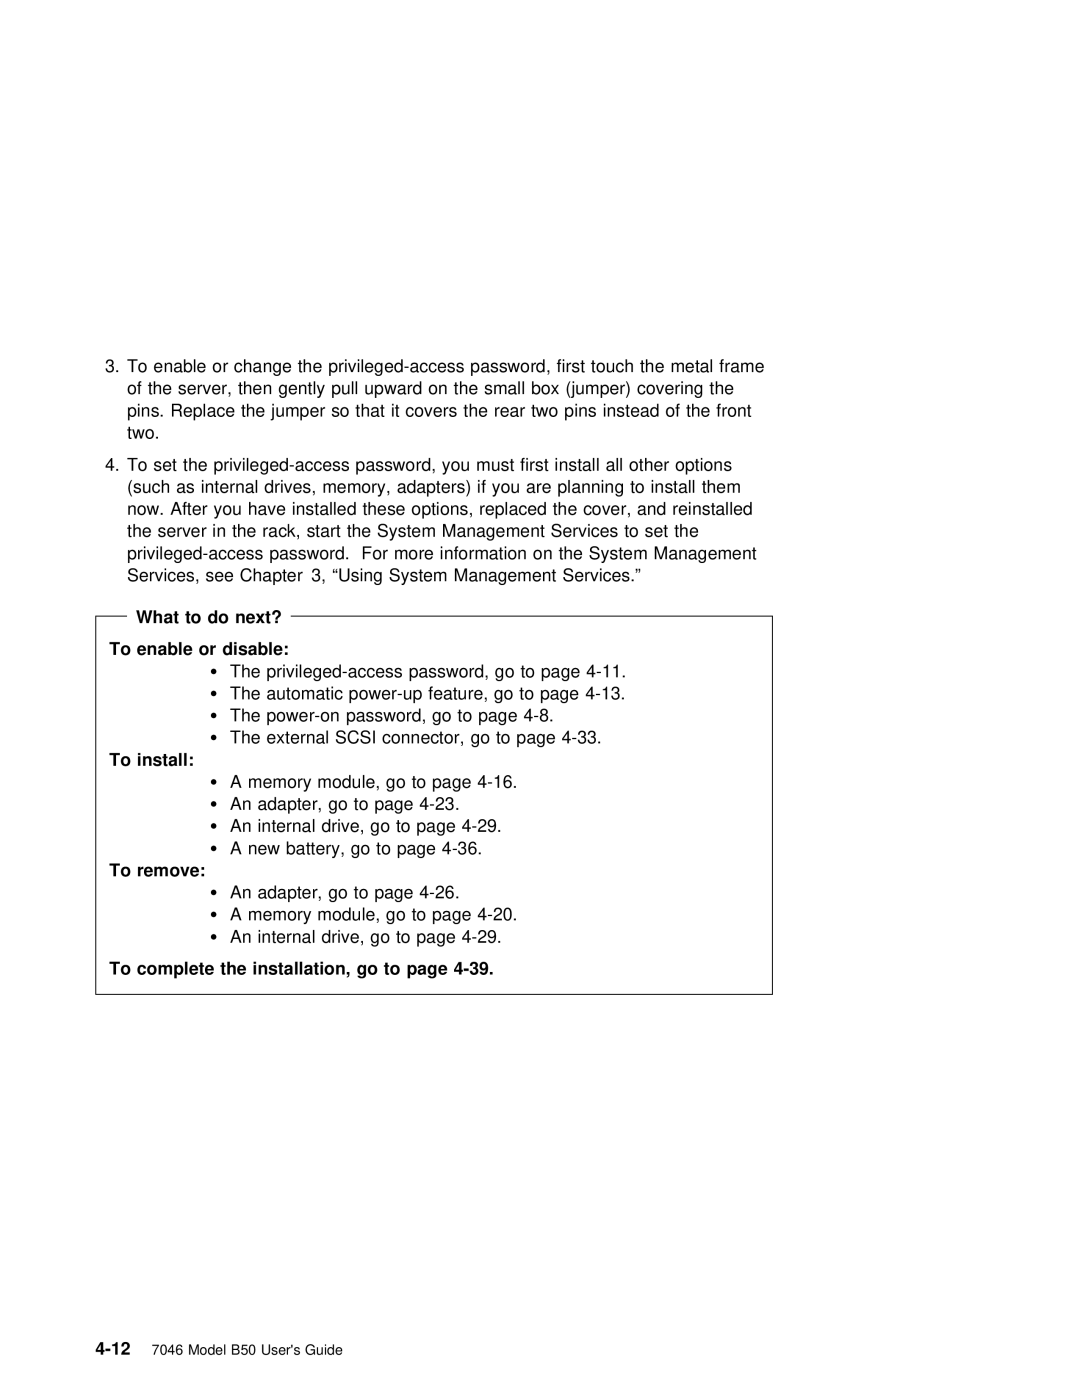
3. To | enable | or | change | the | password, | first | touch | the metal | frame | |||||||||||||||||||
| of the server, then gently | pull | upward | on | the | small | box | (jumper) | covering | the | ||||||||||||||||||
| pins. Replace | the | jumper |
| so |
| that | it | covers | the | rear | two | pins instead | of | the front | |||||||||||||
| two. |
|
|
|
|
|
|
|
|
|
|
|
|
|
|
|
|
|
|
|
|
|
|
|
|
|
|
|
4. To | set | the | must | first | install all | other | options | |||||||||||||||||||||
| (such | as |
| internal | drives, |
| memory, | adapters) | if you are planning to install them | |||||||||||||||||||
| now. After you have installed | these | options, | replaced the cover, and reinstalled | ||||||||||||||||||||||||
| the server in the rack, |
| start the System Management Services to set the |
|
| |||||||||||||||||||||||
|
|
| ||||||||||||||||||||||||||
| Services, | see | Chapter 3, | “Using | System | Management | Services.” |
|
|
|
| |||||||||||||||||
| What | to | do | next? |
|
|
|
|
|
|
|
|
|
|
|
|
|
|
|
|
|
|
|
|
|
| ||
|
|
|
|
|
|
|
|
|
|
|
|
|
|
|
|
|
|
|
|
|
|
| ||||||
To | enable | or | disable: |
|
|
|
|
|
|
|
|
|
|
|
|
|
|
|
|
|
|
|
|
|
|
| ||
|
|
| Ÿ | The | to page |
|
|
|
|
| ||||||||||||||||||
|
|
| Ÿ | The automatic | go | to |
| page |
|
|
|
| ||||||||||||||||
|
|
| Ÿ | The | go | to | page |
|
|
|
|
|
|
|
|
| ||||||||||||
To | install: | Ÿ | The | external | SCSI | connector, | go | to | page |
|
|
|
|
|
| |||||||||||||
|
|
|
|
|
|
|
|
|
|
|
|
|
|
|
|
|
|
|
|
|
|
|
|
|
| |||
|
|
| Ÿ | A | memory | module, |
| go |
| to | page |
|
|
|
|
|
|
|
|
|
| |||||||
|
|
| Ÿ | An | adapter, | go | to | page |
|
|
|
|
|
|
|
|
|
|
|
| ||||||||
|
|
| Ÿ | An | internal | drive, | go | to | page |
|
|
|
|
|
|
|
|
| ||||||||||
To | remove: | Ÿ | A | new battery, |
| go |
| to | page |
|
|
|
|
|
|
|
|
|
| |||||||||
|
|
|
|
|
|
|
|
|
|
|
|
|
|
|
|
|
|
|
|
|
|
|
|
|
| |||
|
|
| Ÿ | An | adapter, | go | to page |
|
|
|
|
|
|
|
|
|
|
|
| |||||||||
|
|
| Ÿ | A | memory | module, |
| go |
| to | page |
|
|
|
|
|
|
|
|
|
| |||||||
|
|
| Ÿ | An internal drive, go to page |
|
|
|
|
|
|
|
|
| |||||||||||||||
To | complete | the | installation, | go | to | page |
|
|
|
|
|
|
|
|
|
|
|
|
|
|
| |||||||
|
|
|
|
|
|
|
|
|
|
|
|
|
|
|
|
|
|
|
|
|
|
|
|
|
|
|
|
|
