Completing the Installation
Before you begin:
Complete all the installation procedures for the options you have chosen to install.
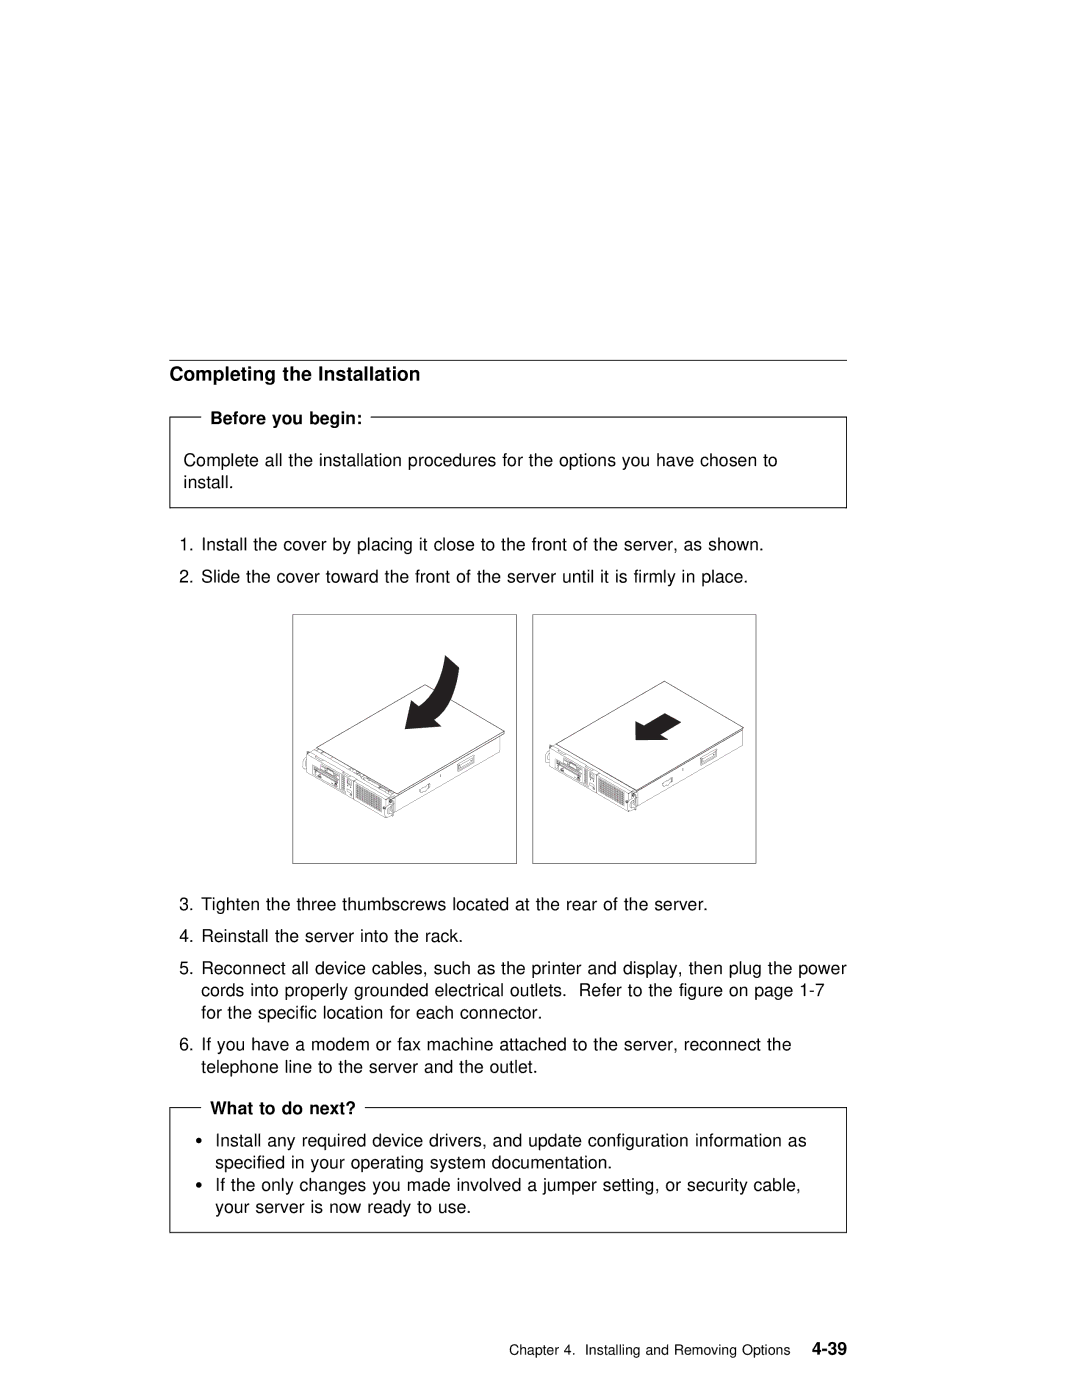
1. Install the cover by placing it close to the front of the server, as shown.
2. Slide the cover toward the front of the server until it is firmly in place.
3. Tighten the three thumbscrews located at the rear of the server.
4. Reinstall the server into the rack.
5. Reconnect | all device cables, such as | the printer and display, then plug the | |||
cords into | properly grounded | electrical | outlets. Refer to the figure on page | ||
for the | specific | location for each connector. | |||
6. If you | have a modem or fax machine | attached to the server, reconnect the | |||
telephone | line to | the server | and the | outlet. | |
What to do next?
ŸInstall any required device drivers, and update configuration information as
specified in | your operating system documentation. | ||||
Ÿ If | the only | changes | you | made | involved a jumper setting, or security cable, |
your | server | is now | ready | to | use. |
Chapter 4. Installing and