. . . . . . . . . . . . . . . . . . . . . . . . . . . . .
Rotate the Image
8.(Optional) Click 90° CCW, 180°, or 90° CW to rotate the image 90° counterclockwise (CCW), 180°, or 90° clockwise (CW), respectively.
Click NORMAL to display the image as it is oriented in the film or slide holder.
Sharpen the Image
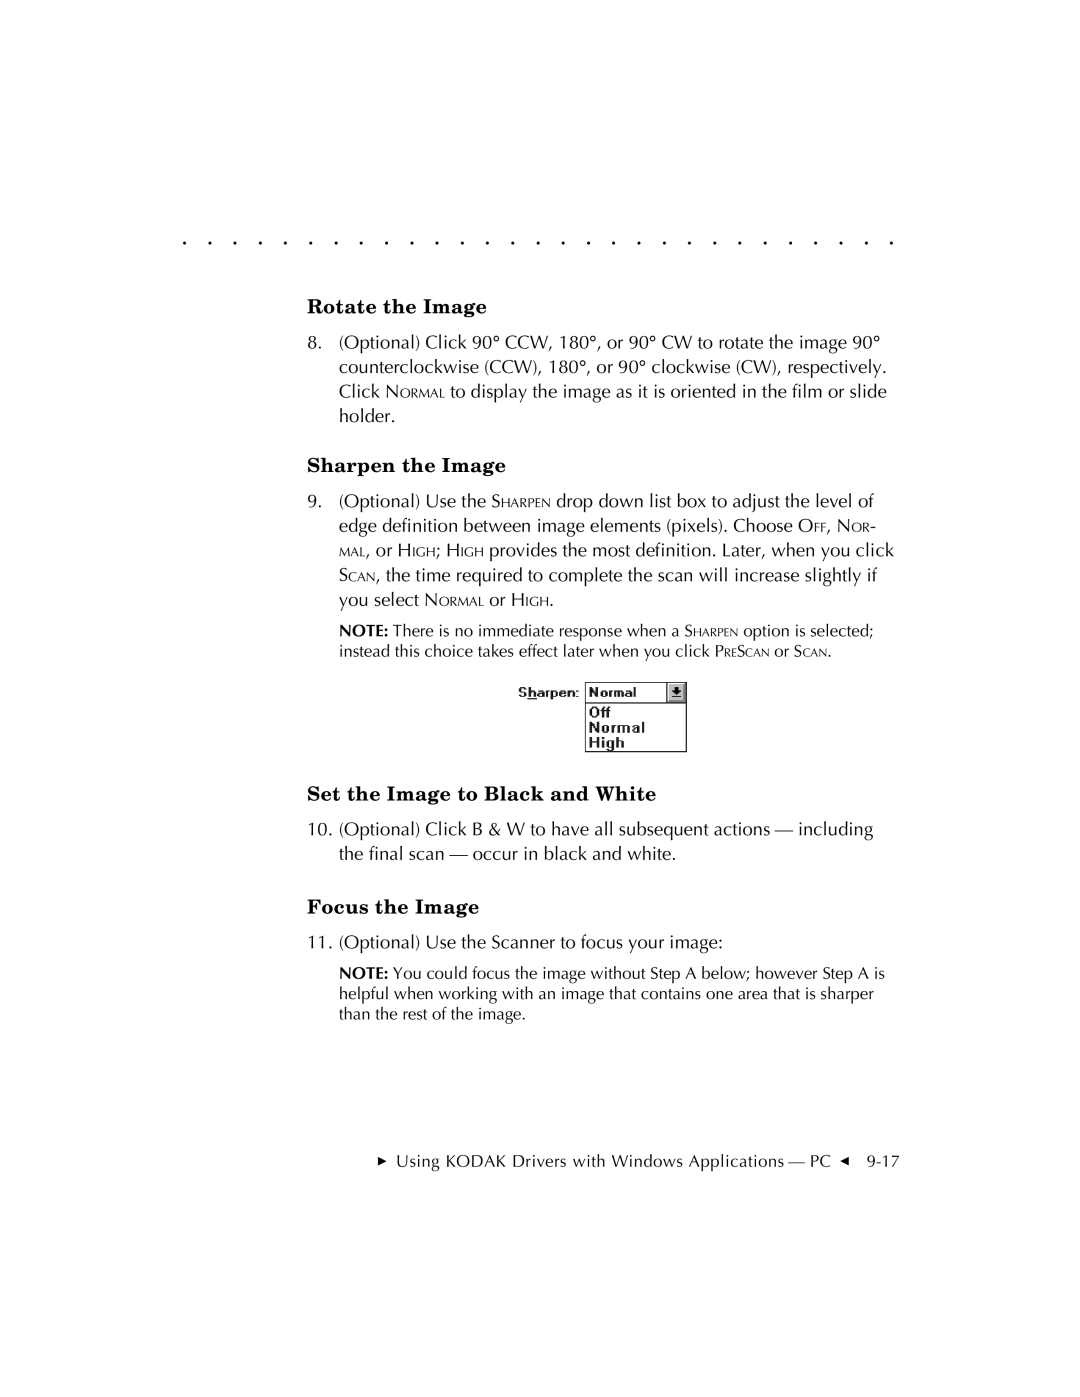
9.(Optional) Use the SHARPEN drop down list box to adjust the level of edge definition between image elements (pixels). Choose OFF, NOR- MAL, or HIGH; HIGH provides the most definition. Later, when you click SCAN, the time required to complete the scan will increase slightly if you select NORMAL or HIGH.
NOTE: There is no immediate response when a SHARPEN option is selected; instead this choice takes effect later when you click PRESCAN or SCAN.
Set the Image to Black and White
10.(Optional) Click B & W to have all subsequent actions — including the final scan — occur in black and white.
Focus the Image
11.(Optional) Use the Scanner to focus your image:
NOTE: You could focus the image without Step A below; however Step A is helpful when working with an image that contains one area that is sharper than the rest of the image.