. . . . . . . . . . . . . . . . . . . . . . . . . . . . .
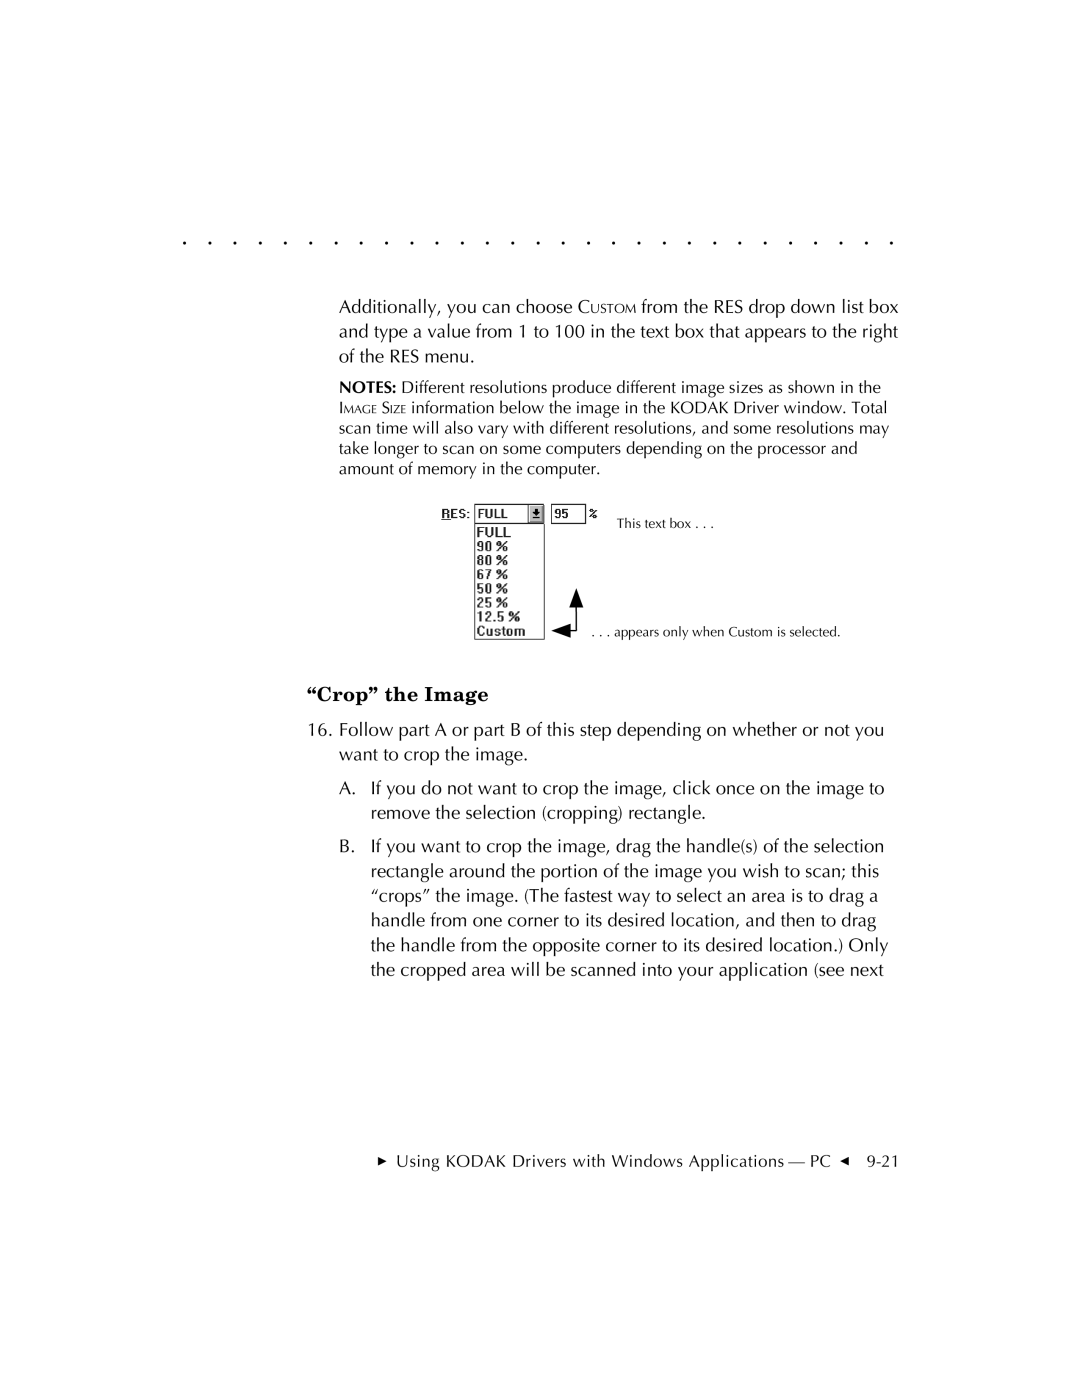
Additionally, you can choose CUSTOM from the RES drop down list box and type a value from 1 to 100 in the text box that appears to the right of the RES menu.
NOTES: Different resolutions produce different image sizes as shown in the IMAGE SIZE information below the image in the KODAK Driver window. Total scan time will also vary with different resolutions, and some resolutions may take longer to scan on some computers depending on the processor and amount of memory in the computer.
This text box . . .
. . . appears only when Custom is selected.
“Crop” the Image
16.Follow part A or part B of this step depending on whether or not you want to crop the image.
A.If you do not want to crop the image, click once on the image to remove the selection (cropping) rectangle.
B.If you want to crop the image, drag the handle(s) of the selection rectangle around the portion of the image you wish to scan; this “crops” the image. (The fastest way to select an area is to drag a handle from one corner to its desired location, and then to drag the handle from the opposite corner to its desired location.) Only the cropped area will be scanned into your application (see next