. . . . . . . . . . . . . . . . . . . . . . . . . . . . .
Set Auto Balance
7.(Optional) Set AUTO BAL. For most customers the AUTO BAL suggested setting of “on” will automatically provide the proper “scene” balance. However, you may need to turn off AUTO BAL for certain images such as computer generated graphics or scenes with dominant colors. If you change this setting, click VIEW CHANGES to see the effect of the change.
NOTE: If the original prescan only needs fine color and/or brightness adjust- ments, do not turn off AUTO BAL; instead, adjust color and/or brightness as described in “Change Color Levels” and “Change Brightness” below.
Rotate the Image
8.(Optional) Click 90° CCW, 180°, or 90° CW to rotate the image 90° counterclockwise (CCW), 180°, or 90° clockwise (CW), respectively.
Click NORMAL to display the image as it is oriented in the film or slide holder.
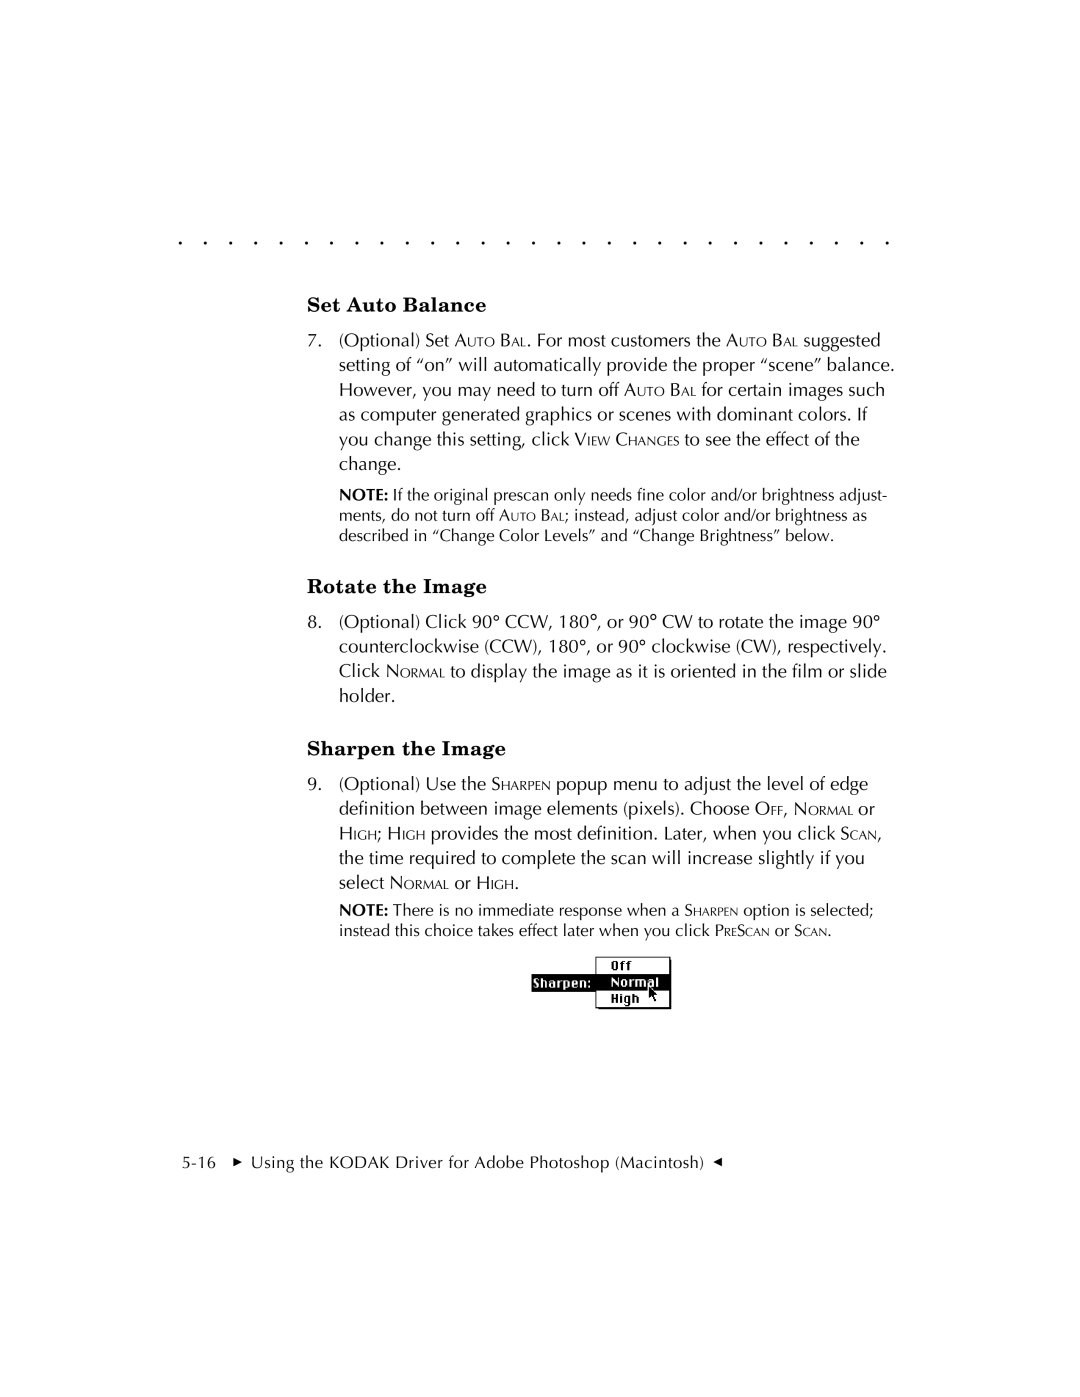
Sharpen the Image
9.(Optional) Use the SHARPEN popup menu to adjust the level of edge definition between image elements (pixels). Choose OFF, NORMAL or HIGH; HIGH provides the most definition. Later, when you click SCAN, the time required to complete the scan will increase slightly if you select NORMAL or HIGH.
NOTE: There is no immediate response when a SHARPEN option is selected; instead this choice takes effect later when you click PRESCAN or SCAN.