132 Chapter 10 Routing table administration
Type: Norm
Force XFER OK
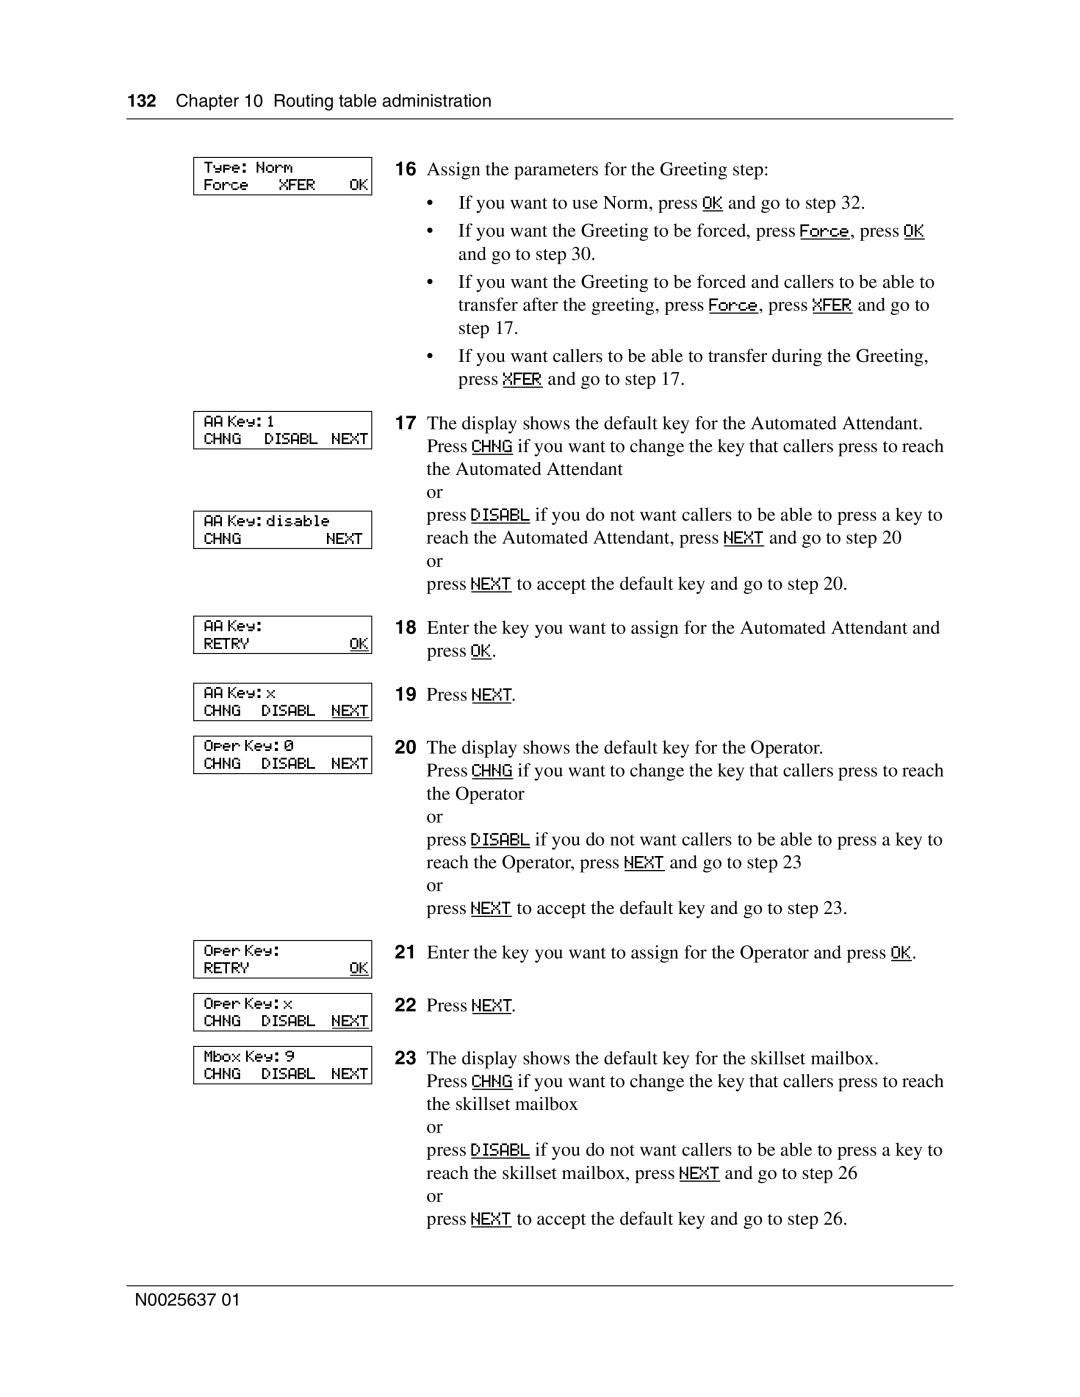
16Assign the parameters for the Greeting step:
•If you want to use Norm, press OK and go to step 32.
•If you want the Greeting to be forced, press Force, press OK and go to step 30.
•If you want the Greeting to be forced and callers to be able to transfer after the greeting, press Force, press XFER and go to step 17.
•If you want callers to be able to transfer during the Greeting, press XFER and go to step 17.
AA Key: 1
CHNG DISABL NEXT
AA Key: disable
CHNG NEXT
AA Key:
RETRYOK
AA Key: x
CHNG DISABL NEXT
Oper Key: 0
CHNG DISABL NEXT
Oper Key:
RETRYOK
Oper Key: x
CHNG DISABL NEXT
Mbox Key: 9
CHNG DISABL NEXT
17The display shows the default key for the Automated Attendant. Press CHNG if you want to change the key that callers press to reach the Automated Attendant
or
press DISABL if you do not want callers to be able to press a key to reach the Automated Attendant, press NEXT and go to step 20
or
press NEXT to accept the default key and go to step 20.
18Enter the key you want to assign for the Automated Attendant and press OK.
19Press NEXT.
20The display shows the default key for the Operator.
Press CHNG if you want to change the key that callers press to reach the Operator
or
press DISABL if you do not want callers to be able to press a key to reach the Operator, press NEXT and go to step 23
or
press NEXT to accept the default key and go to step 23.
21Enter the key you want to assign for the Operator and press OK.
22Press NEXT.
23The display shows the default key for the skillset mailbox.
Press CHNG if you want to change the key that callers press to reach the skillset mailbox
or
press DISABL if you do not want callers to be able to press a key to reach the skillset mailbox, press NEXT and go to step 26
or
press NEXT to accept the default key and go to step 26.
N0025637 01
