Chapter 10 Routing table administration 133
Mbox Key:
RETRYOK
Oper Key: x
CHNG DISABL NEXT
CCR Key: 2 Tr: 1
CHNG DISABL OK
CCR Key:
RETRYOK
CCR Key: x
CHNGNEXT
CCR tree:
RETRYOK
CCR Key: x Tr: x
CHNG DISABL OK
Type: Norm Xfer Force XFER OK
Another step?
YESQUIT
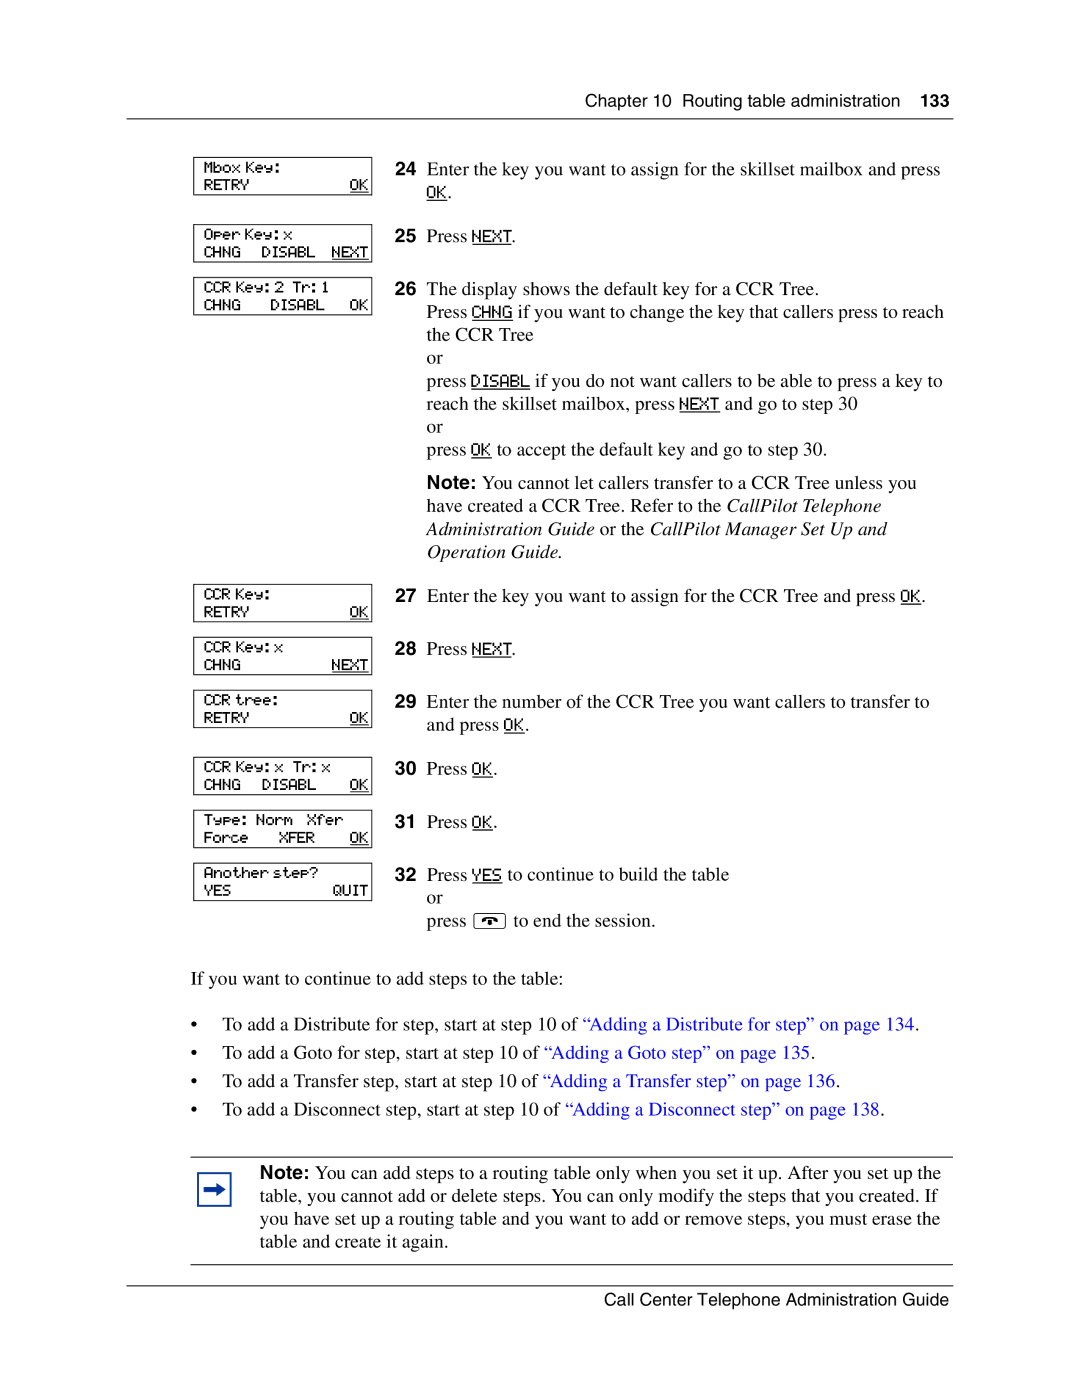
24Enter the key you want to assign for the skillset mailbox and press
OK.
25Press NEXT.
26The display shows the default key for a CCR Tree.
Press CHNG if you want to change the key that callers press to reach the CCR Tree
or
press DISABL if you do not want callers to be able to press a key to reach the skillset mailbox, press NEXT and go to step 30
or
press OK to accept the default key and go to step 30.
Note: You cannot let callers transfer to a CCR Tree unless you have created a CCR Tree. Refer to the CallPilot Telephone Administration Guide or the CallPilot Manager Set Up and Operation Guide.
27Enter the key you want to assign for the CCR Tree and press OK.
28Press NEXT.
29Enter the number of the CCR Tree you want callers to transfer to and press OK.
30Press OK.
31Press OK.
32Press YES to continue to build the table or
press ®to end the session.
If you want to continue to add steps to the table:
•To add a Distribute for step, start at step 10 of “Adding a Distribute for step” on page 134.
•To add a Goto for step, start at step 10 of “Adding a Goto step” on page 135.
•To add a Transfer step, start at step 10 of “Adding a Transfer step” on page 136.
•To add a Disconnect step, start at step 10 of “Adding a Disconnect step” on page 138.
Note: You can add steps to a routing table only when you set it up. After you set up the table, you cannot add or delete steps. You can only modify the steps that you created. If you have set up a routing table and you want to add or remove steps, you must erase the table and create it again.
Call Center Telephone Administration Guide
