EtherneTV Backup
Configuring ETV Backup
TTo configure EtherneTV Backup, you must perform all of the following steps in the exact sequence shown
1.Enter License Key.
2.Set Profile IP Addresses.
3.Configure the Scheduler.
4.Reset Database Backup Versioning.
5.Enable the Warm Backup Server.
6.Test the Configuration.
1. Enter License Key
The first time you launch ETV Backup, you will be prompted for a license key. This key is attached to the "Software Activation Keys" card shipped with the EtherneTV server.
TTo enter the license key:
1.Find your license key on the "Software Activation Keys" card, type it into Notepad, and copy it to the clipboard
2.Launch ETV Backup: go to Start > All Programs > VBrick > ETV Backup.
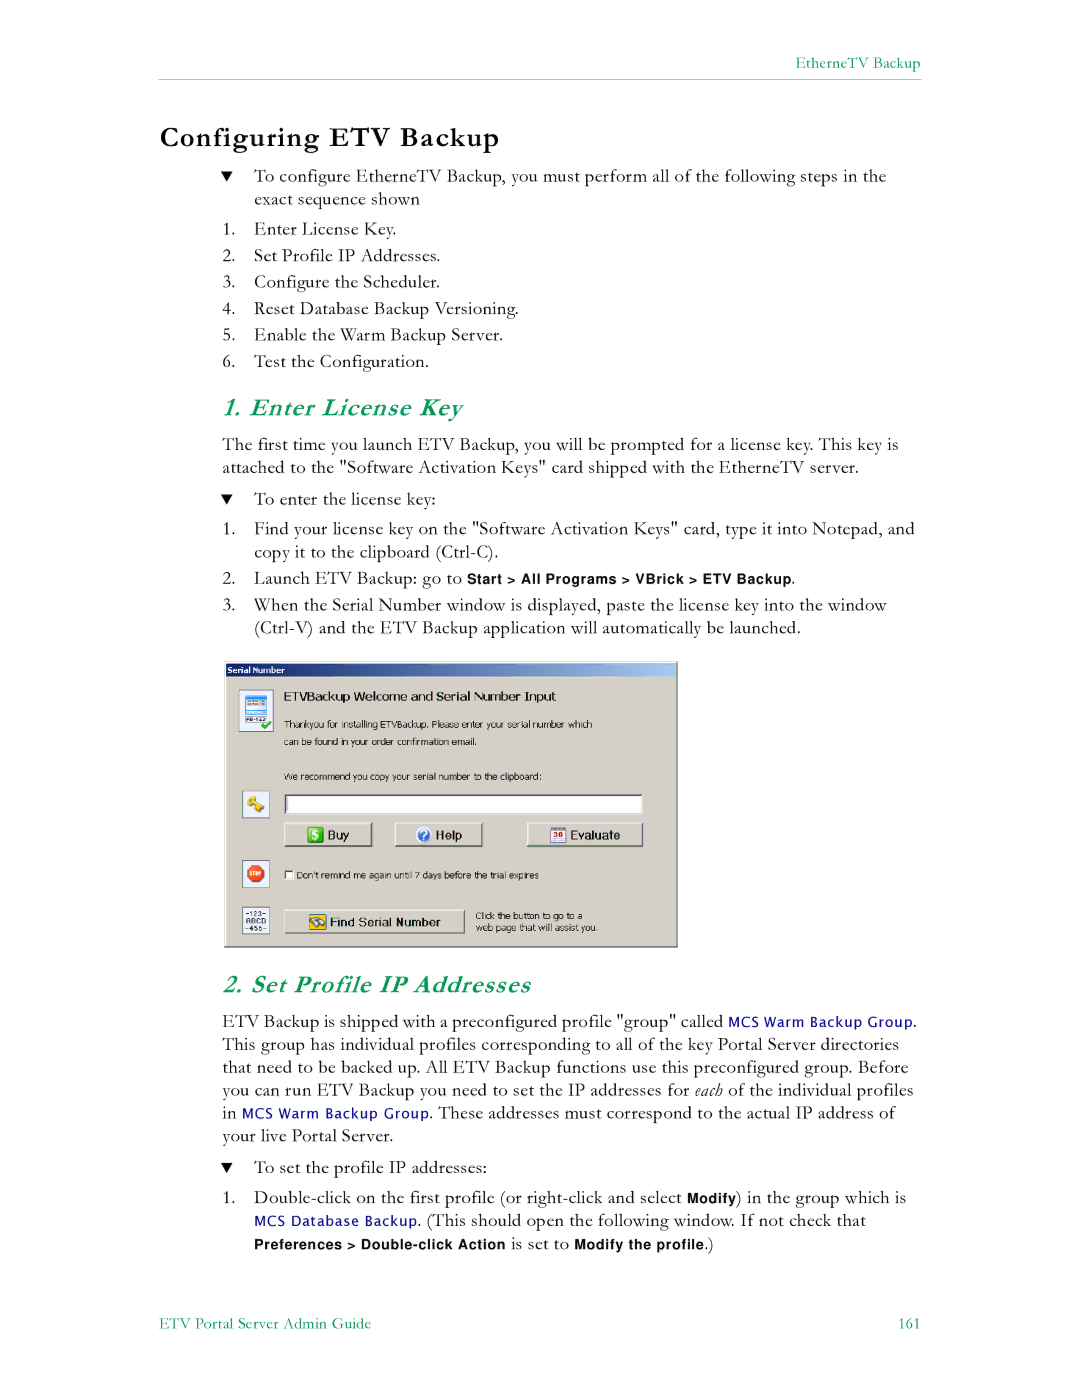
3.When the Serial Number window is displayed, paste the license key into the window
2. Set Profile IP Addresses
ETV Backup is shipped with a preconfigured profile "group" called MCS Warm Backup Group. This group has individual profiles corresponding to all of the key Portal Server directories that need to be backed up. All ETV Backup functions use this preconfigured group. Before you can run ETV Backup you need to set the IP addresses for each of the individual profiles in MCS Warm Backup Group. These addresses must correspond to the actual IP address of your live Portal Server.
TTo set the profile IP addresses:
1.
Preferences >
ETV Portal Server Admin Guide | 161 |
