Niagara 4100 User Guide
Connecting an external storage device
The Niagara 4100 has one USB port on the front panel and one on the back panel. You can connect almost any standard USB memory device to one or both of these ports. You can then export any audiovisual files you may have created on Niagara 4100’s local storage drive. The local storage drive is drive D when you use the Save to File setting from the web interface.
When you insert a USB memory device in one of the USB ports on the Niagara 4100, the appliance automatically detects the removable storage device, and assigns a drive letter to the device. This device can capture files directly or you can use the Niagara 4100 Export Files function on the front panel menu.
Exporting captured video files
You can export your captured video files to an external USB drive. But first you must set a default location through the web interface. Refer to Configuring default directory setting before completing the steps below.
To export captured video files:
1.Insert a USB memory device into a USB port
2.Press Menu. The EASE menu appears.
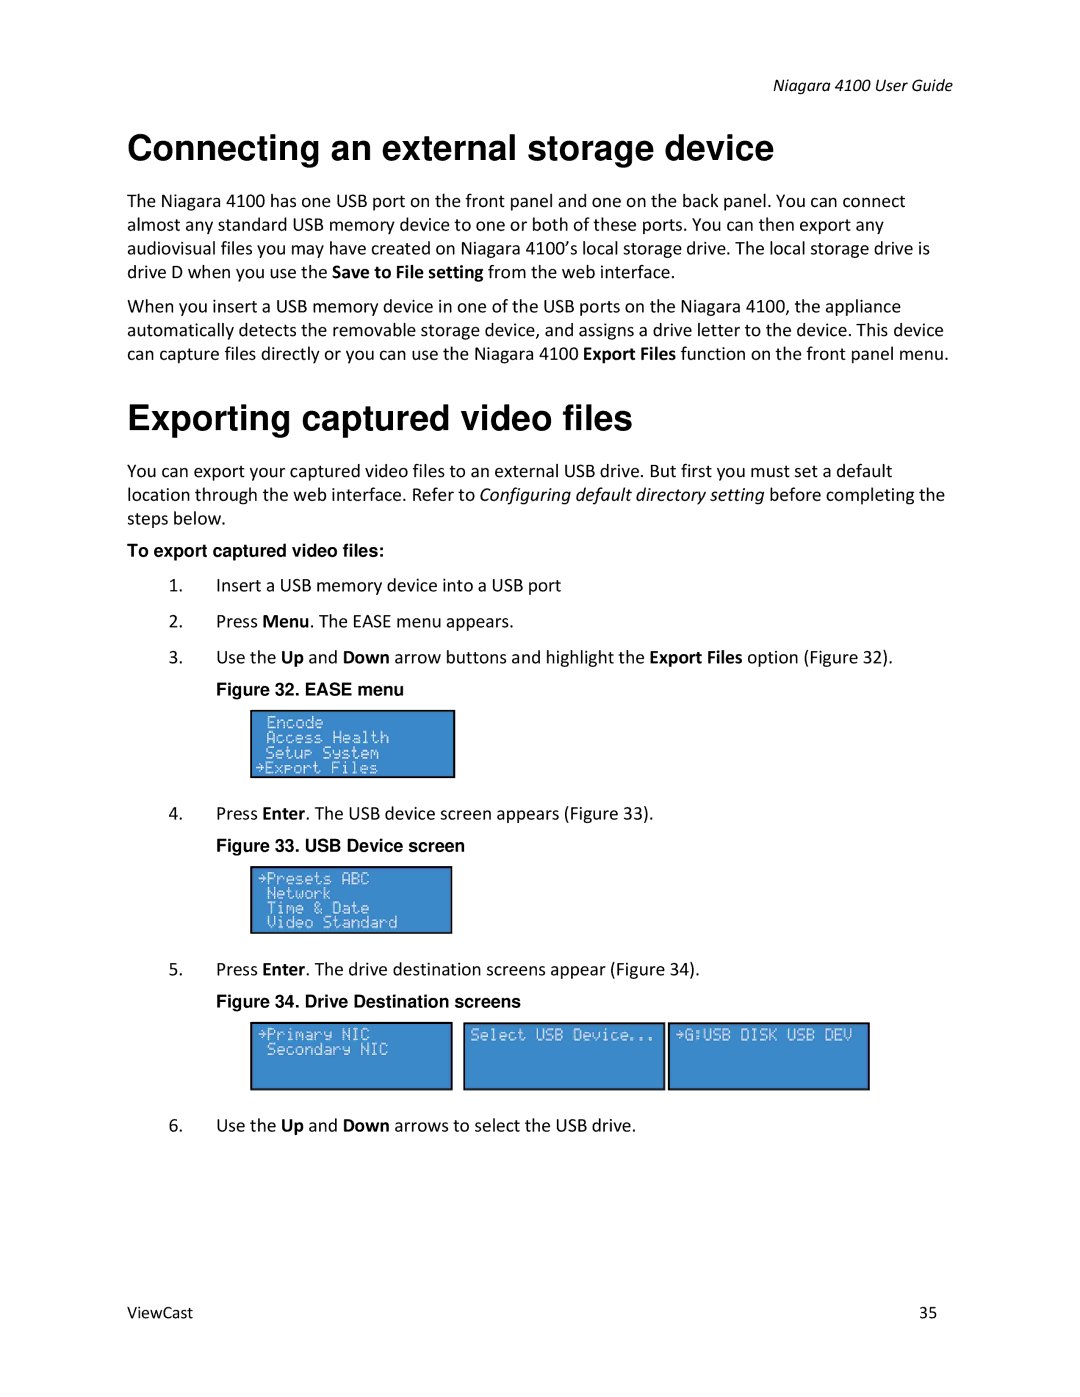
3.Use the Up and Down arrow buttons and highlight the Export Files option (Figure 32).
Figure 32. EASE menu
4.Press Enter. The USB device screen appears (Figure 33).
Figure 33. USB Device screen
5.Press Enter. The drive destination screens appear (Figure 34).
Figure 34. Drive Destination screens
6.Use the Up and Down arrows to select the USB drive.
ViewCast | 35 |
