132 | Chapter |
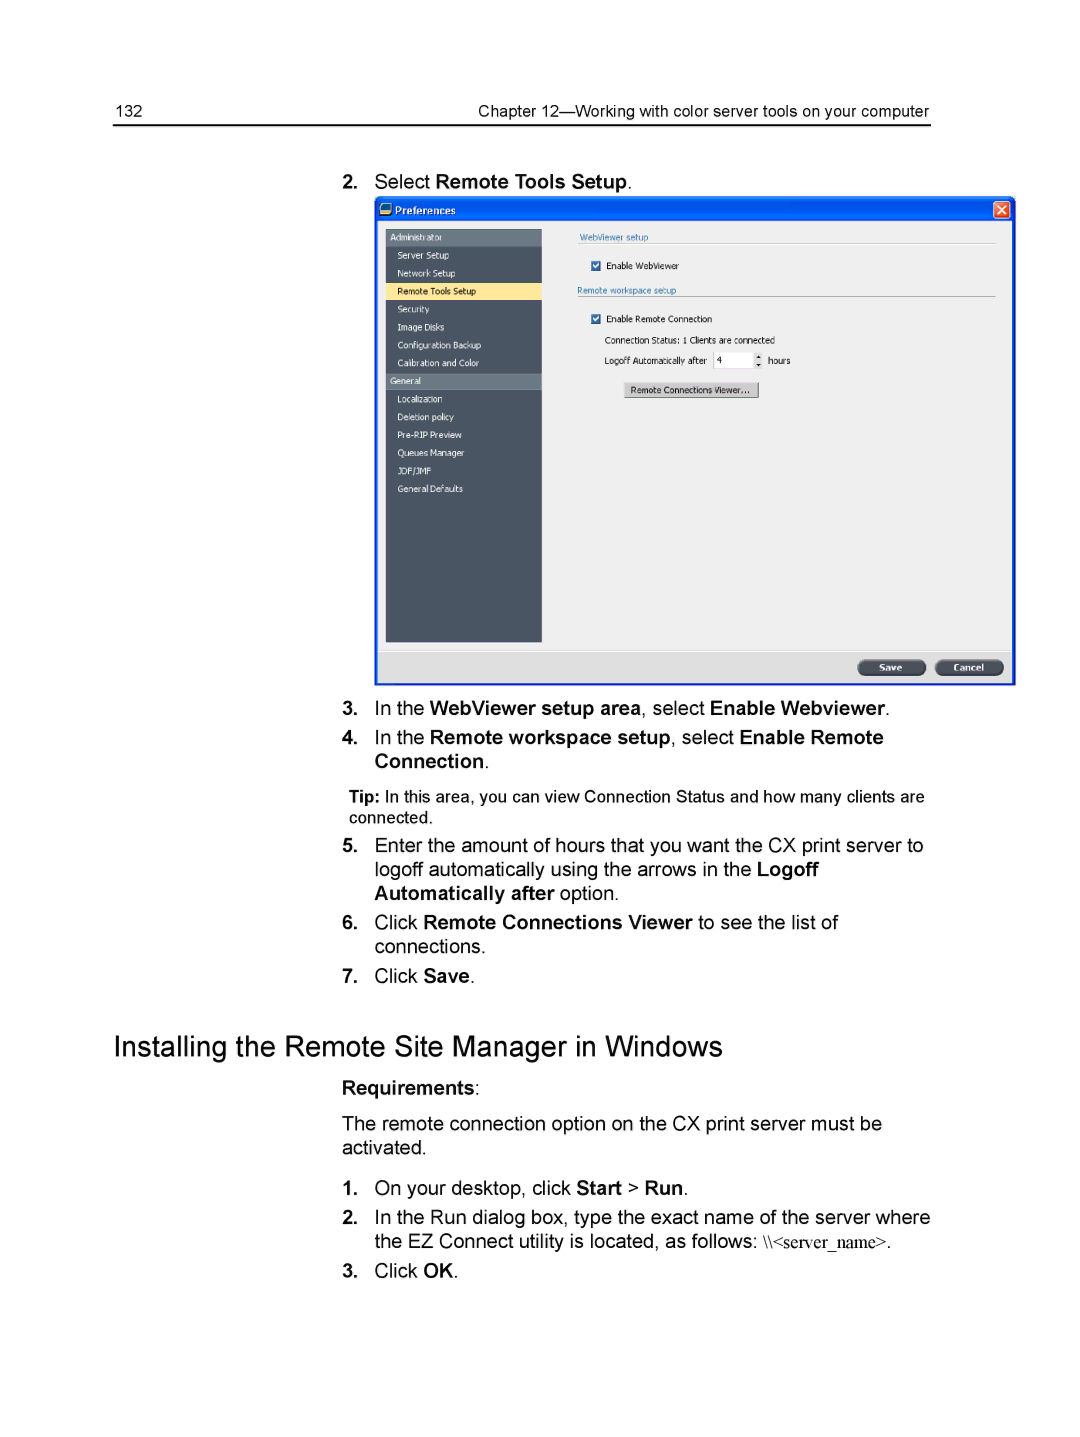
2. Select Remote Tools Setup.
3.In the WebViewer setup area, select Enable Webviewer.
4.In the Remote workspace setup, select Enable Remote Connection.
Tip: In this area, you can view Connection Status and how many clients are connected.
5.Enter the amount of hours that you want the CX print server to logoff automatically using the arrows in the Logoff Automatically after option.
6.Click Remote Connections Viewer to see the list of connections.
7.Click Save.
Installing the Remote Site Manager in Windows
Requirements:
The remote connection option on the CX print server must be activated.
1.On your desktop, click Start > Run.
2.In the Run dialog box, type the exact name of the server where the EZ Connect utility is located, as follows: \\<server_name>.
3.Click OK.