Chapter 16 Bandwidth Management
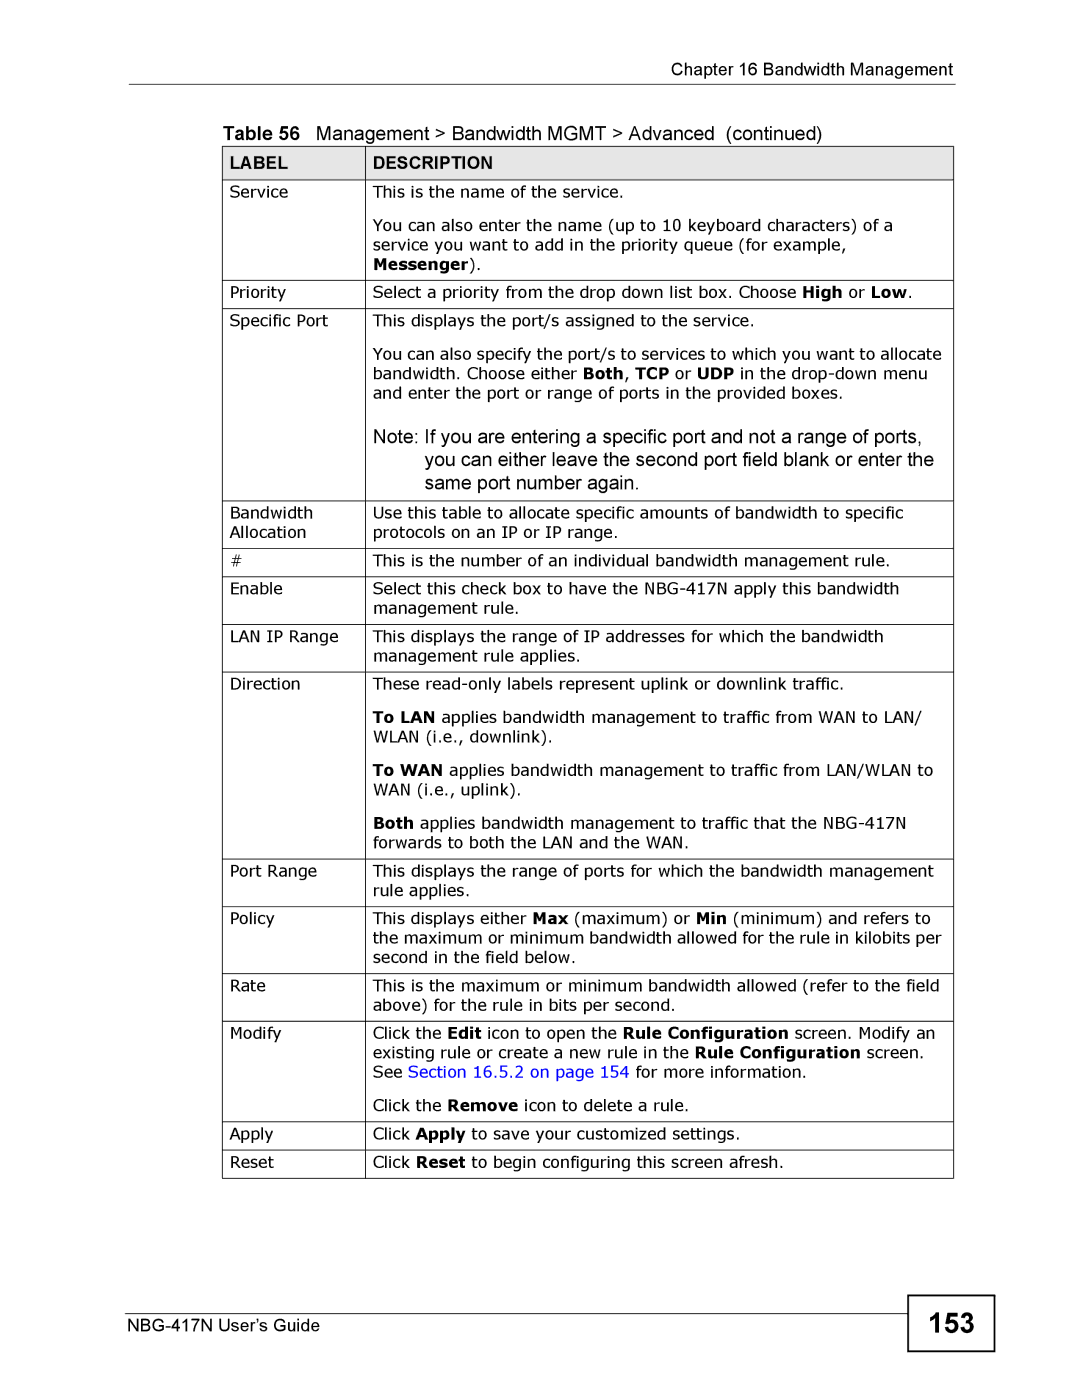
Table 56 Management > Bandwidth MGMT > Advanced (continued)
LABEL | DESCRIPTION |
Service | This is the name of the service. |
| You can also enter the name (up to 10 keyboard characters) of a |
| service you want to add in the priority queue (for example, |
| Messenger). |
|
|
Priority | Select a priority from the drop down list box. Choose High or Low. |
|
|
Specific Port | This displays the port/s assigned to the service. |
| You can also specify the port/s to services to which you want to allocate |
| bandwidth. Choose either Both, TCP or UDP in the |
| and enter the port or range of ports in the provided boxes. |
| Note: If you are entering a specific port and not a range of ports, |
| you can either leave the second port field blank or enter the |
| same port number again. |
|
|
Bandwidth | Use this table to allocate specific amounts of bandwidth to specific |
Allocation | protocols on an IP or IP range. |
|
|
# | This is the number of an individual bandwidth management rule. |
|
|
Enable | Select this check box to have the |
| management rule. |
|
|
LAN IP Range | This displays the range of IP addresses for which the bandwidth |
| management rule applies. |
|
|
Direction | These |
| To LAN applies bandwidth management to traffic from WAN to LAN/ |
| WLAN (i.e., downlink). |
| To WAN applies bandwidth management to traffic from LAN/WLAN to |
| WAN (i.e., uplink). |
| Both applies bandwidth management to traffic that the |
| forwards to both the LAN and the WAN. |
|
|
Port Range | This displays the range of ports for which the bandwidth management |
| rule applies. |
|
|
Policy | This displays either Max (maximum) or Min (minimum) and refers to |
| the maximum or minimum bandwidth allowed for the rule in kilobits per |
| second in the field below. |
|
|
Rate | This is the maximum or minimum bandwidth allowed (refer to the field |
| above) for the rule in bits per second. |
|
|
Modify | Click the Edit icon to open the Rule Configuration screen. Modify an |
| existing rule or create a new rule in the Rule Configuration screen. |
| See Section 16.5.2 on page 154 for more information. |
| Click the Remove icon to delete a rule. |
|
|
Apply | Click Apply to save your customized settings. |
|
|
Reset | Click Reset to begin configuring this screen afresh. |
