Installing the E5810
Installing and Configuring the Agilent IO Libraries Suite
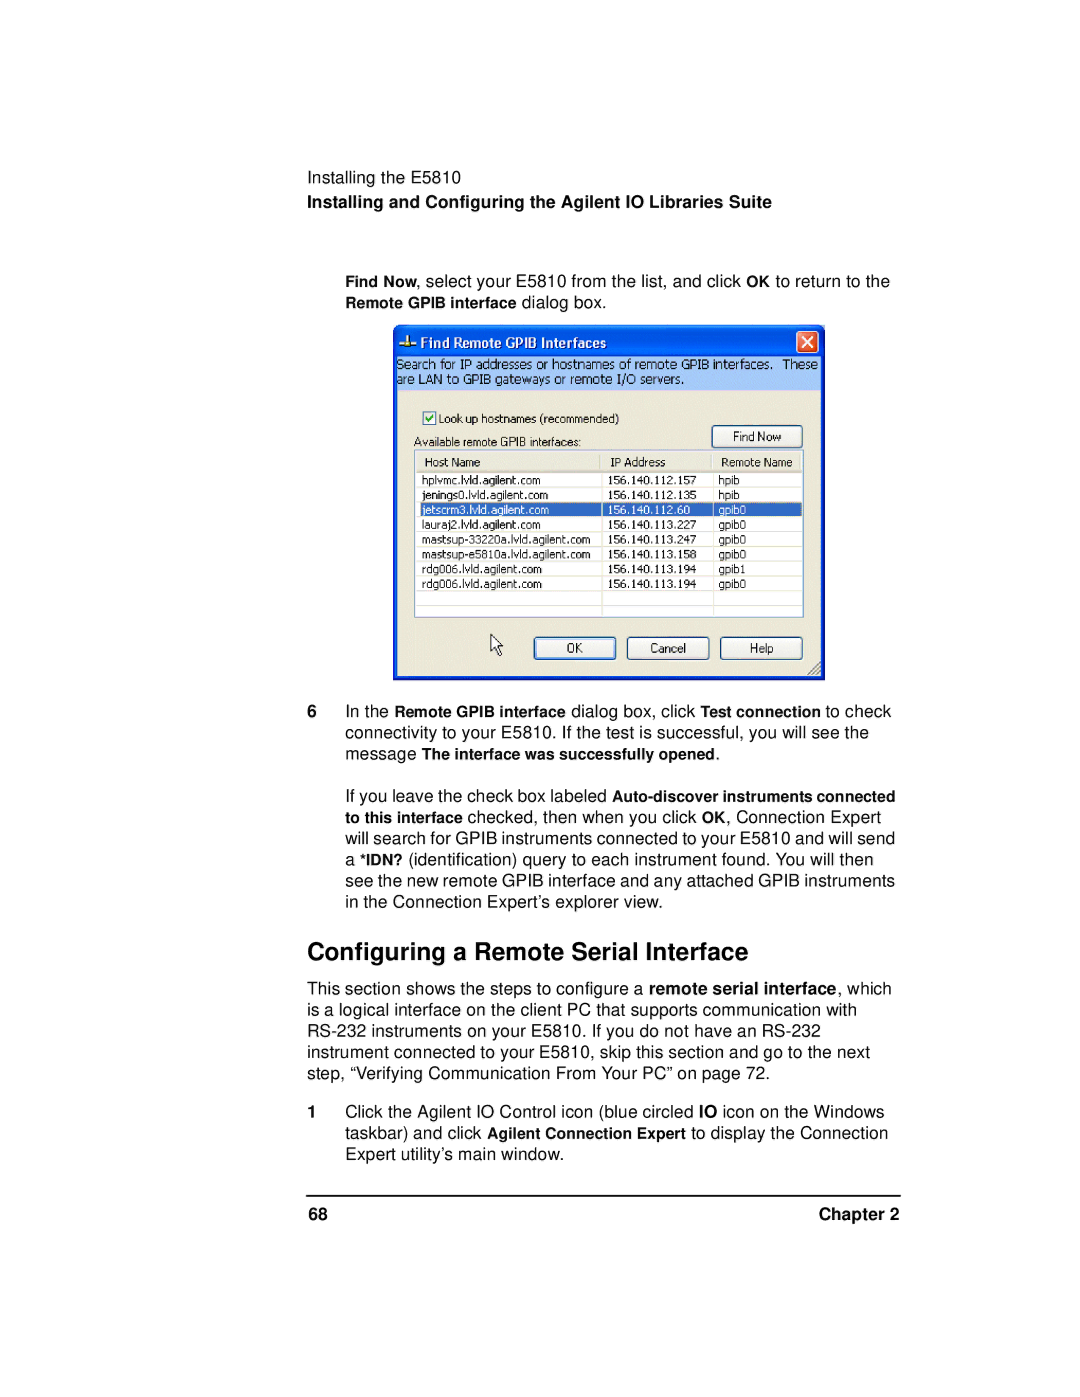
Find Now, select your E5810 from the list, and click OK to return to the Remote GPIB interface dialog box.
6In the Remote GPIB interface dialog box, click Test connection to check connectivity to your E5810. If the test is successful, you will see the message The interface was successfully opened.
If you leave the check box labeled
Configuring a Remote Serial Interface
This section shows the steps to configure a remote serial interface, which is a logical interface on the client PC that supports communication with
1Click the Agilent IO Control icon (blue circled IO icon on the Windows taskbar) and click Agilent Connection Expert to display the Connection Expert utility’s main window.
68 | Chapter 2 |