Printing on High Gloss Photo Film
High Gloss Photo Film
■Before you use High Gloss Photo Film
■Always print on the glossy side of High Gloss Photo Film
To load High Gloss Photo Film in the sheet feeder
1 Load one sheet of High Gloss Photo Film in the sheet feeder. (☞ 44)
■Raise the paper support before you load the sheet.
■High Gloss Photo Film
■Make sure the glossy side is up when you load the sheet in the sheet feeder. Print only on the glossy side of High Gloss Photo Film.
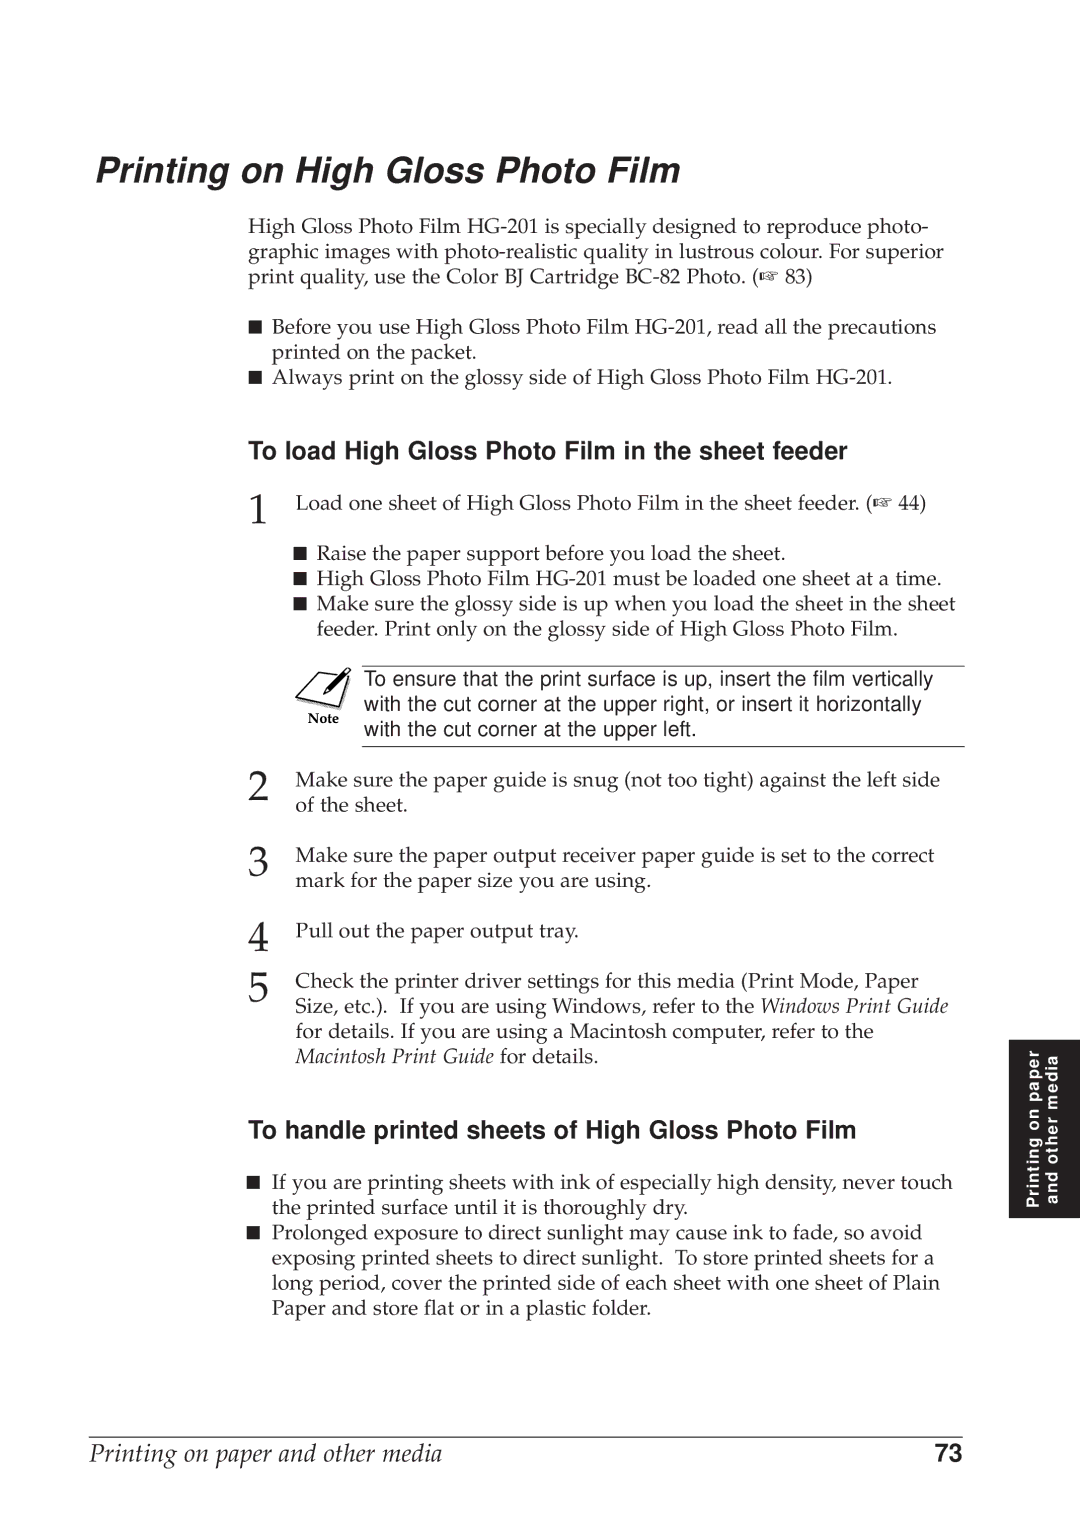
|
| To ensure that the print surface is up, insert the film vertically |
|
| with the cut corner at the upper right, or insert it horizontally |
|
| with the cut corner at the upper left. |
2 |
|
|
Make sure the paper guide is snug (not too tight) against the left side | ||
of the sheet. | ||
3 | Make sure the paper output receiver paper guide is set to the correct | |
mark for the paper size you are using. | ||
4 | Pull out the paper output tray. | |
5 | Check the printer driver settings for this media (Print Mode, Paper | |
Size, etc.). If you are using Windows, refer to the Windows Print Guide | ||
for details. If you are using a Macintosh computer, refer to the Macintosh Print Guide for details.
To handle printed sheets of High Gloss Photo Film
■If you are printing sheets with ink of especially high density, never touch the printed surface until it is thoroughly dry.
■Prolonged exposure to direct sunlight may cause ink to fade, so avoid exposing printed sheets to direct sunlight. To store printed sheets for a long period, cover the printed side of each sheet with one sheet of Plain Paper and store flat or in a plastic folder.
Printing on paper and other media
Printing on paper and other media | 73 |