1.Introduction
1.2Software operating environment
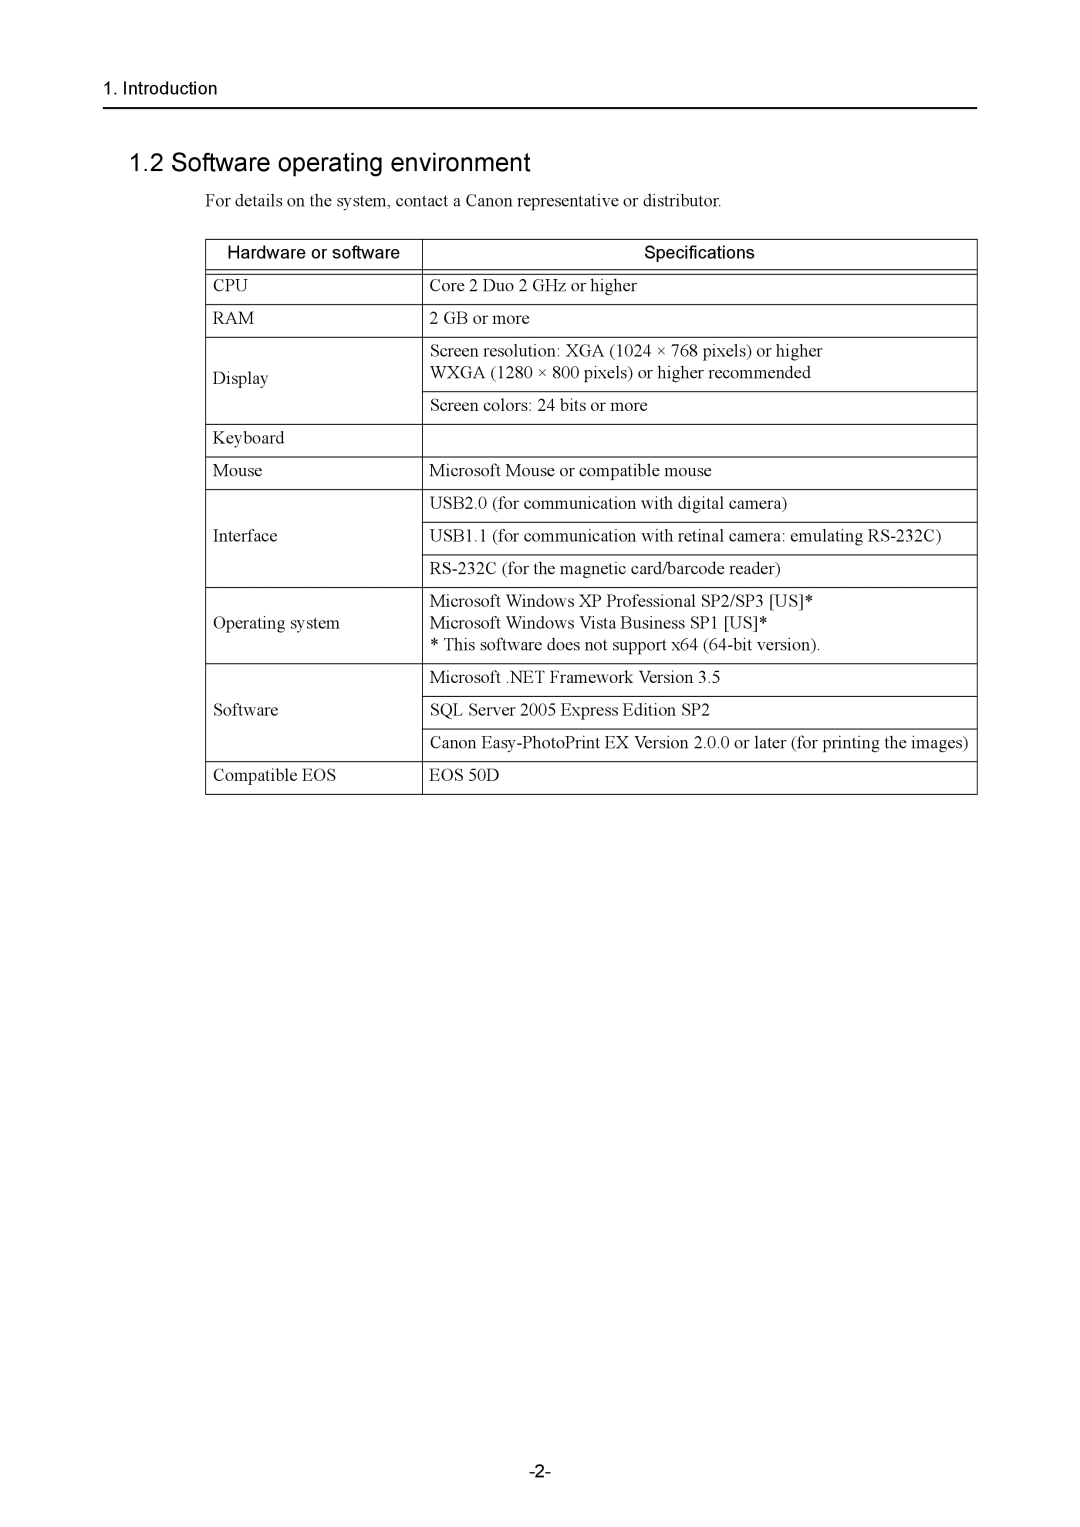
For details on the system, contact a Canon representative or distributor.
Hardware or software | Specifications |
|
|
|
|
CPU | Core 2 Duo 2 GHz or higher |
|
|
RAM | 2 GB or more |
|
|
| Screen resolution: XGA (1024 × 768 pixels) or higher |
Display | WXGA (1280 × 800 pixels) or higher recommended |
| Screen colors: 24 bits or more |
|
|
Keyboard |
|
|
|
Mouse | Microsoft Mouse or compatible mouse |
|
|
| USB2.0 (for communication with digital camera) |
|
|
Interface | USB1.1 (for communication with retinal camera: emulating |
|
|
| |
|
|
| Microsoft Windows XP Professional SP2/SP3 [US]* |
Operating system | Microsoft Windows Vista Business SP1 [US]* |
| * This software does not support x64 |
|
|
| Microsoft .NET Framework Version 3.5 |
|
|
Software | SQL Server 2005 Express Edition SP2 |
|
|
| Canon |
|
|
Compatible EOS | EOS 50D |
|
|