7. Settings
2
3
4
Make the setting for the Automatic Accession No. Assignation menu.
To use the Automatic Accession No. Assignation menu, insert a check mark for Enable Automatic
Accession No. Assignation.
When a check mark is inserted, the [Auto Counter Setting...] is enabled, and the automatic numbering setting is enabled.
The automatic numbering setting can also be made from the Study menu of the main screen.
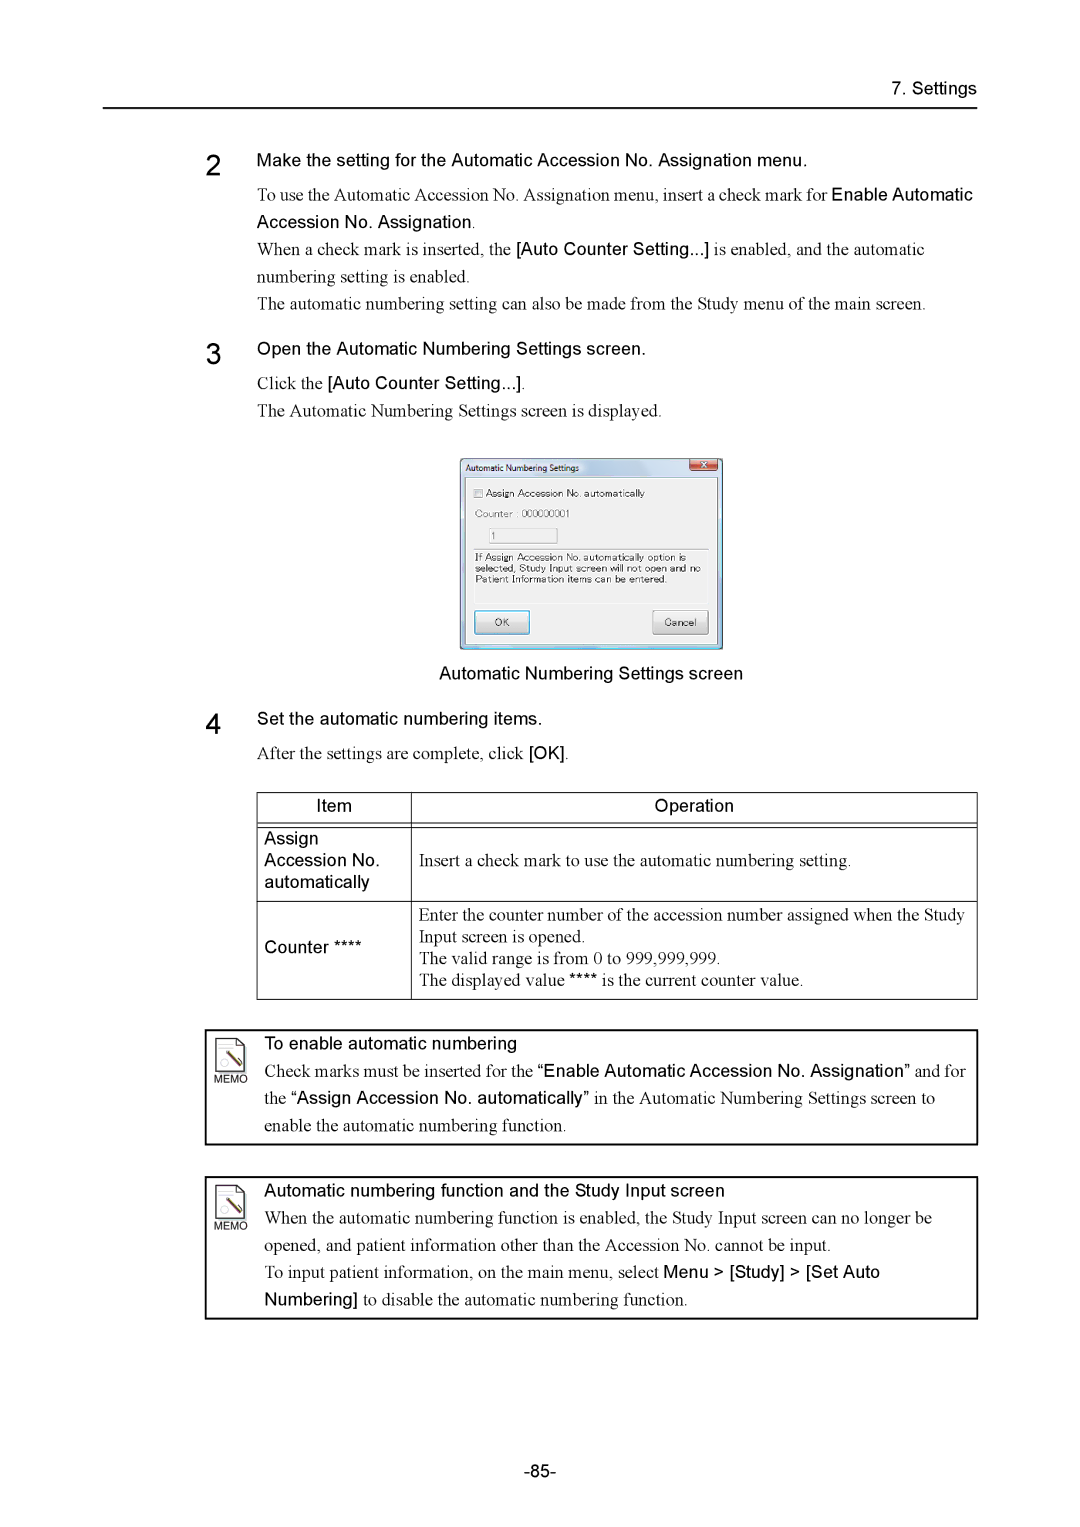
Open the Automatic Numbering Settings screen.
Click the [Auto Counter Setting...].
The Automatic Numbering Settings screen is displayed.
Automatic Numbering Settings screen
Set the automatic numbering items.
After the settings are complete, click [OK].
Item | Operation | |
|
| |
|
| |
Assign |
| |
Accession No. | Insert a check mark to use the automatic numbering setting. | |
automatically |
| |
|
| |
| Enter the counter number of the accession number assigned when the Study | |
Counter **** | Input screen is opened. | |
The valid range is from 0 to 999,999,999. | ||
| ||
| The displayed value **** is the current counter value. | |
|
|
To enable automatic numbering
Check marks must be inserted for the “Enable Automatic Accession No. Assignation” and for
the “Assign Accession No. automatically” in the Automatic Numbering Settings screen to enable the automatic numbering function.
Automatic numbering function and the Study Input screen
When the automatic numbering function is enabled, the Study Input screen can no longer be opened, and patient information other than the Accession No. cannot be input.
To input patient information, on the main menu, select Menu > [Study] > [Set Auto Numbering] to disable the automatic numbering function.