7. Settings
Item | Operation |
Check the items to set the input format.
Input Format | Patient ID | Specify the length, input character type, header | ||
| character string, and digit filling characters. | |||
Accession No. | ||||
(Input item |
|
|
|
|
settings) | Patient Name | Select the input character type. | ||
|
|
|
| |
| Study | Specify the input character type and header character | ||
| Description | string. |
| |
|
|
|
| |
|
| Specify the length of the input character string. | ||
| Length | Input the Patient ID in 64 characters or less and the | ||
| Accession No. in 16 characters or less. If nothing is | |||
|
| entered, the Patient ID has a length of 64, and the | ||
|
| Accession No. has a length of 16. | ||
|
|
|
|
|
| Acceptable | Click |
| to select the available character type from the |
|
| |||
| Character Set | list. |
| |
Input Format |
|
|
| |
| Specify the character string added to the left side of | |||
|
| input values. | ||
| Header string | Input the Patient ID and Study Description in 64 | ||
| characters or less, and input the Accession No. in 16 | |||
|
| |||
|
| characters or less. (The backslash (\) cannot be input in | ||
|
| either one.) | ||
|
|
|
| |
| Filler Character | Specify the character that is added to an input character | ||
| string when it is less than the specified length. | |||
|
| |||
|
|
|
|
|
Note: The check for input format is valid in the Manual Input screen only. No check for input format is made in the Patient Info Edit screen or in the Study Description input section of the Study screen.
Therefore, be careful when editing patient information after a study is started.
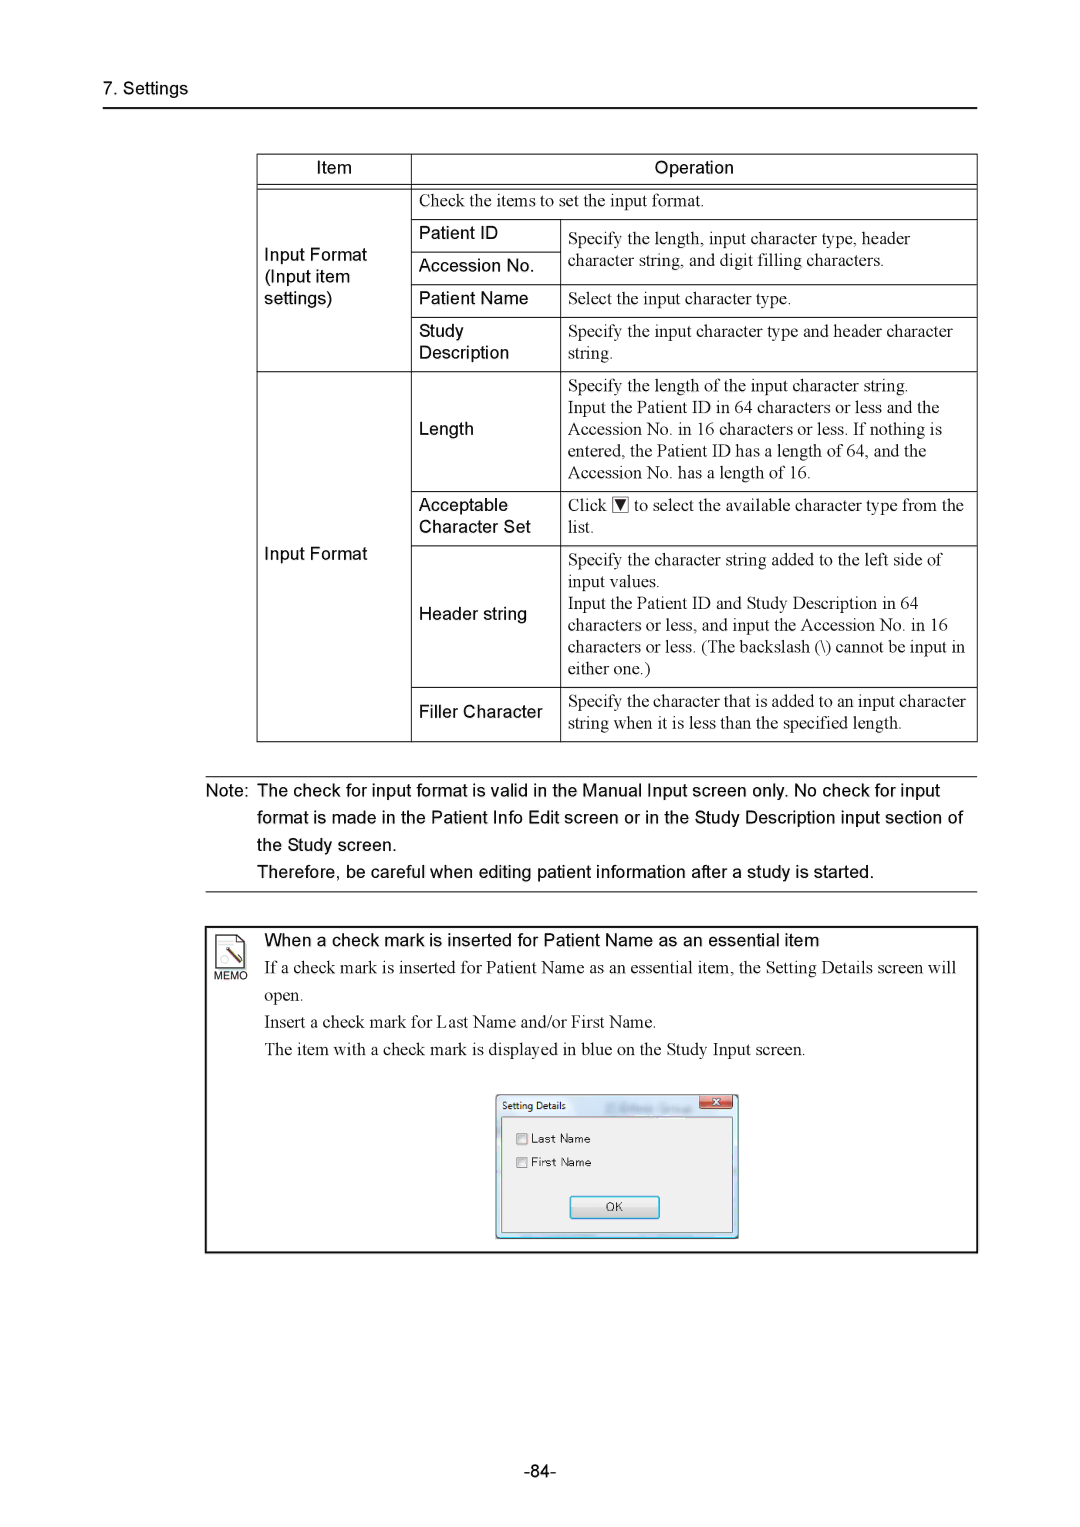
When a check mark is inserted for Patient Name as an essential item
If a check mark is inserted for Patient Name as an essential item, the Setting Details screen will open.
Insert a check mark for Last Name and/or First Name.
The item with a check mark is displayed in blue on the Study Input screen.