7. Settings
7.6.2 Advanced export settings (when Export is selected for the storages)
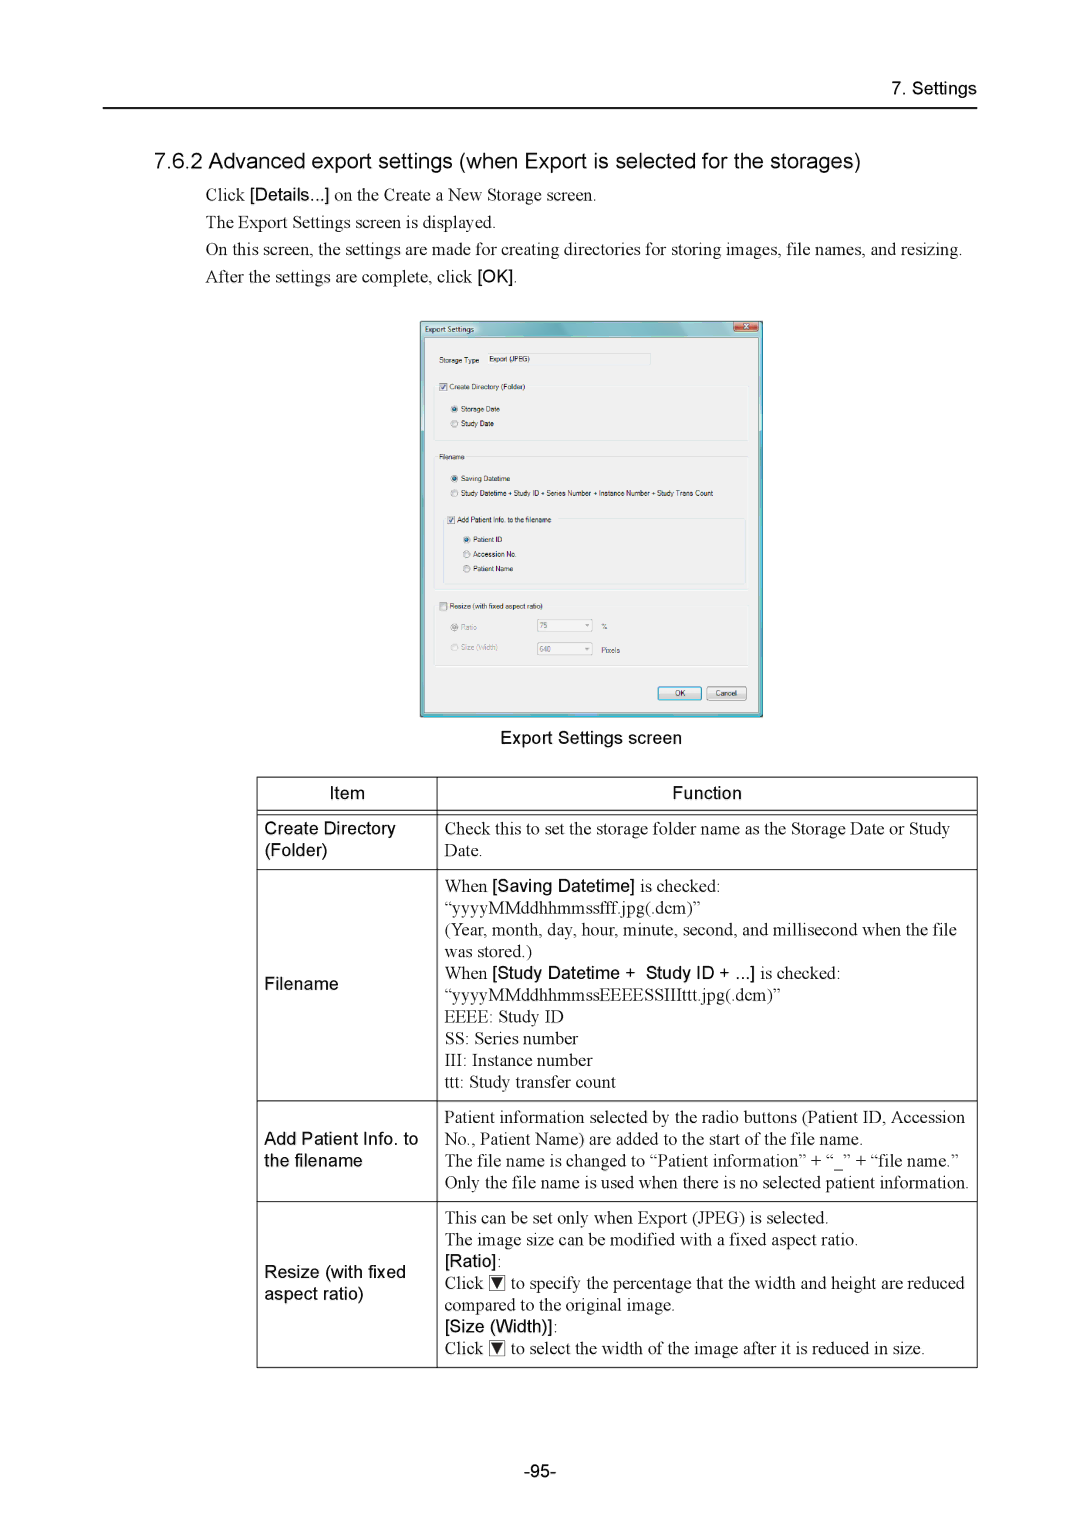
Click [Details...] on the Create a New Storage screen. The Export Settings screen is displayed.
On this screen, the settings are made for creating directories for storing images, file names, and resizing. After the settings are complete, click [OK].
|
| Export Settings screen | |
|
|
| |
Item |
| Function | |
|
| ||
|
| ||
Create Directory | Check this to set the storage folder name as the Storage Date or Study | ||
(Folder) | Date. |
| |
|
| ||
| When [Saving Datetime] is checked: | ||
| “yyyyMMddhhmmssfff.jpg(.dcm)” | ||
| (Year, month, day, hour, minute, second, and millisecond when the file | ||
| was stored.) | ||
Filename | When [Study Datetime + Study ID + ...] is checked: | ||
“yyyyMMddhhmmssEEEESSIIIttt.jpg(.dcm)” | |||
| |||
| EEEE: Study ID | ||
| SS: Series number | ||
| III: Instance number | ||
| ttt: Study transfer count | ||
|
| ||
Add Patient Info. to | Patient information selected by the radio buttons (Patient ID, Accession | ||
No., Patient Name) are added to the start of the file name. | |||
the filename | The file name is changed to “Patient information” + “_” + “file name.” | ||
| Only the file name is used when there is no selected patient information. | ||
|
| ||
| This can be set only when Export (JPEG) is selected. | ||
| The image size can be modified with a fixed aspect ratio. | ||
Resize (with fixed | [Ratio]: | ||
Click | to specify the percentage that the width and height are reduced | ||
aspect ratio) | |||
compared to the original image. | |||
| |||
| [Size (Width)]: | ||
| Click | to select the width of the image after it is reduced in size. | |
|
|
| |