6. Main screen operations
5 | Proceed with the printing. |
| |
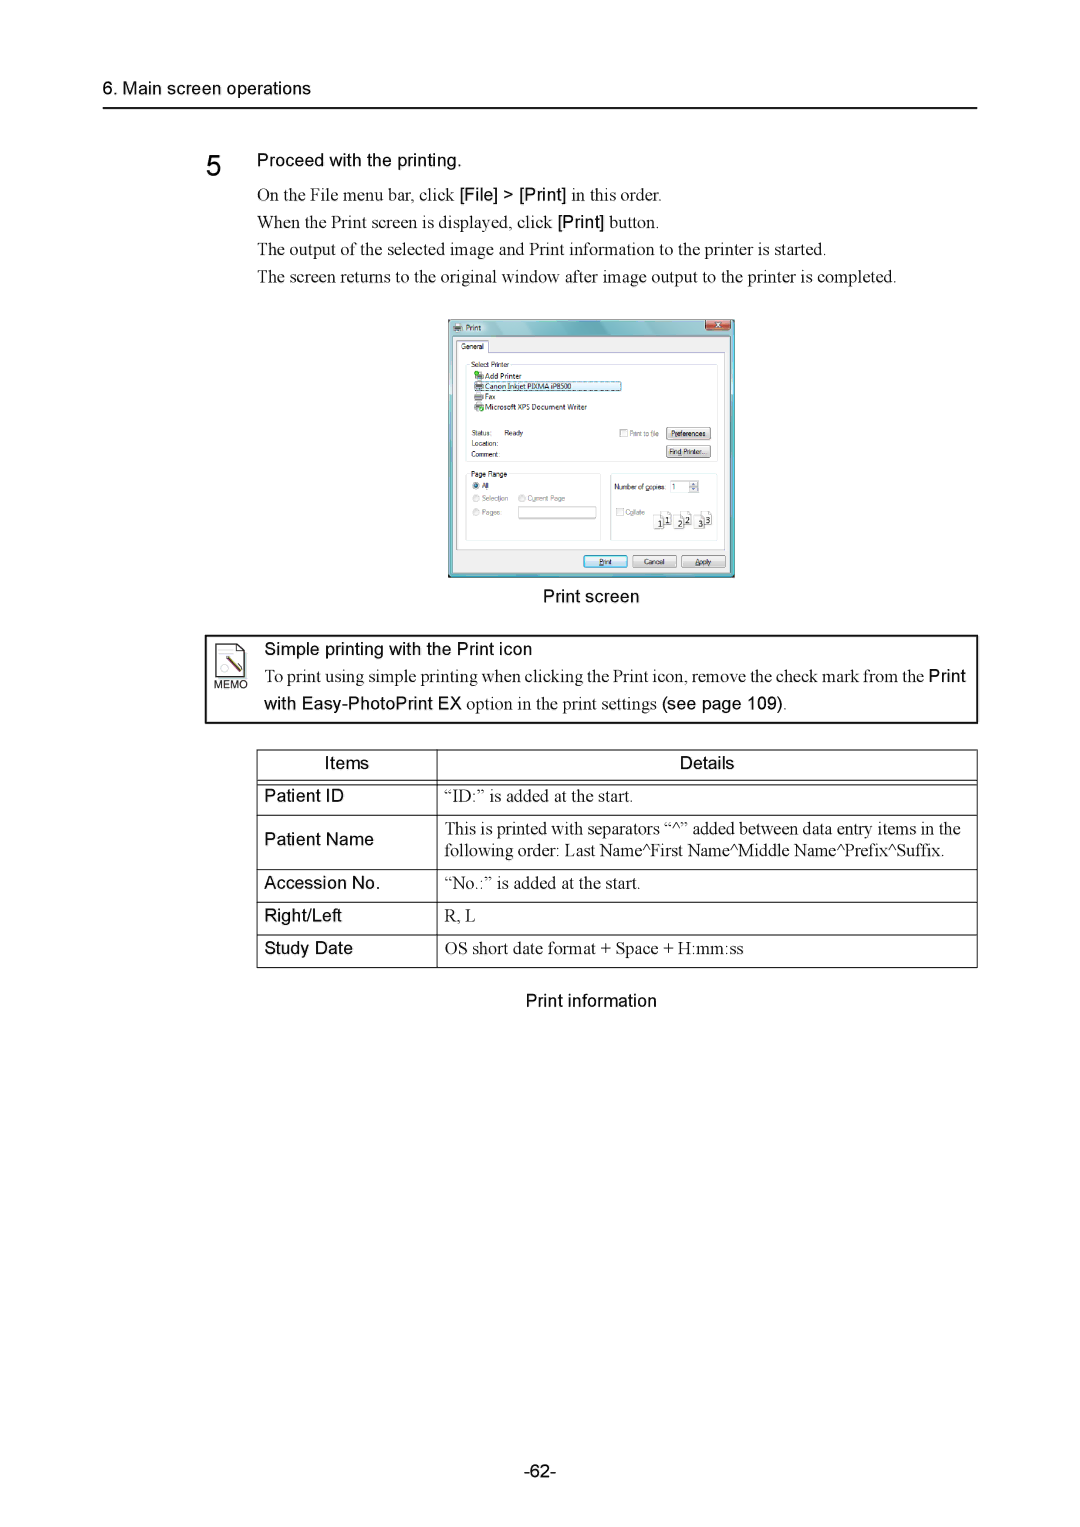
| On the File menu bar, click [File] > [Print] in this order. |
| When the Print screen is displayed, click [Print] button. |
| The output of the selected image and Print information to the printer is started. |
| The screen returns to the original window after image output to the printer is completed. |
Print screen
Simple printing with the Print icon
To print using simple printing when clicking the Print icon, remove the check mark from the Print with
Items | Details | |
|
| |
|
| |
Patient ID | “ID:” is added at the start. | |
|
| |
Patient Name | This is printed with separators “^” added between data entry items in the | |
following order: Last Name^First Name^Middle Name^Prefix^Suffix. | ||
| ||
|
| |
Accession No. | “No.:” is added at the start. | |
|
| |
Right/Left | R, L | |
|
| |
Study Date | OS short date format + Space + H:mm:ss | |
|
| |
| Print information |