Stacking Configuration
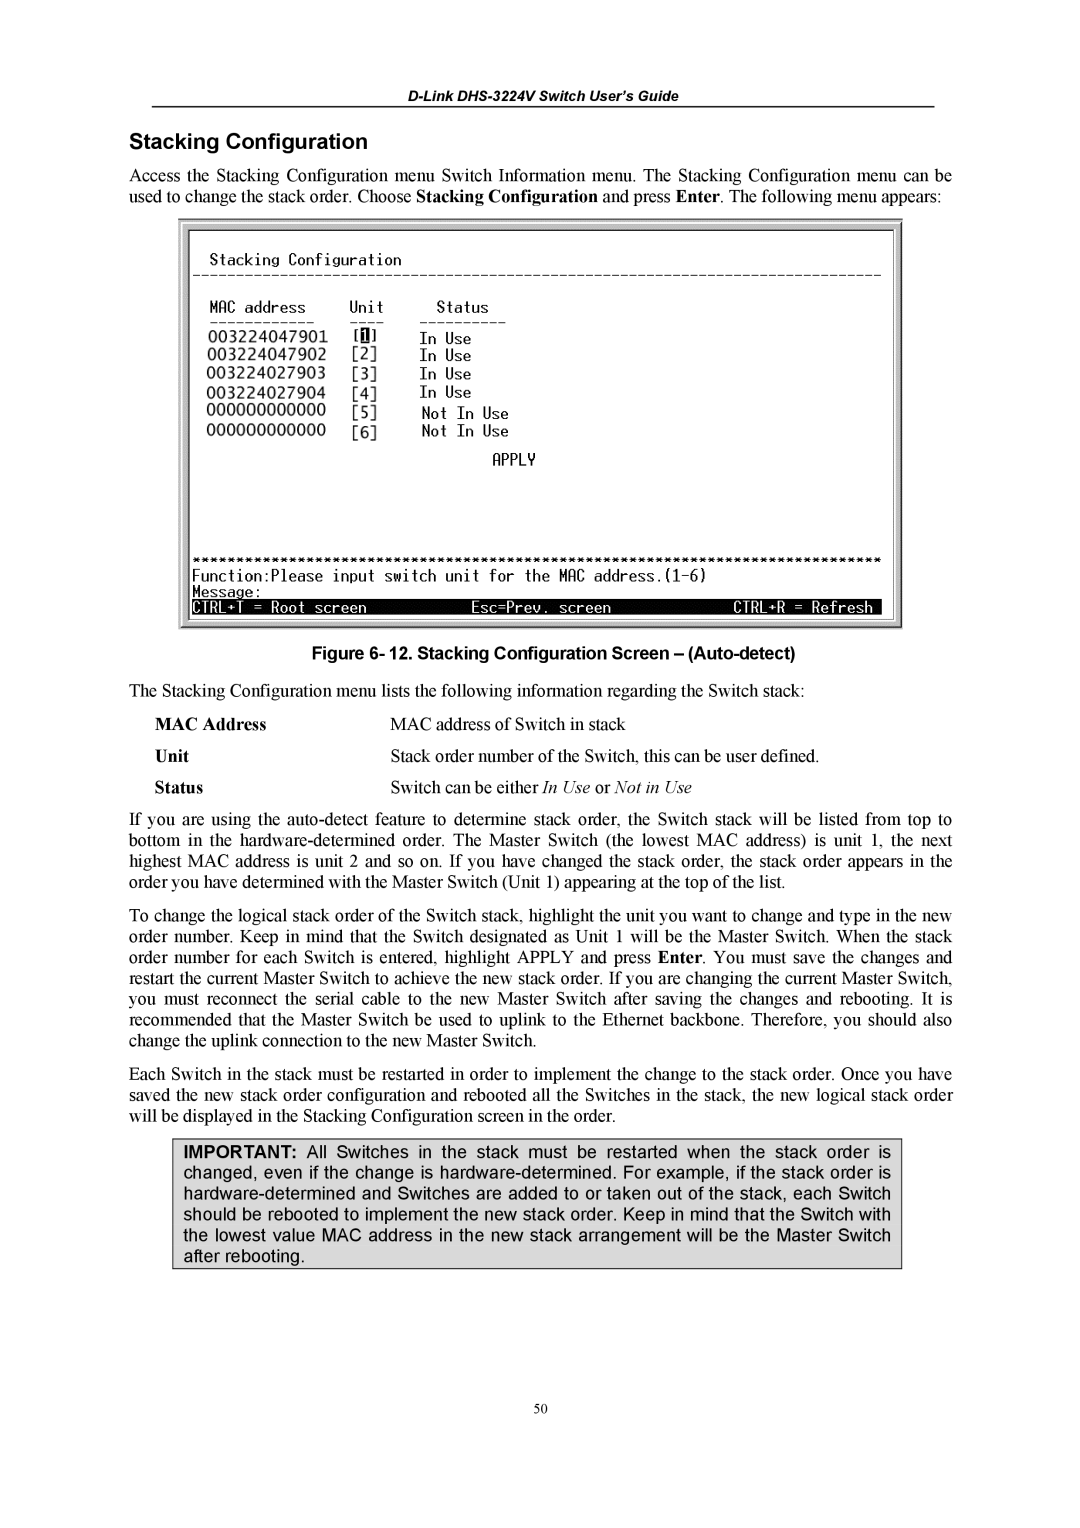
Access the Stacking Configuration menu Switch Information menu. The Stacking Configuration menu can be used to change the stack order. Choose Stacking Configuration and press Enter. The following menu appears:
Figure 6- 12. Stacking Configuration Screen – (Auto-detect)
The Stacking Configuration menu lists the following information regarding the Switch stack:
MAC Address | MAC address of Switch in stack |
Unit | Stack order number of the Switch, this can be user defined. |
Status | Switch can be either In Use or Not in Use |
If you are using the
To change the logical stack order of the Switch stack, highlight the unit you want to change and type in the new order number. Keep in mind that the Switch designated as Unit 1 will be the Master Switch. When the stack order number for each Switch is entered, highlight APPLY and press Enter. You must save the changes and restart the current Master Switch to achieve the new stack order. If you are changing the current Master Switch, you must reconnect the serial cable to the new Master Switch after saving the changes and rebooting. It is recommended that the Master Switch be used to uplink to the Ethernet backbone. Therefore, you should also change the uplink connection to the new Master Switch.
Each Switch in the stack must be restarted in order to implement the change to the stack order. Once you have saved the new stack order configuration and rebooted all the Switches in the stack, the new logical stack order will be displayed in the Stacking Configuration screen in the order.
IMPORTANT: All Switches in the stack must be restarted when the stack order is changed, even if the change is
50