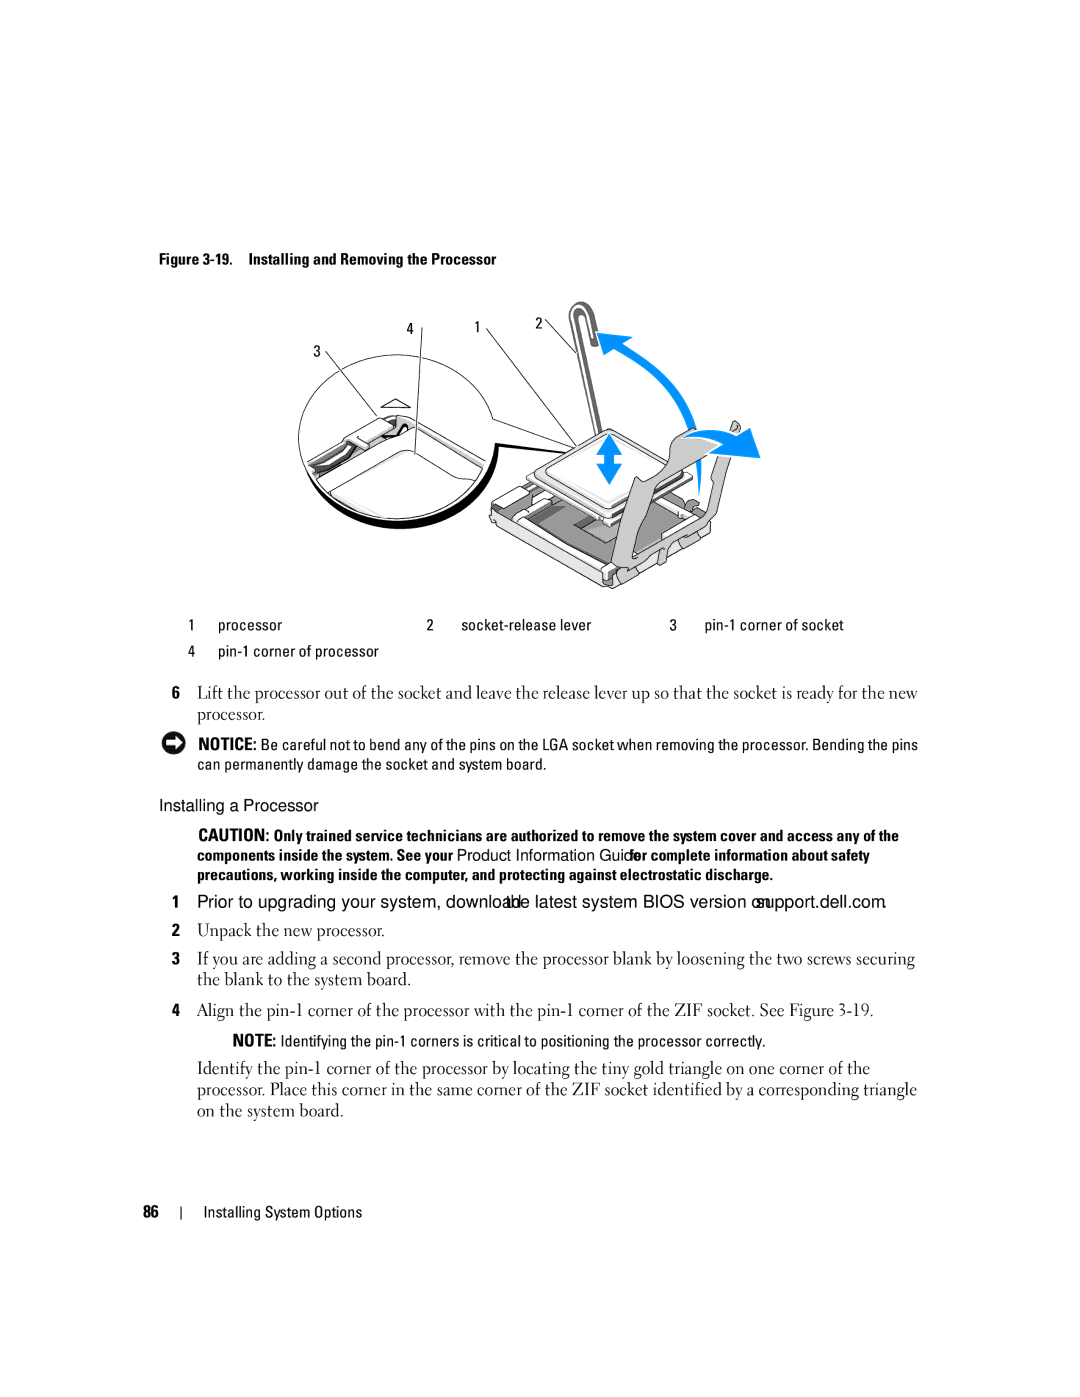
Figure 3-19. Installing and Removing the Processor
4 | 1 | 2 |
|
3
1 | processor | 2 |
| 3 | |
4 |
|
|
|
|
|
6Lift the processor out of the socket and leave the release lever up so that the socket is ready for the new processor.
NOTICE: Be careful not to bend any of the pins on the LGA socket when removing the processor. Bending the pins can permanently damage the socket and system board.
Installing a Processor
CAUTION: Only trained service technicians are authorized to remove the system cover and access any of the components inside the system. See your Product Information Guide for complete information about safety precautions, working inside the computer, and protecting against electrostatic discharge.
1Prior to upgrading your system, download the latest system BIOS version on support.dell.com.
2Unpack the new processor.
3If you are adding a second processor, remove the processor blank by loosening the two screws securing the blank to the system board.
4Align the
NOTE: Identifying the
Identify the
86