RESTRICTED USE ONLY | FARGO Electronics, Inc. |
Diagnostics and Calibration
Running the Standard Self Test Print
Perform a standard
Step Procedure
1
Caution: If power is ON, disconnect the power cable from the Printer’s rear panel. Verify that a
2Press and hold the Pause/Resume button.
3While holding down the Pause/Resume button, plug the power cable back into the Printer.
4a. Once the On LED illuminates, release the button.
•The Flipper Table will
•The card will be ejected with the backside face up.
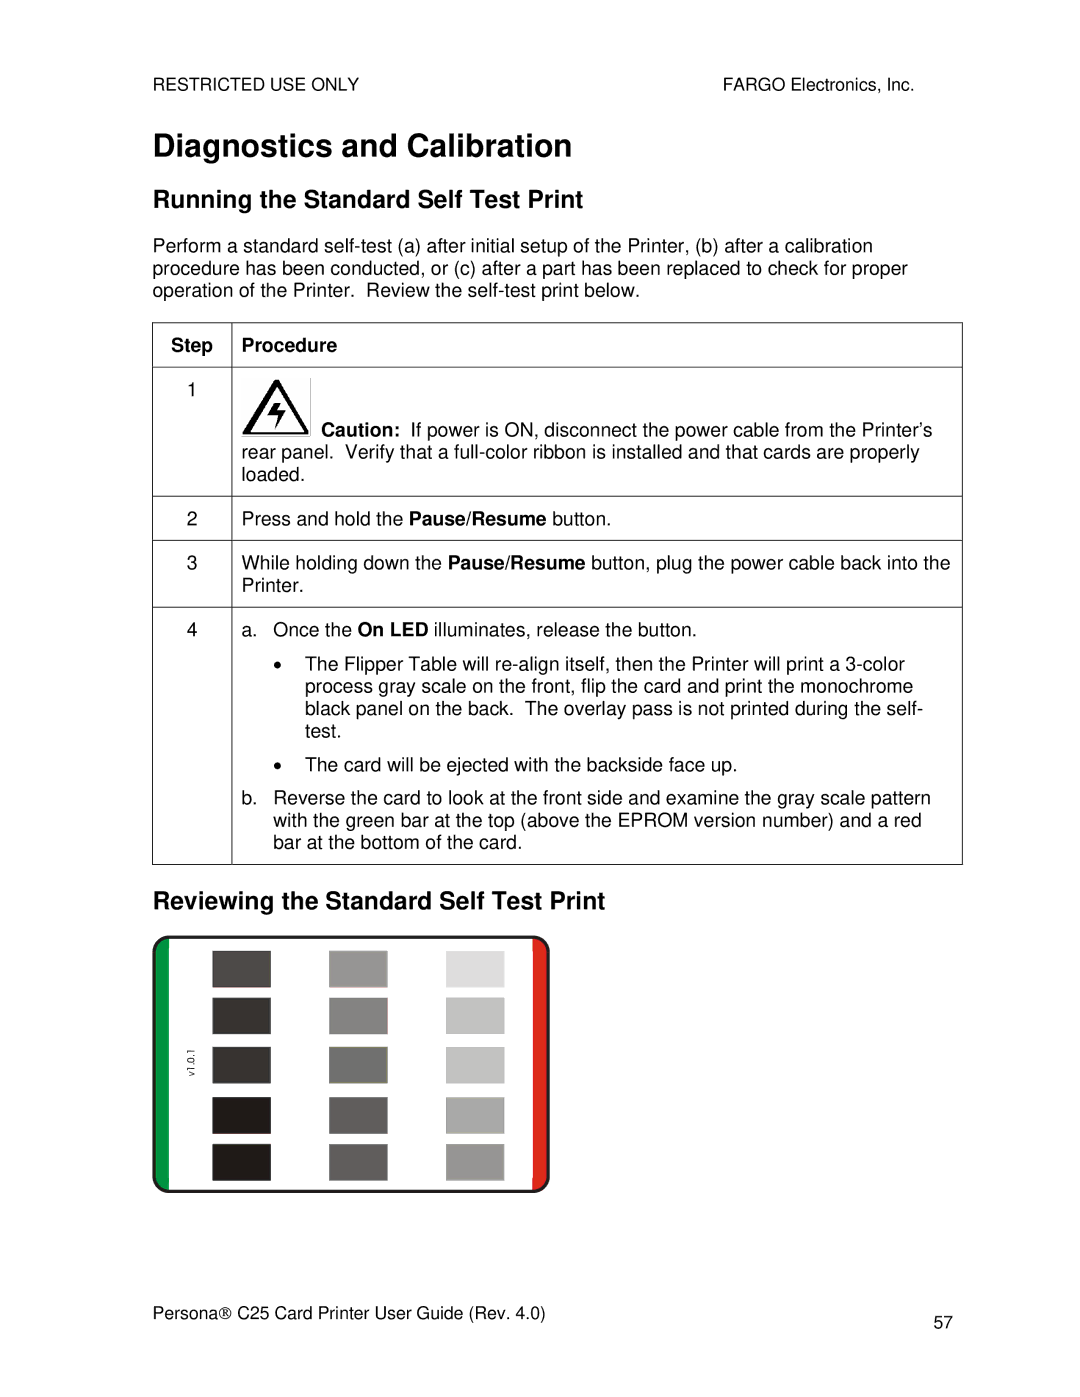
b.Reverse the card to look at the front side and examine the gray scale pattern with the green bar at the top (above the EPROM version number) and a red bar at the bottom of the card.
Reviewing the Standard Self Test Print
v1.0.1
Persona→ C25 Card Printer User Guide (Rev. 4.0) | 57 |
|
