7. Rotate the blue side of the pickup roller until it clicks into place.
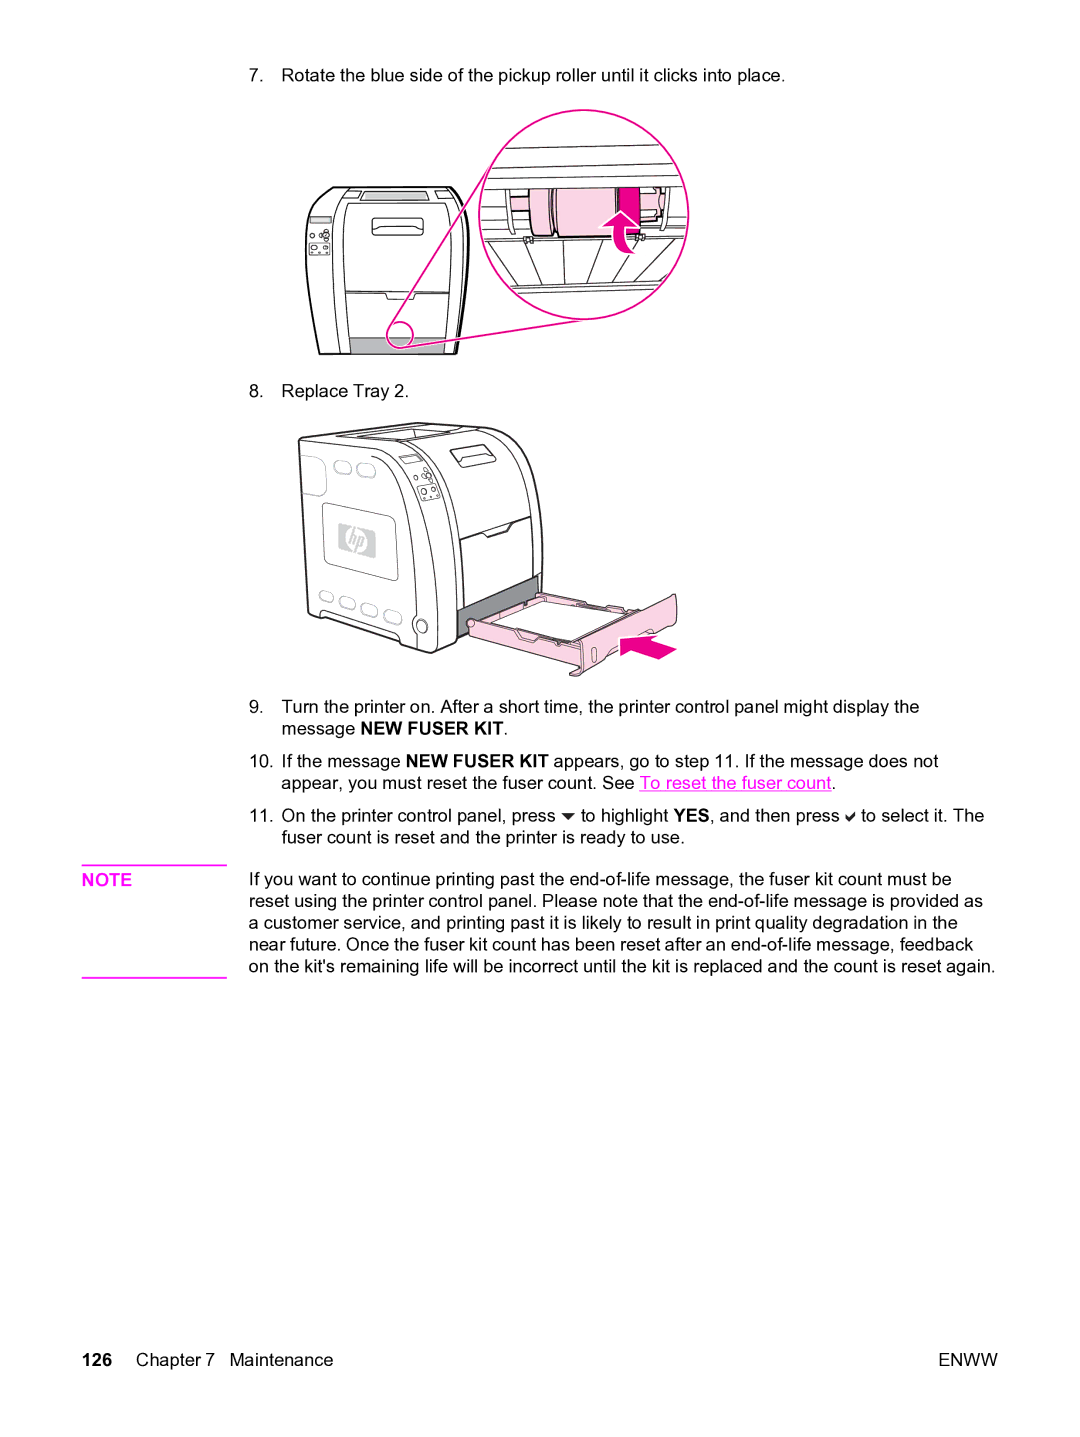
8. Replace Tray 2.
| 9. | Turn the printer on. After a short time, the printer control panel might display the |
|
| message NEW FUSER KIT. |
| 10. | If the message NEW FUSER KIT appears, go to step 11. If the message does not |
|
| appear, you must reset the fuser count. See To reset the fuser count. |
| 11. | On the printer control panel, press to highlight YES, and then press to select it. The |
|
| fuser count is reset and the printer is ready to use. |
| If you want to continue printing past the | |
NOTE | ||
| reset using the printer control panel. Please note that the | |
| a customer service, and printing past it is likely to result in print quality degradation in the | |
| near future. Once the fuser kit count has been reset after an | |
| on the kit's remaining life will be incorrect until the kit is replaced and the count is reset again. | |
126 Chapter 7 Maintenance | ENWW |