NOTE | If the old transfer unit was not at |
| damaged), or if you want to continue printing past the |
| count must be reset using the printer control panel. Please note that the |
| is provided as a customer service, and printing past it is likely to result in print quality |
| degradation in the near future. Once the transfer kit count has been reset after an |
| message, feedback on the kit's remaining life will be incorrect until the kit is replaced and the |
| count is reset again. |
To reset the transfer unit count
1.Press MENU to enter the MENUS.
2.Press ![]() to highlight Configure Device.
to highlight Configure Device.
3.Press ![]() to select Configure Device.
to select Configure Device.
4.Press ![]() to highlight RESETS.
to highlight RESETS.
5.Press ![]() to select RESETS.
to select RESETS.
6.Press ![]() to highlight RESET SUPPLIES.
to highlight RESET SUPPLIES.
7.Press ![]() to select RESET SUPPLIES.
to select RESET SUPPLIES.
8.Press ![]() to highlight NEW TRANSFER KIT.
to highlight NEW TRANSFER KIT.
9.Press ![]() to select NEW TRANSFER KIT.
to select NEW TRANSFER KIT.
10.Press ![]() to highlight YES.
to highlight YES.
11.Press ![]() to select YES.
to select YES.
The transfer unit count is reset and the printer is ready to use.
Replacing the fuser and pickup roller
Replace the fuser and pickup roller when the printer control panel displays the message REPLACE FUSER KIT. The image fuser kit contains a replacement fuser and a Tray 2 pickup roller for this printer. After replacing the fuser, you must also replace the pickup roller. Instructions for replacing the pickup roller follow the instructions for replacing the fuser.
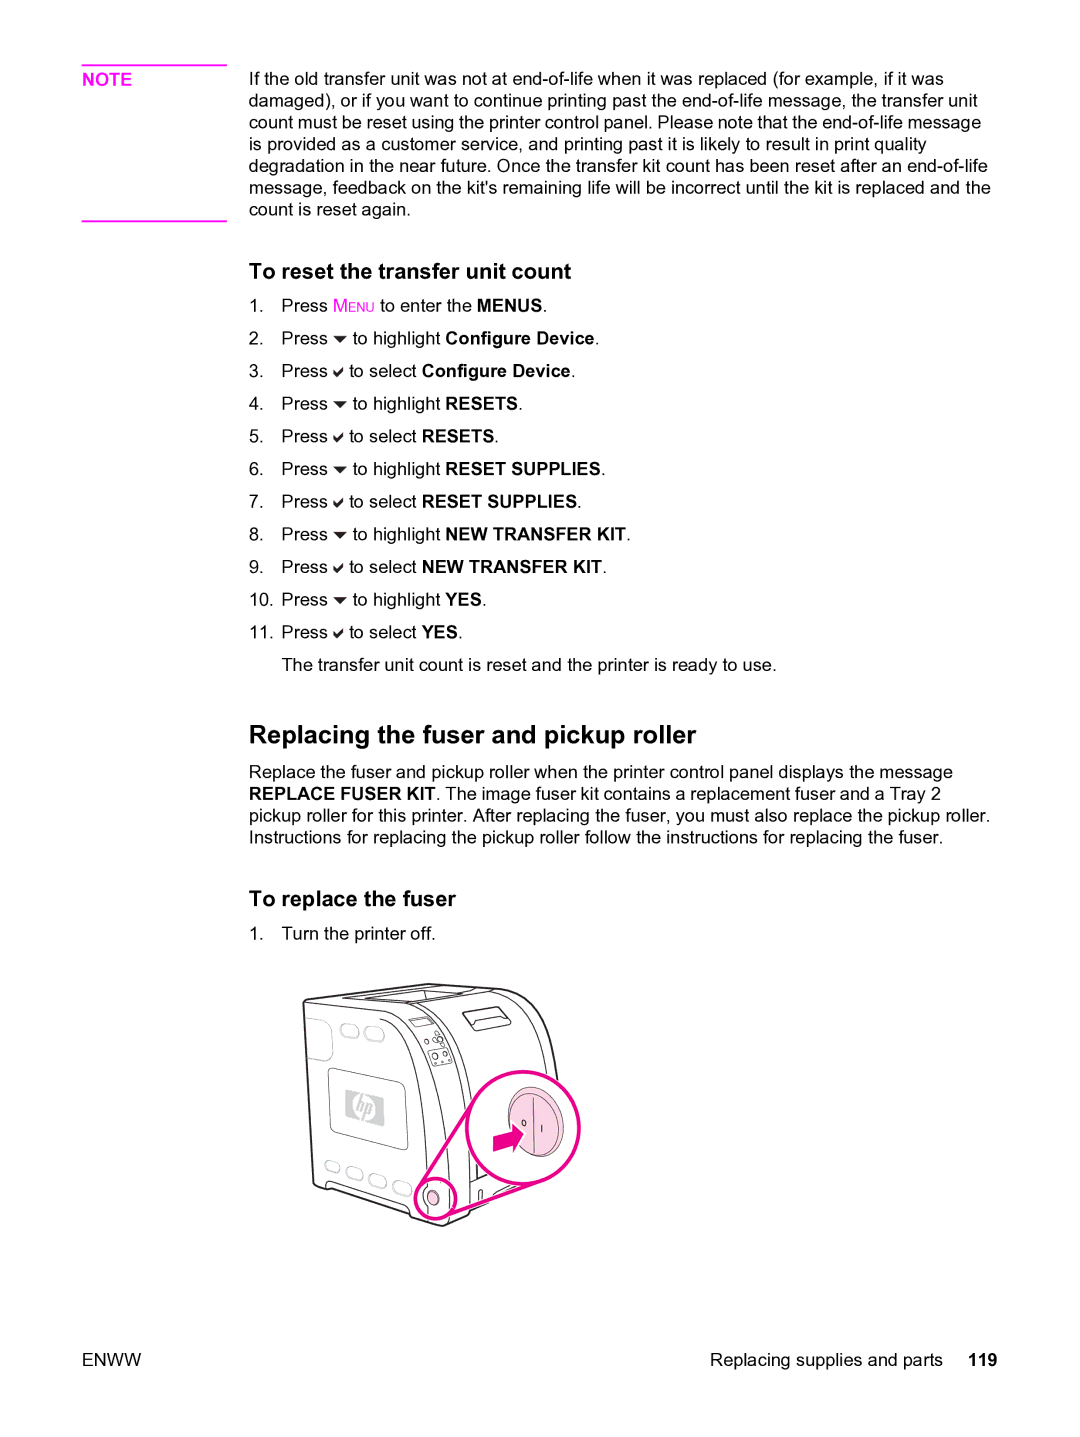
To replace the fuser
1. Turn the printer off.
ENWW | Replacing supplies and parts 119 |