HP b1000 manual 116

Models: b1000

1 246
Download 246 pages 1.52 Kb
Page 116
Image 116

Changing Your Computer Hardware Configuration

Removable Media Devices

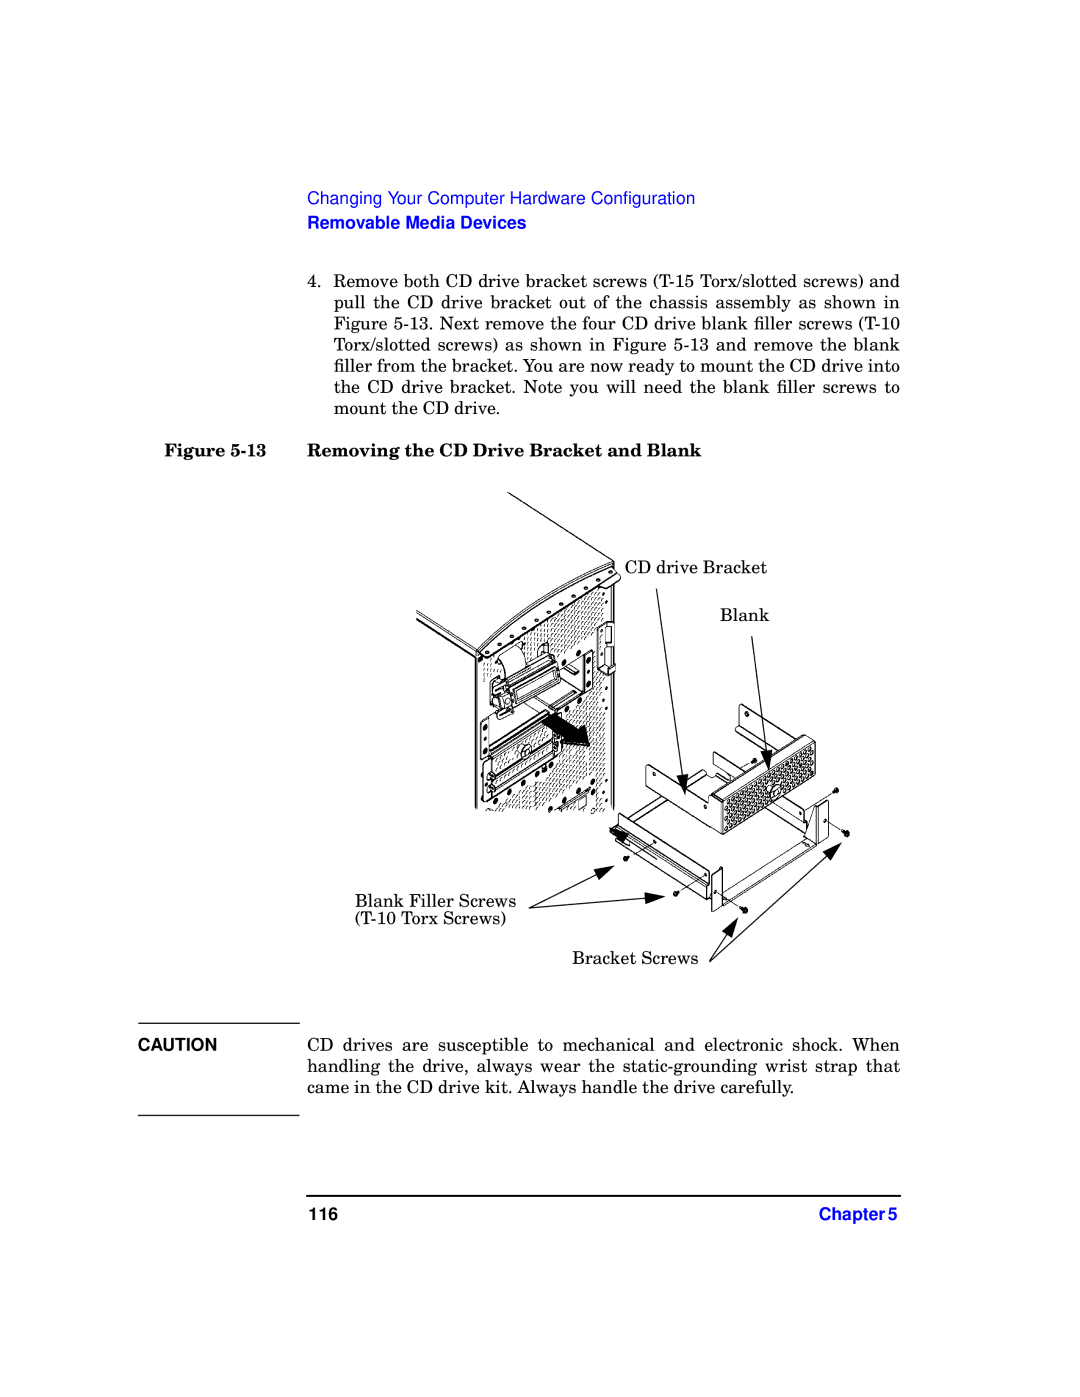
4.Remove both CD drive bracket screws (T-15 Torx/slotted screws) and pull the CD drive bracket out of the chassis assembly as shown in Figure 5-13. Next remove the four CD drive blank filler screws (T-10 Torx/slotted screws) as shown in Figure 5-13 and remove the blank filler from the bracket. You are now ready to mount the CD drive into the CD drive bracket. Note you will need the blank filler screws to mount the CD drive.

Figure 5-13 Removing the CD Drive Bracket and Blank

CD drive Bracket

Blank

Blank Filler Screws

(T-10 Torx Screws)

Bracket Screws

CAUTIONCD drives are susceptible to mechanical and electronic shock. When handling the drive, always wear the static-grounding wrist strap that came in the CD drive kit. Always handle the drive carefully.

116

Chapter 5

Page 116
Image 116
HP b1000 manual 116