Getting Started
Printer Port Settings
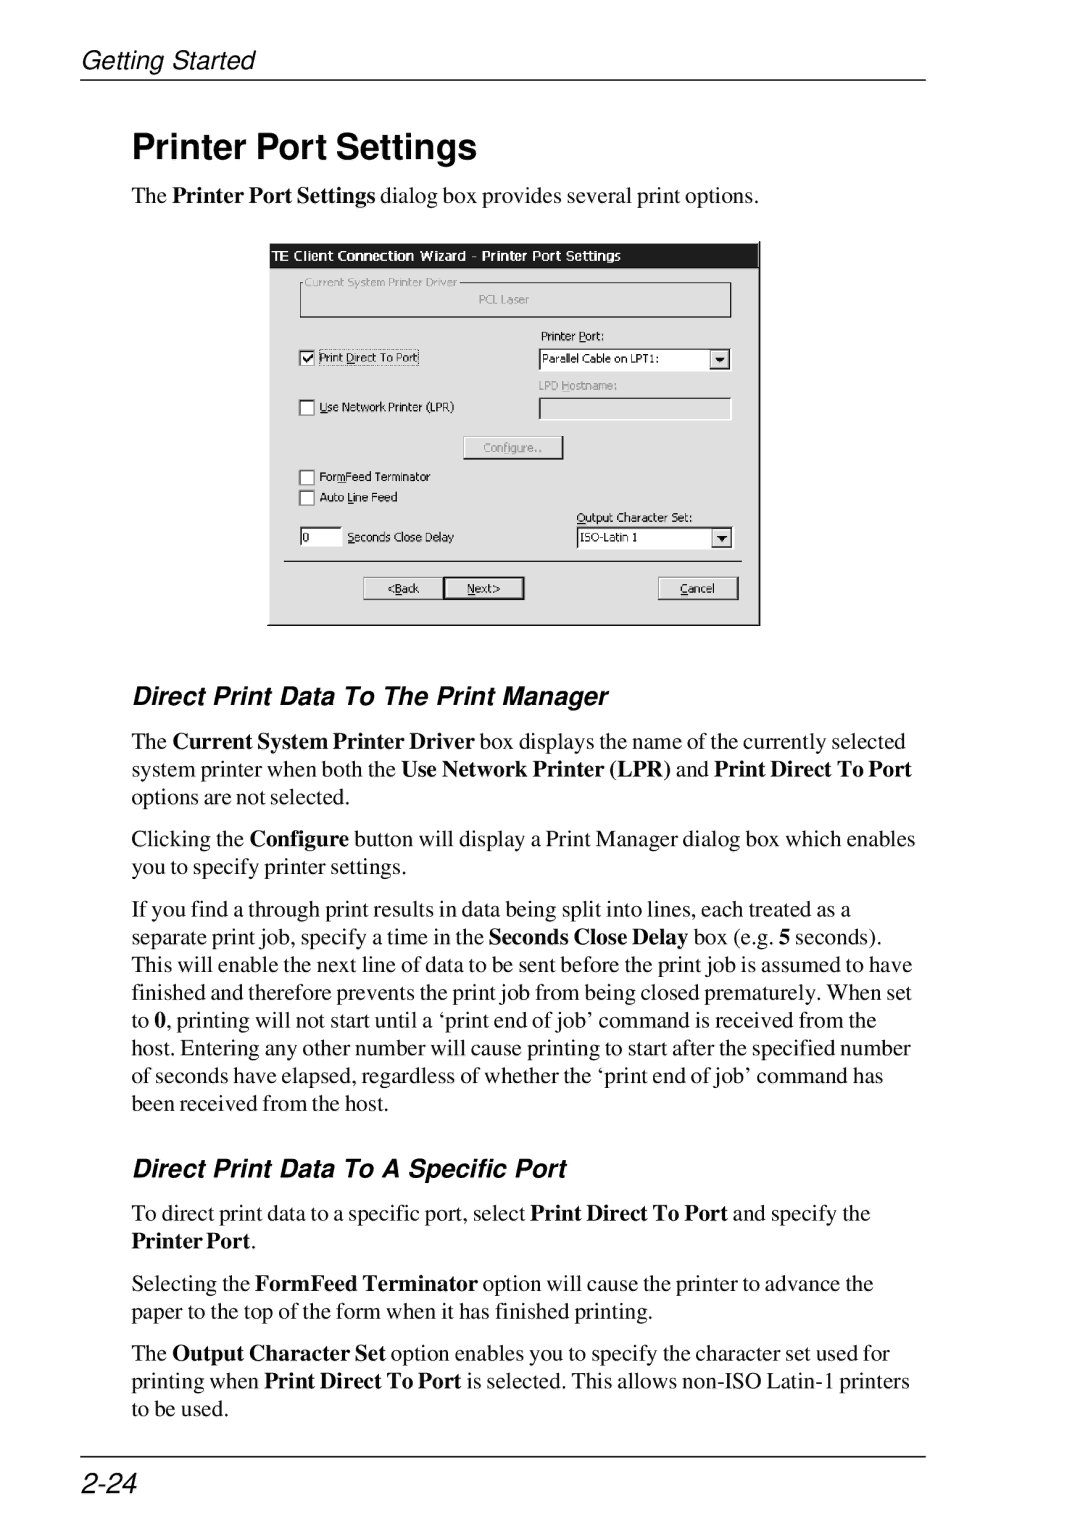
The Printer Port Settings dialog box provides several print options.
Direct Print Data To The Print Manager
The Current System Printer Driver box displays the name of the currently selected system printer when both the Use Network Printer (LPR) and Print Direct To Port options are not selected.
Clicking the Configure button will display a Print Manager dialog box which enables you to specify printer settings.
If you find a through print results in data being split into lines, each treated as a separate print job, specify a time in the Seconds Close Delay box (e.g. 5 seconds). This will enable the next line of data to be sent before the print job is assumed to have finished and therefore prevents the print job from being closed prematurely. When set to 0, printing will not start until a ‘print end of job’ command is received from the host. Entering any other number will cause printing to start after the specified number of seconds have elapsed, regardless of whether the ‘print end of job’ command has been received from the host.
Direct Print Data To A Specific Port
To direct print data to a specific port, select Print Direct To Port and specify the Printer Port.
Selecting the FormFeed Terminator option will cause the printer to advance the paper to the top of the form when it has finished printing.
The Output Character Set option enables you to specify the character set used for printing when Print Direct To Port is selected. This allows