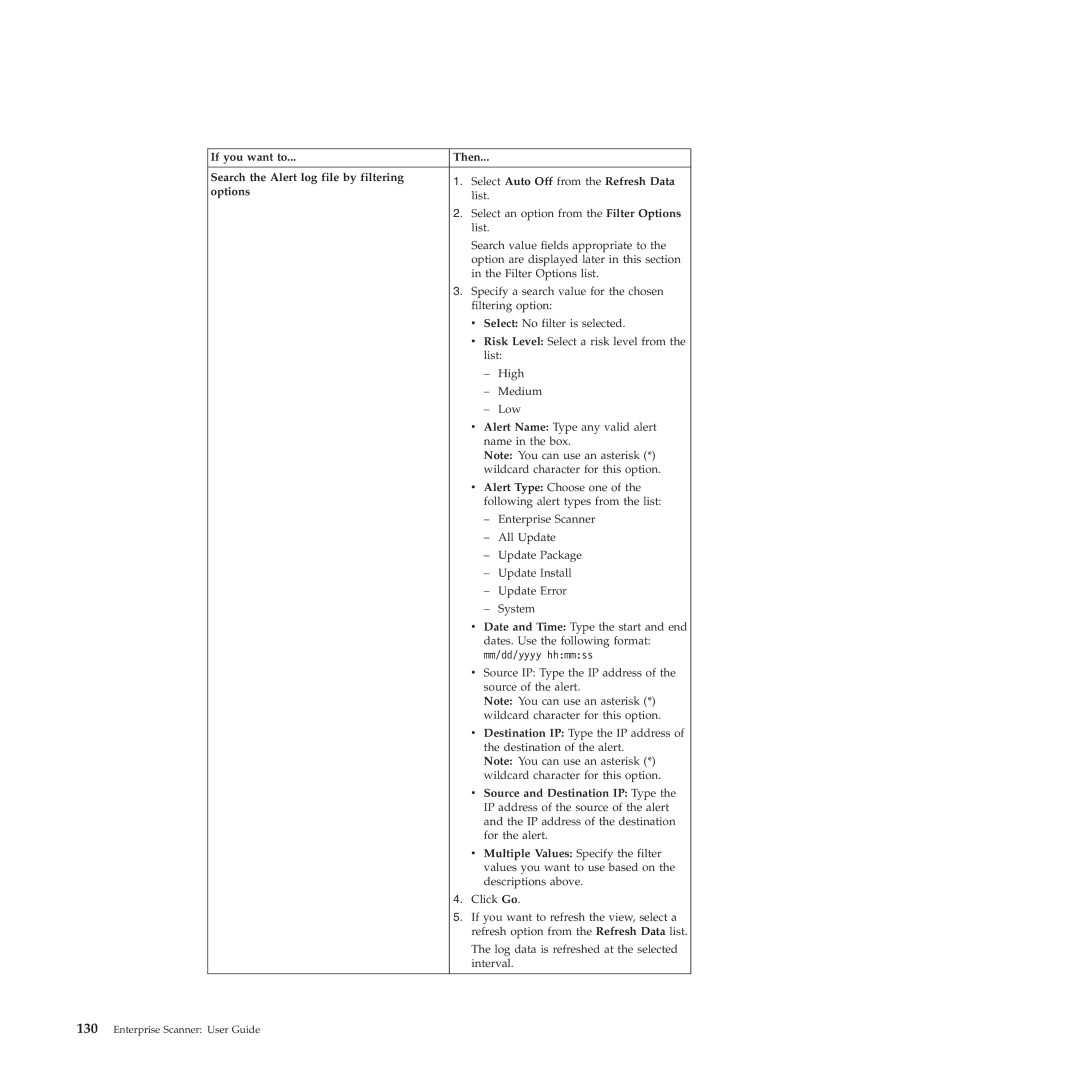
If you want to... | Then... |
| |
Search the Alert log file by filtering | 1. Select Auto Off from the Refresh Data | ||
options | |||
list. |
| ||
|
| ||
| 2. Select an option from the Filter Options | ||
| list. |
| |
| Search value fields appropriate to the | ||
| option are displayed later in this section | ||
| in the Filter Options list. | ||
| 3. Specify a search value for the chosen | ||
| filtering option: | ||
| v Select: No filter is selected. | ||
| v Risk Level: Select a risk level from the | ||
| list: | ||
| – | High | |
| – | Medium | |
| – | Low | |
v Alert Name: Type any valid alert name in the box.
Note: You can use an asterisk (*) wildcard character for this option.
v Alert Type: Choose one of the following alert types from the list:
– Enterprise Scanner
– All Update
– Update Package
– Update Install
– Update Error
– System
v Date and Time: Type the start and end dates. Use the following format: mm/dd/yyyy hh:mm:ss
v Source IP: Type the IP address of the source of the alert.
Note: You can use an asterisk (*) wildcard character for this option.
v Destination IP: Type the IP address of the destination of the alert.
Note: You can use an asterisk (*) wildcard character for this option.
v Source and Destination IP: Type the IP address of the source of the alert and the IP address of the destination for the alert.
v Multiple Values: Specify the filter values you want to use based on the descriptions above.
4. Click Go.
5. If you want to refresh the view, select a refresh option from the Refresh Data list.
The log data is refreshed at the selected interval.
