Configuring explicit-trust authentication with an XPU server
You can configure the authentication between an Enterprise Scanner agent and a SiteProtector
Before you begin
To use
vCopy the certificate file from the XPU Server to the agent as described in the procedure later in this section.
vSpecify the fully qualified path of the certificate file in the CA Certificate box when you configure the XPU Server.
About this task
The default trust level in the Proventia Manager is
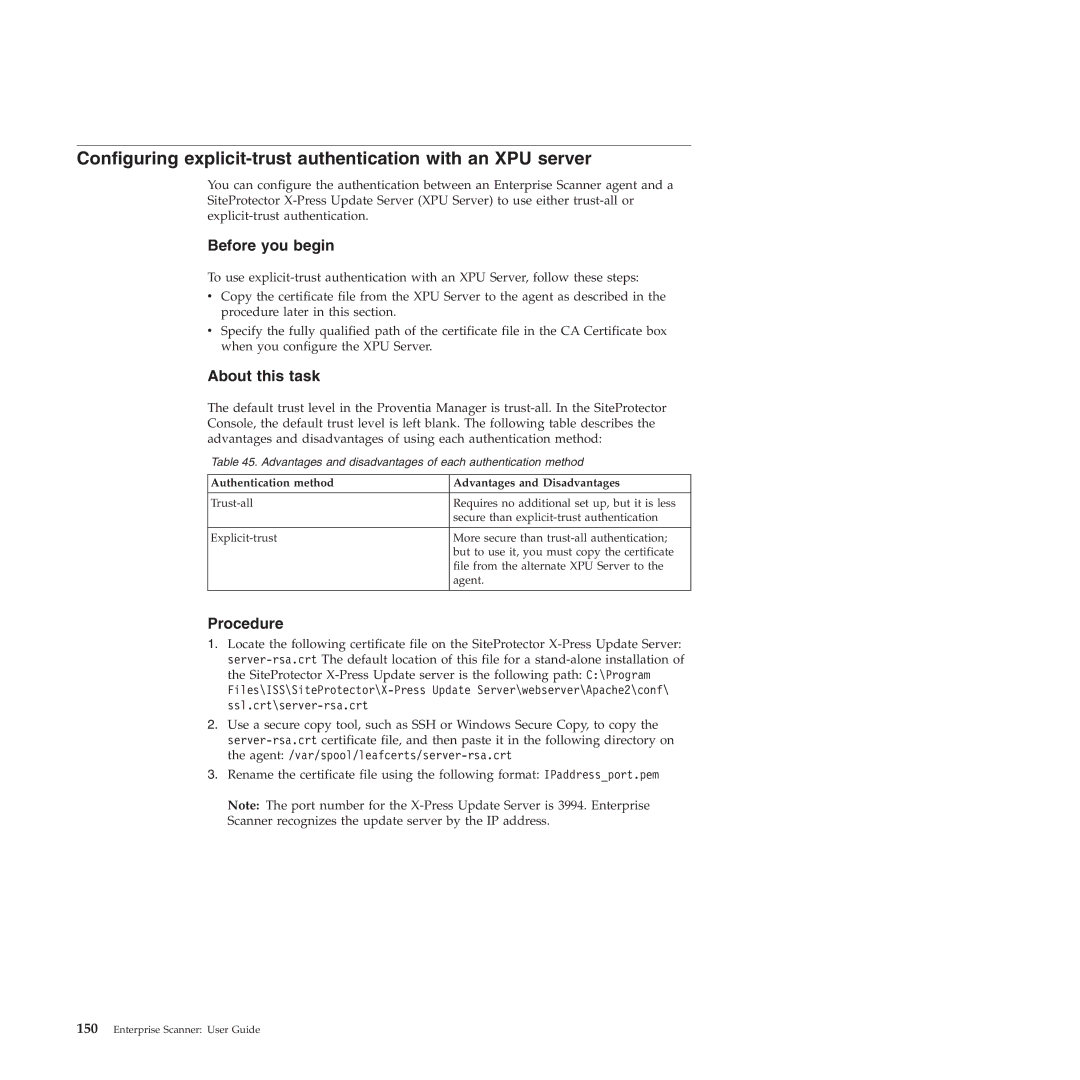
Table 45. Advantages and disadvantages of each authentication method
Authentication method | Advantages and Disadvantages |
|
|
Requires no additional set up, but it is less | |
| secure than |
|
|
More secure than | |
| but to use it, you must copy the certificate |
| file from the alternate XPU Server to the |
| agent. |
|
|
Procedure
1.Locate the following certificate file on the SiteProtector
2.Use a secure copy tool, such as SSH or Windows Secure Copy, to copy the
3.Rename the certificate file using the following format: IPaddress_port.pem
Note: The port number for the