Installation
Caution When you use the Factory Reset, you lose any settings you have saved.
To reset the unit, you need a straightened paperclip:
1.Turn off the DVR.
2.Turn it on again.
3.While the DVR is initializing, the front panel LEDs blink. When the front panel LEDs blink, poke the straightened paperclip to the unlabeled hole in the left of the Alarm Output connectors.
4.Hold the switch until all the LEDs on the front panel are lit.
Note When the DVR successfully resets to factory defaults all the LEDs on the front panel flash five times.
5.Release the reset switch. All of the DVR's settings are now at the original settings it had when it left the factory.
Connecting the Power Cord
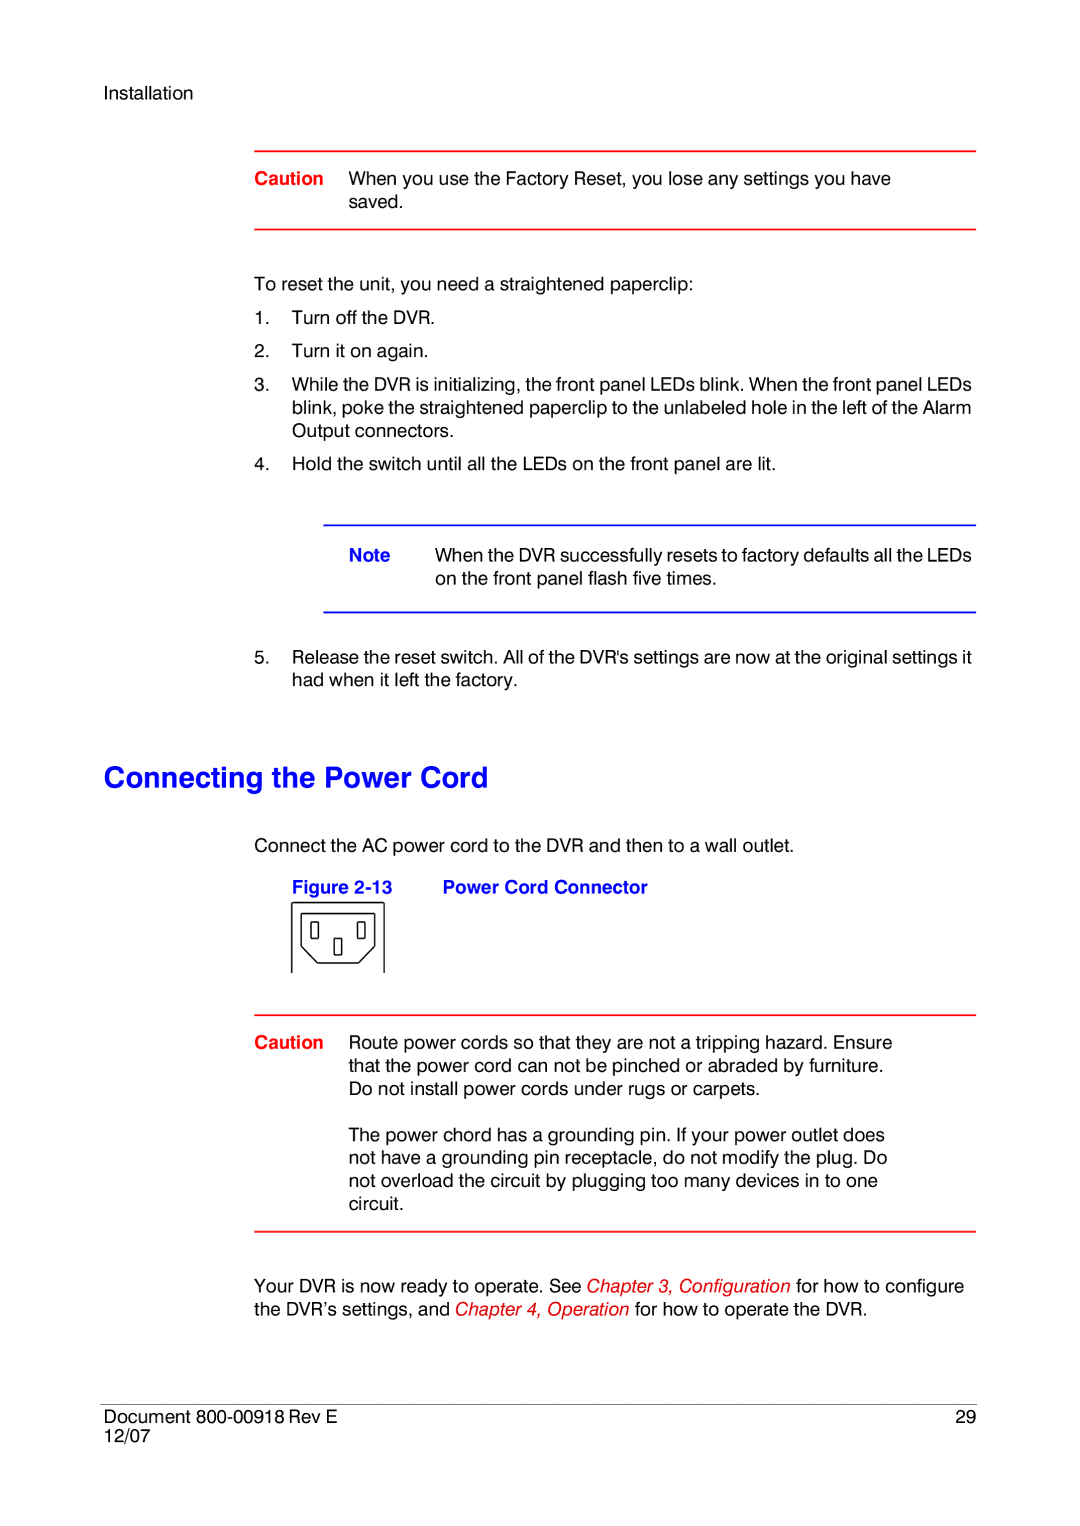
Connect the AC power cord to the DVR and then to a wall outlet.
Figure 2-13 Power Cord Connector
Caution Route power cords so that they are not a tripping hazard. Ensure that the power cord can not be pinched or abraded by furniture. Do not install power cords under rugs or carpets.
The power chord has a grounding pin. If your power outlet does not have a grounding pin receptacle, do not modify the plug. Do not overload the circuit by plugging too many devices in to one circuit.
Your DVR is now ready to operate. See Chapter 3, Configuration for how to configure the DVR’s settings, and Chapter 4, Operation for how to operate the DVR.
Document | 29 |
12/07 |
|