Configuration
Option | Action |
|
|
|
|
Range | Highlight the field under the Range heading and press | to change the time |
| range that the scheduled recording takes place. The schedule is based on a | |
| ||
|
|
|
Mode | Highlight the field under the Mode heading and press | to change the recording |
mode that is used. Choose from: No Record, Time, Event, and Time & Event.
When the DVR is in the No Record mode, it does not record during the preset day and time range as long as the PANIC button is not pressed. Use the No Record mode when you do NOT want the DVR to record during certain times.
When the DVR is in the Time mode, the ![]() icon displays at the
icon displays at the ![]() icon at the
icon at the
When the DVR is in the Event mode, the red ![]() icon displays at the
icon displays at the ![]() icon at the
icon at the
When the DVR is in the ![]() icon displays when there is no event and the DVR is not recording.
icon displays when there is no event and the DVR is not recording.
When the DVR is in the ![]() and
and ![]() display when any event occurs and the DVR starts recording.
display when any event occurs and the DVR starts recording.
When the DVR is in the Time & Event mode, the DVR follows the Time settings and the ![]() icon displays. The DVR follows the Event settings and the
icon displays. The DVR follows the Event settings and the ![]() icon displays.
icon displays.
Channels | Highlight the field under the Channels heading, and press | to select which | |||
| cameras record during that scheduled time. |
|
| ||
|
|
| |||
Settings | Highlight the field under the Settings heading, and press | to define the | |||
| recording settings. You can set the ips and Quality of the recording for any modes | ||||
| you set up in the Mode column. If you do not set the ips and Quality in the Settings | ||||
| column, the DVR follows the default settings. See Setting Recording Defaults on | ||||
| page 74 for details. |
|
|
|
|
|
|
|
| ||
| Highlight the field under the | heading and press | to delete the recording | ||
| settings. You are asked to confirm that you want to delete the settings. | ||||
|
|
| |||
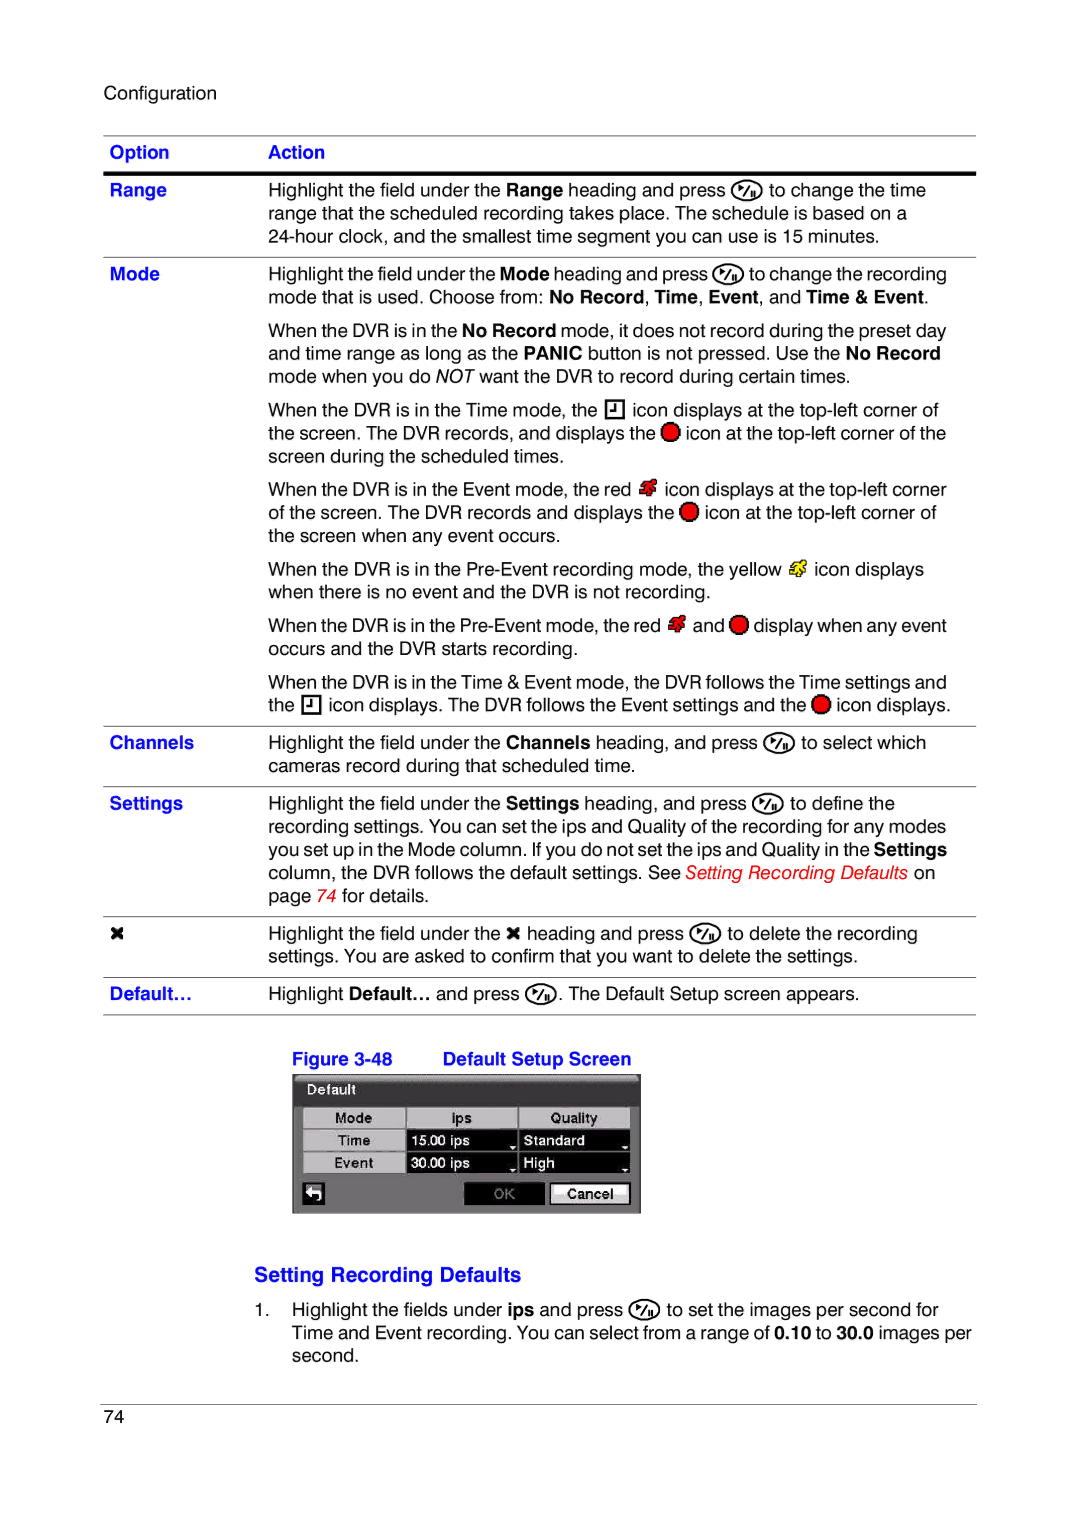
Default… | Highlight Default… and press | . The Default Setup screen appears. | |||
|
|
|
|
| |
| Figure | Default Setup Screen |
|
| |
Setting Recording Defaults
1.Highlight the fields under ips and press ![]() to set the images per second for Time and Event recording. You can select from a range of 0.10 to 30.0 images per second.
to set the images per second for Time and Event recording. You can select from a range of 0.10 to 30.0 images per second.
74