Using the Utility Mode (Fax) Chapter 6
6 |
|
|
|
|
|
| 6.1 Setting Up the Fax Registration | |||
|
|
|
|
|
|
|
|
|
| |
| 5 Using the [ | Ö | ] and [Ö] keys, select |
|
| |||||
|
| |||||||||
|
|
|
|
|
|
|
|
|
| |
| either “EDIT” or “DELETE”, and |
|
|
| ||||||
|
| |||||||||
| then press the [Yes] key. |
|
|
| ||||||
|
| |||||||||
❍If “EDIT” was selected, the specified recipient is displayed. (Continue with step 6.)
❍If “DELETE” was selected, the program dialing settings are deleted and the “SELECT REGIST.KEY” screen appears again.
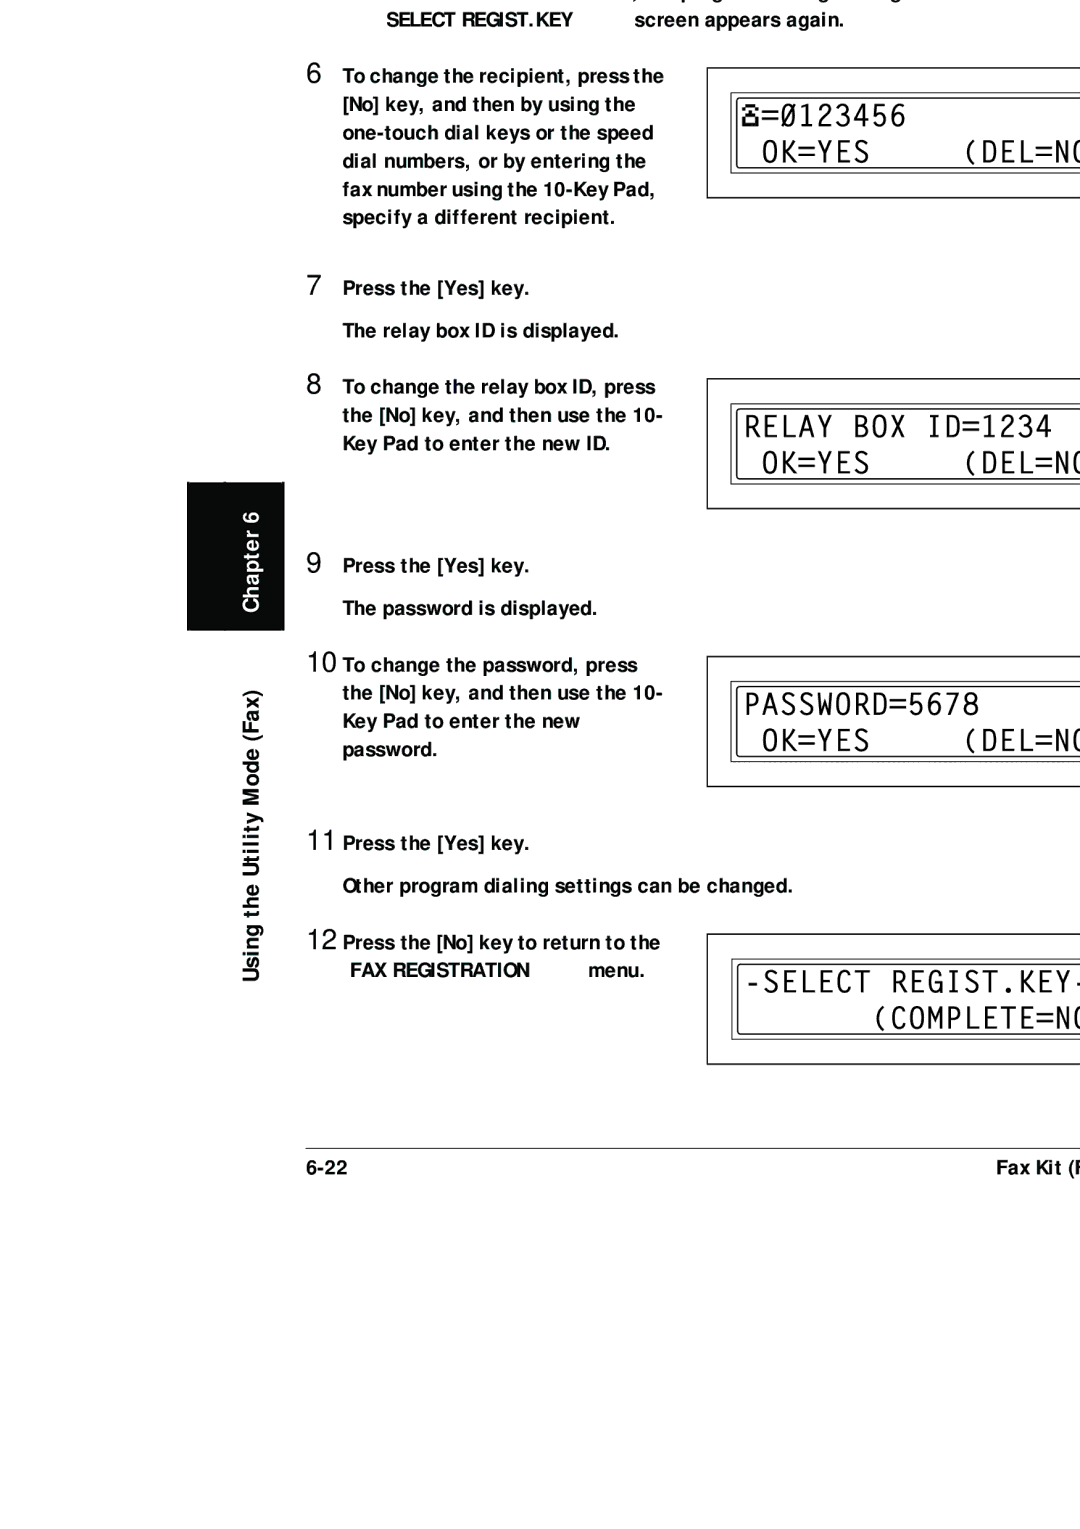
6 To change the recipient, press the [No] key, and then by using the
7 Press the [Yes] key.
The relay box ID is displayed.
8 To change the relay box ID, press the [No] key, and then use the 10- Key Pad to enter the new ID.
9 Press the [Yes] key.
The password is displayed.
10 To change the password, press the [No] key, and then use the 10- Key Pad to enter the new password.
11 Press the [Yes] key.
Other program dialing settings can be changed.
12 Press the [No] key to return to the “FAX REGISTRATION” menu.
Fax Kit |