Using the Utility Mode (Fax) Chapter 6
6 | 6.3 Setting Up the Reception |
|
Specifying the Setting for “FORWARD”
1Select the “RX OPERATION”.
❍ Refer to “Selecting the “RX OPERATION” menu” on page 6-35.
2Press the [6] key from the
Pad to select “FORWARD”.
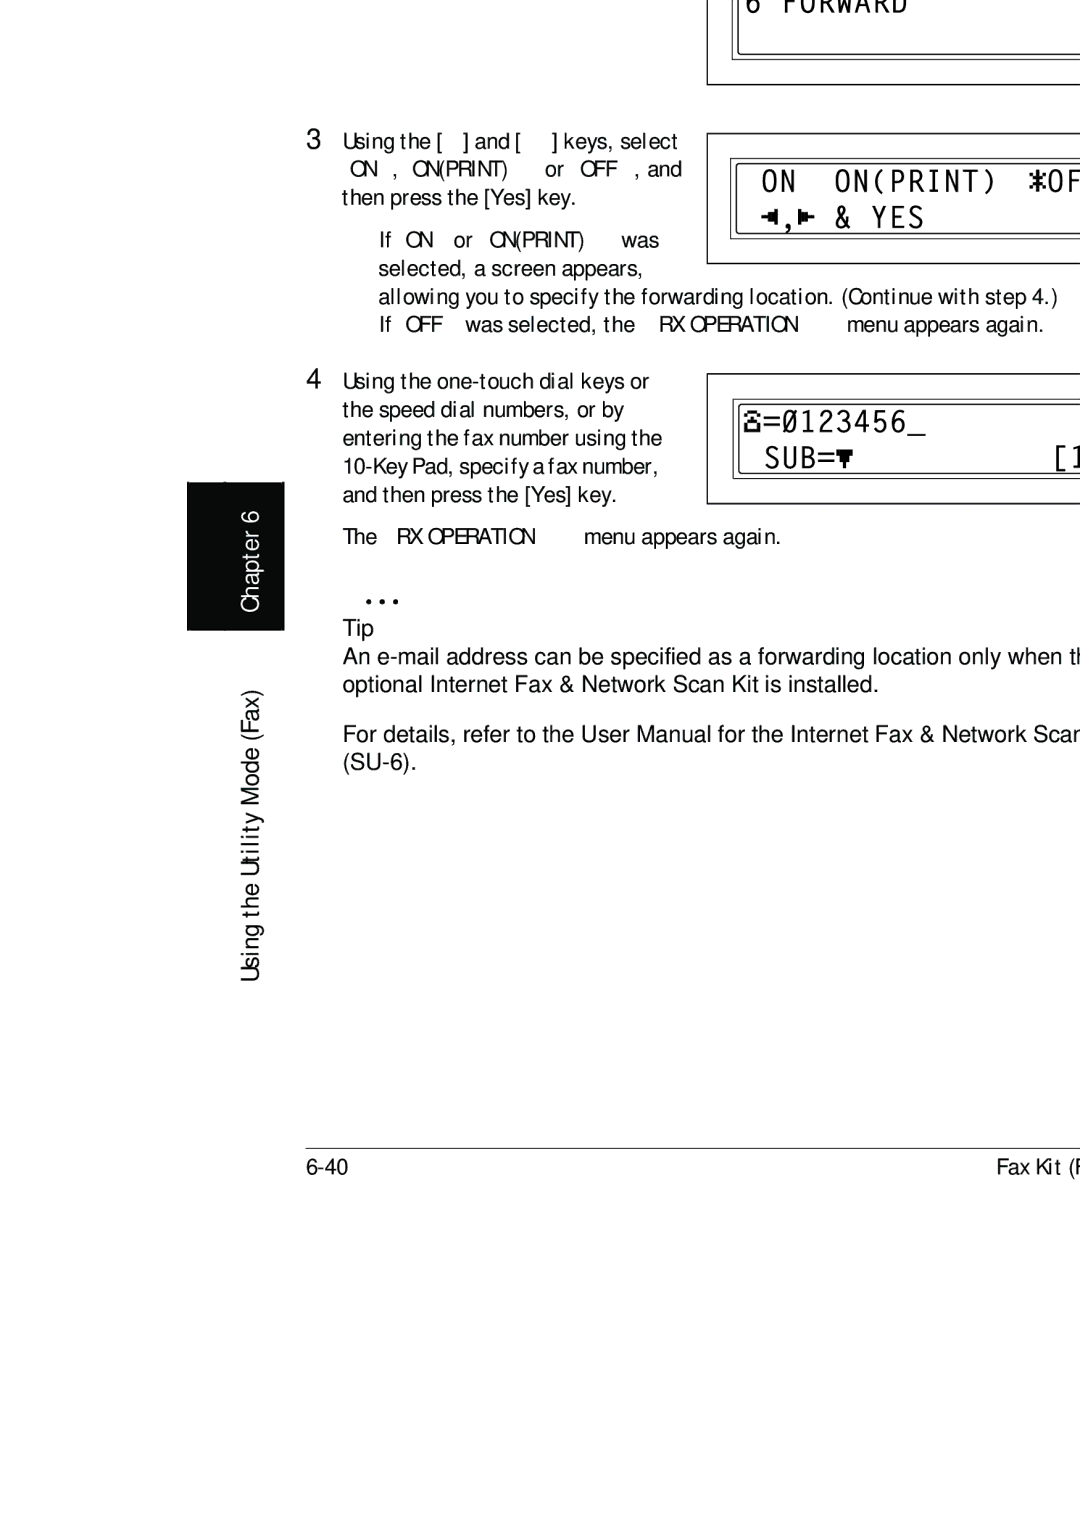
3 Using the [ | Ö | ] and [Ö] keys, select |
“ON”, “ON(PRINT)” or “OFF”, and then press the [Yes] key.
❍If “ON” or “ON(PRINT)” was selected, a screen appears,
allowing you to specify the forwarding location. (Continue with step 4.)
❍If “OFF” was selected, the “RX OPERATION” menu appears again.
4 Using the
The “RX OPERATION” menu appears again.
Tip
An
For details, refer to the User Manual for the Internet Fax & Network Scan Kit
Fax Kit |