|
| 4: Configuration Using Web Manager |
|
|
|
|
|
| Peer IP Address | Enter the IP address assigned to the peer (when requested |
|
|
| during negotiation). |
|
| Network Mask | Enter the network mask. |
|
|
|
|
|
| Auth. Mode | Choose the authentication mode. Select None when no |
|
|
| authentication is required. Select PAP for Password |
|
|
| Authentication Protocol. Select CHAP for the Challenge |
|
|
| Handshake Authentication Protocol. |
|
|
|
|
|
3. Click Submit. Changes are applied immediately to the XPort AR
DNS Configuration
To configure the XPort AR’s DNS configuration:
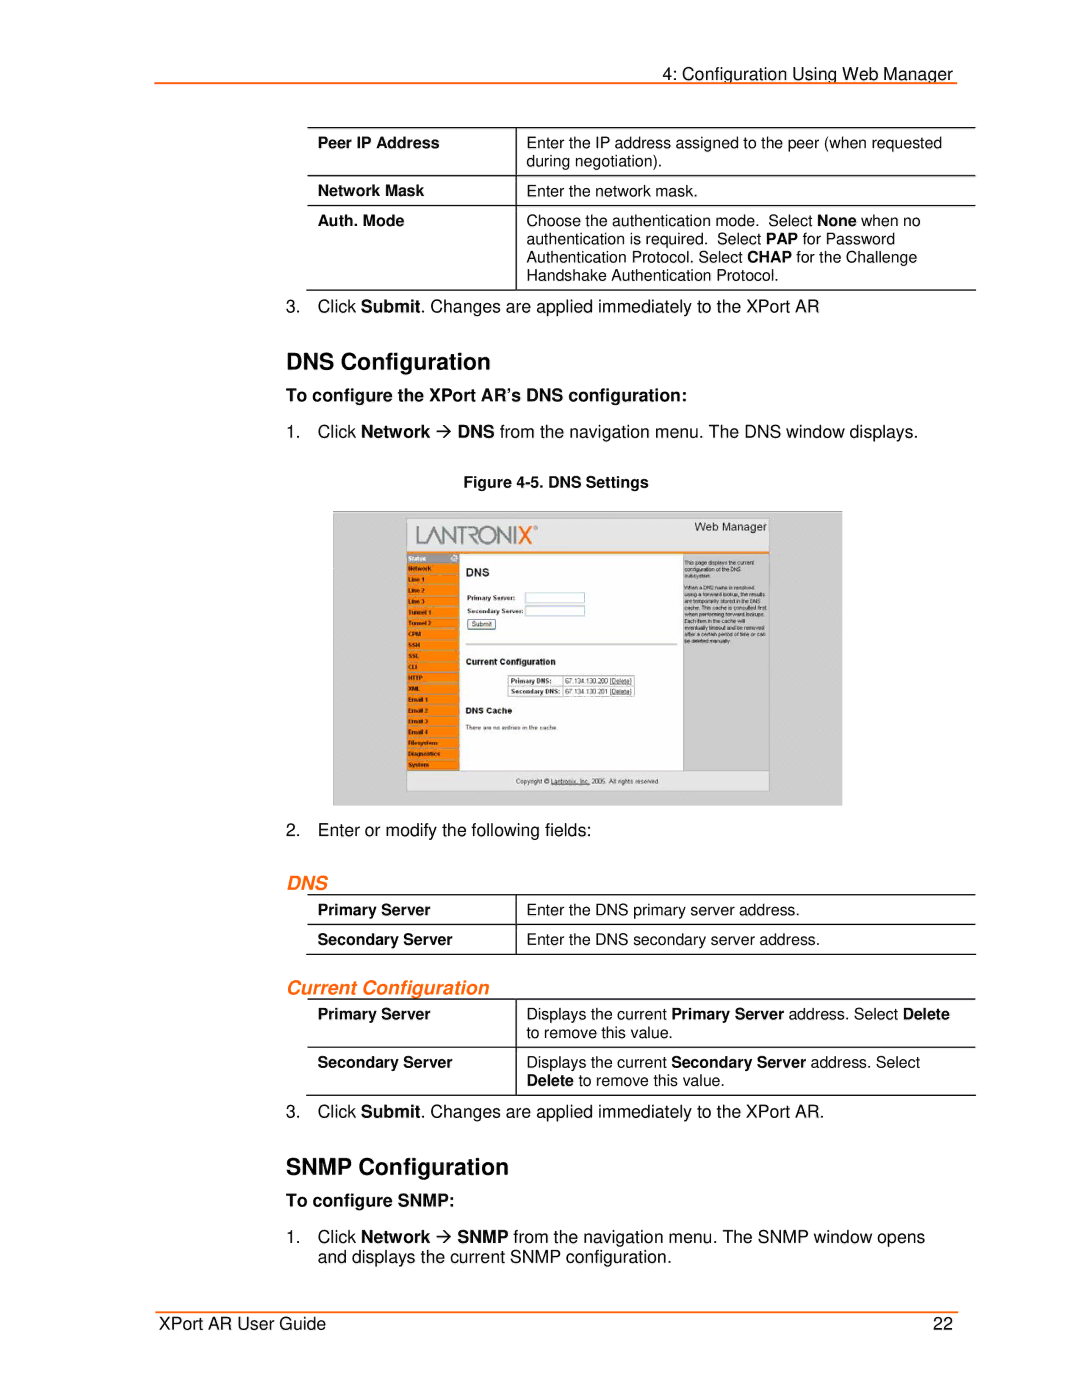
1.Click Network Æ DNS from the navigation menu. The DNS window displays.
Figure 4-5. DNS Settings
2. Enter or modify the following fields:
DNS
Primary Server | Enter the DNS primary server address. |
|
|
Secondary Server | Enter the DNS secondary server address. |
|
|
Current Configuration
Primary Server | Displays the current Primary Server address. Select Delete |
| to remove this value. |
|
|
Secondary Server | Displays the current Secondary Server address. Select |
| Delete to remove this value. |
3. Click Submit. Changes are applied immediately to the XPort AR.
SNMP Configuration
To configure SNMP:
1.Click Network Æ SNMP from the navigation menu. The SNMP window opens and displays the current SNMP configuration.
XPort AR User Guide | 22 |