4: Configuration Using Web Manager
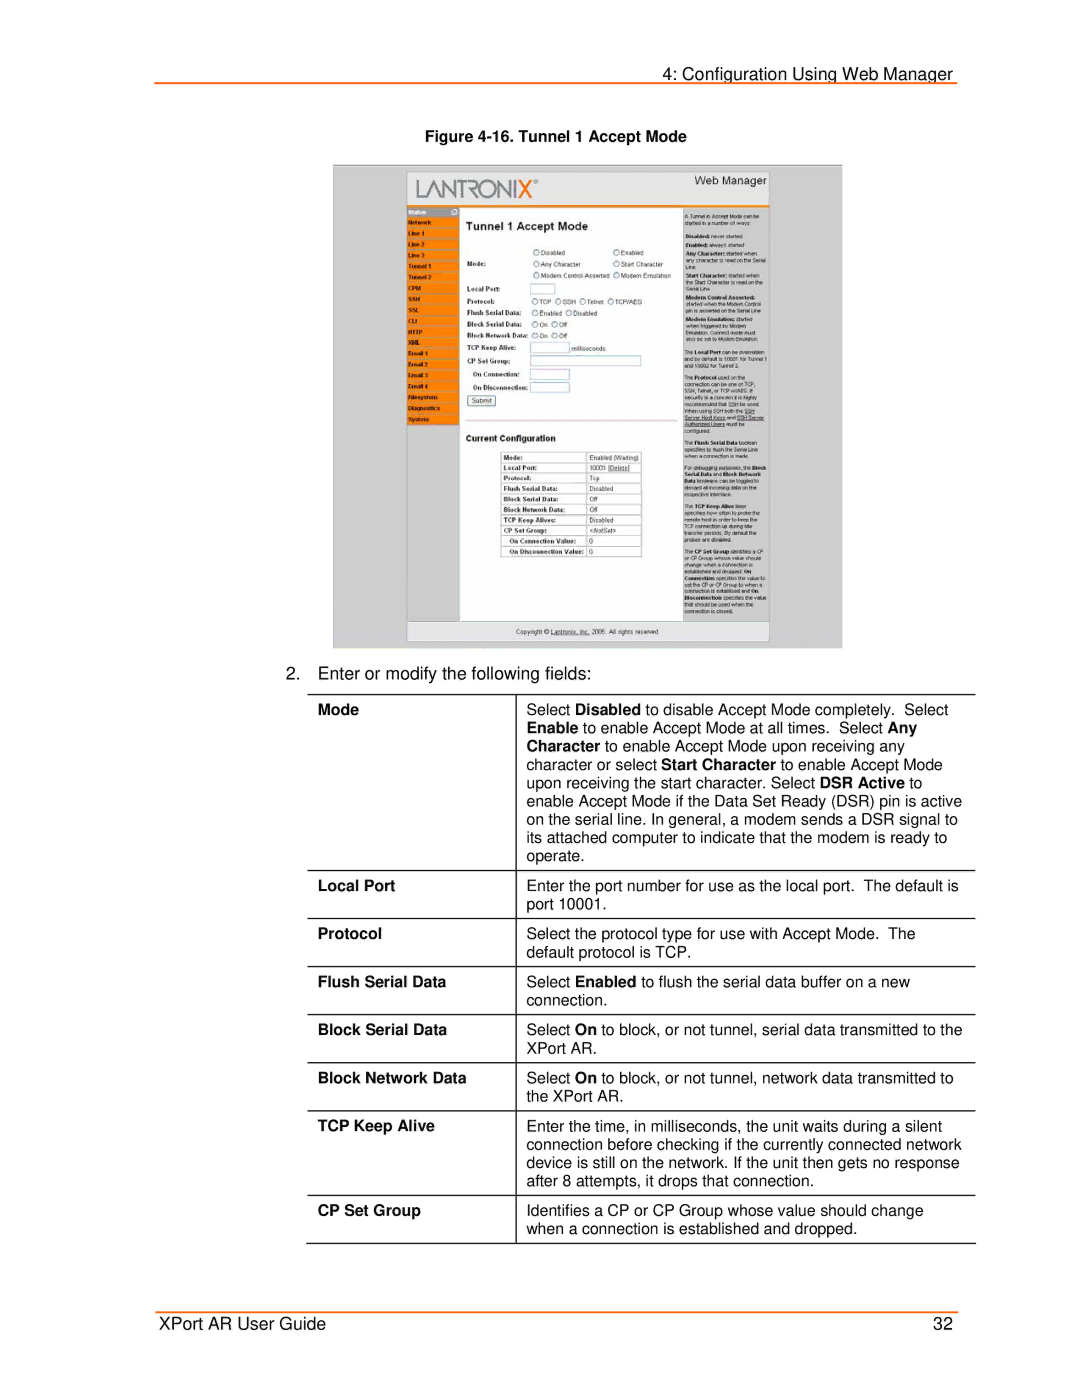
Figure 4-16. Tunnel 1 Accept Mode
2. Enter or modify the following fields:
Mode | Select Disabled to disable Accept Mode completely. Select |
| Enable to enable Accept Mode at all times. Select Any |
| Character to enable Accept Mode upon receiving any |
| character or select Start Character to enable Accept Mode |
| upon receiving the start character. Select DSR Active to |
| enable Accept Mode if the Data Set Ready (DSR) pin is active |
| on the serial line. In general, a modem sends a DSR signal to |
| its attached computer to indicate that the modem is ready to |
| operate. |
|
|
Local Port | Enter the port number for use as the local port. The default is |
| port 10001. |
|
|
Protocol | Select the protocol type for use with Accept Mode. The |
| default protocol is TCP. |
Flush Serial Data | Select Enabled to flush the serial data buffer on a new |
| connection. |
Block Serial Data | Select On to block, or not tunnel, serial data transmitted to the |
| XPort AR. |
|
|
Block Network Data | Select On to block, or not tunnel, network data transmitted to |
| the XPort AR. |
TCP Keep Alive | Enter the time, in milliseconds, the unit waits during a silent |
| connection before checking if the currently connected network |
| device is still on the network. If the unit then gets no response |
| after 8 attempts, it drops that connection. |
CP Set Group | Identifies a CP or CP Group whose value should change |
| when a connection is established and dropped. |
XPort AR User Guide | 32 |
