NetWare Queue Configuration Dialog Box
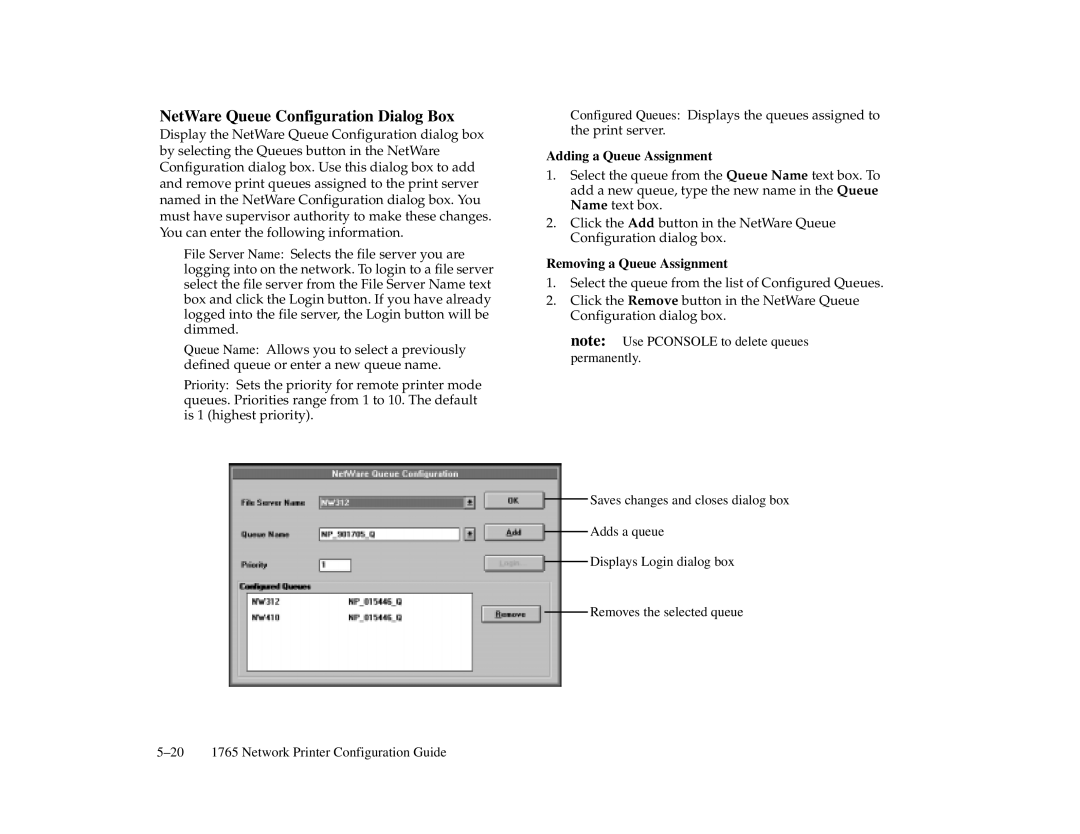
Display the NetWare Queue Configuration dialog box by selecting the Queues button in the NetWare Configuration dialog box. Use this dialog box to add and remove print queues assigned to the print server named in the NetWare Configuration dialog box. You must have supervisor authority to make these changes. You can enter the following information.
File Server Name: Selects the file server you are logging into on the network. To login to a file server select the file server from the File Server Name text box and click the Login button. If you have already logged into the file server, the Login button will be dimmed.
Queue Name: Allows you to select a previously defined queue or enter a new queue name.
Priority: Sets the priority for remote printer mode queues. Priorities range from 1 to 10. The default is 1 (highest priority).
Configured Queues: Displays the queues assigned to the print server.
Adding a Queue Assignment
1.Select the queue from the Queue Name text box. To add a new queue, type the new name in the Queue Name text box.
2.Click the Add button in the NetWare Queue Configuration dialog box.
Removing a Queue Assignment
1.Select the queue from the list of Configured Queues.
2.Click the Remove button in the NetWare Queue Configuration dialog box.
note: Use PCONSOLE to delete queues permanently.
Saves changes and closes dialog box
Adds a queue
Displays Login dialog box
Removes the selected queue