|
| Chapter 3 Using the console interface 131 |
|
| |
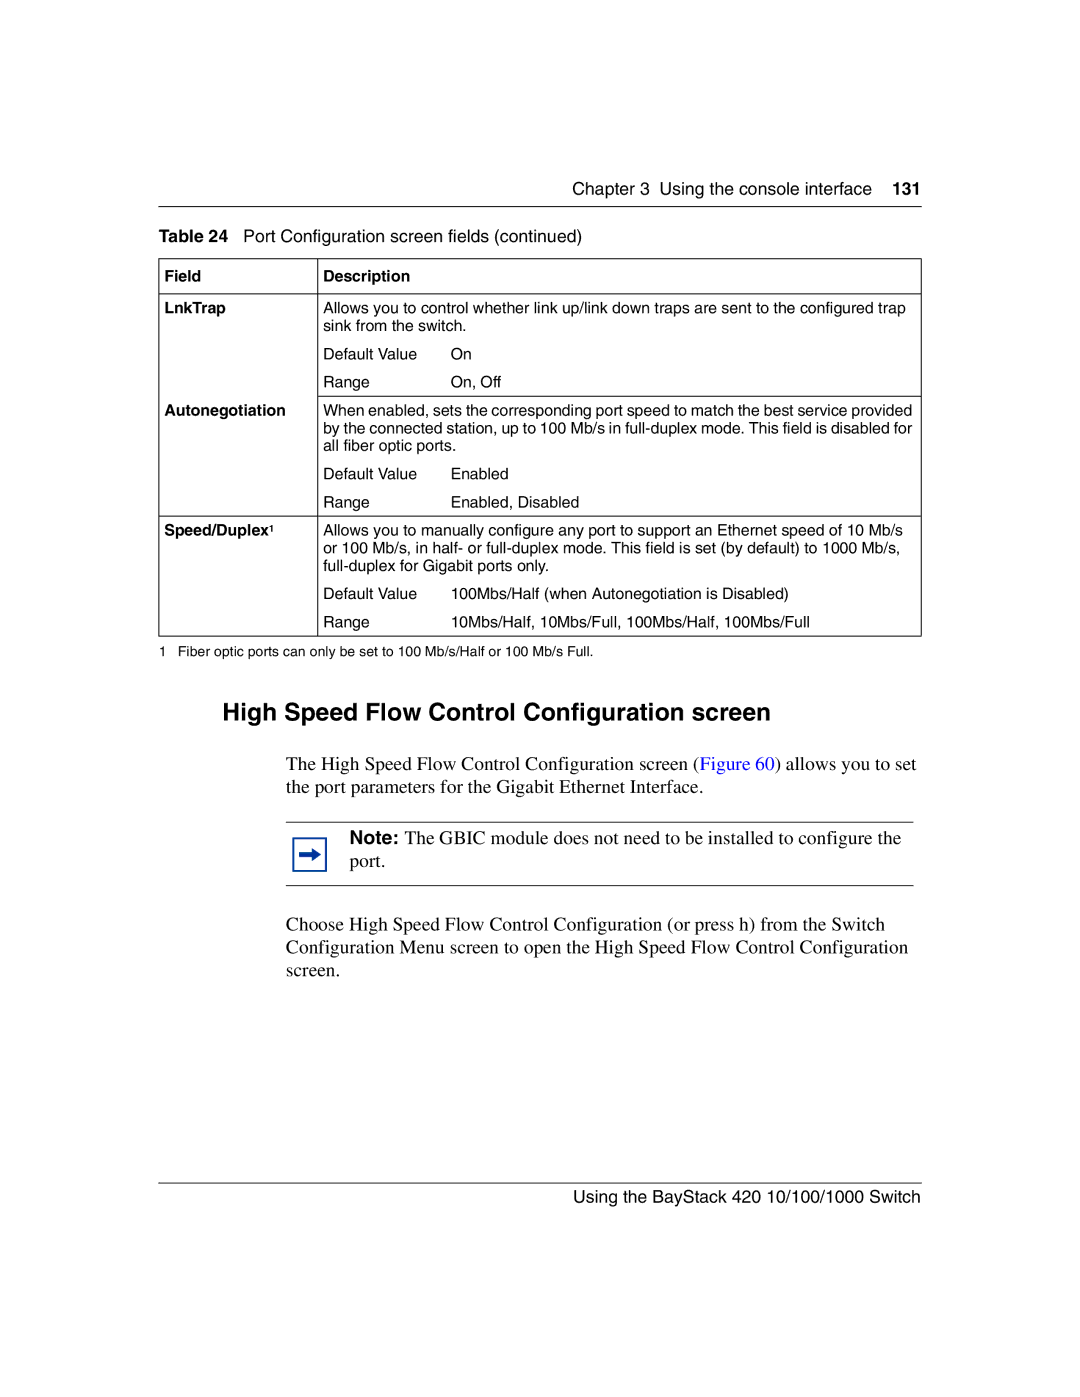
Table 24 Port Configuration screen fields (continued) | ||
|
|
|
Field | Description |
|
|
| |
LnkTrap | Allows you to control whether link up/link down traps are sent to the configured trap | |
| sink from the switch. | |
| Default Value | On |
| Range | On, Off |
Autonegotiation |
| |
When enabled, sets the corresponding port speed to match the best service provided | ||
| by the connected station, up to 100 Mb/s in | |
| all fiber optic ports. | |
| Default Value | Enabled |
| Range | Enabled, Disabled |
|
| |
Speed/Duplex1 | Allows you to manually configure any port to support an Ethernet speed of 10 Mb/s | |
| or 100 Mb/s, in half- or | |
| ||
| Default Value | 100Mbs/Half (when Autonegotiation is Disabled) |
| Range | 10Mbs/Half, 10Mbs/Full, 100Mbs/Half, 100Mbs/Full |
|
|
|
1 Fiber optic ports can only be set to 100 Mb/s/Half or 100 Mb/s Full.
High Speed Flow Control Configuration screen
The High Speed Flow Control Configuration screen (Figure 60) allows you to set the port parameters for the Gigabit Ethernet Interface.
Note: The GBIC module does not need to be installed to configure the port.
Choose High Speed Flow Control Configuration (or press h) from the Switch Configuration Menu screen to open the High Speed Flow Control Configuration screen.
