Wireless LAN | Page 3 of 6 |
Setting the wireless LAN access point 
Preparation
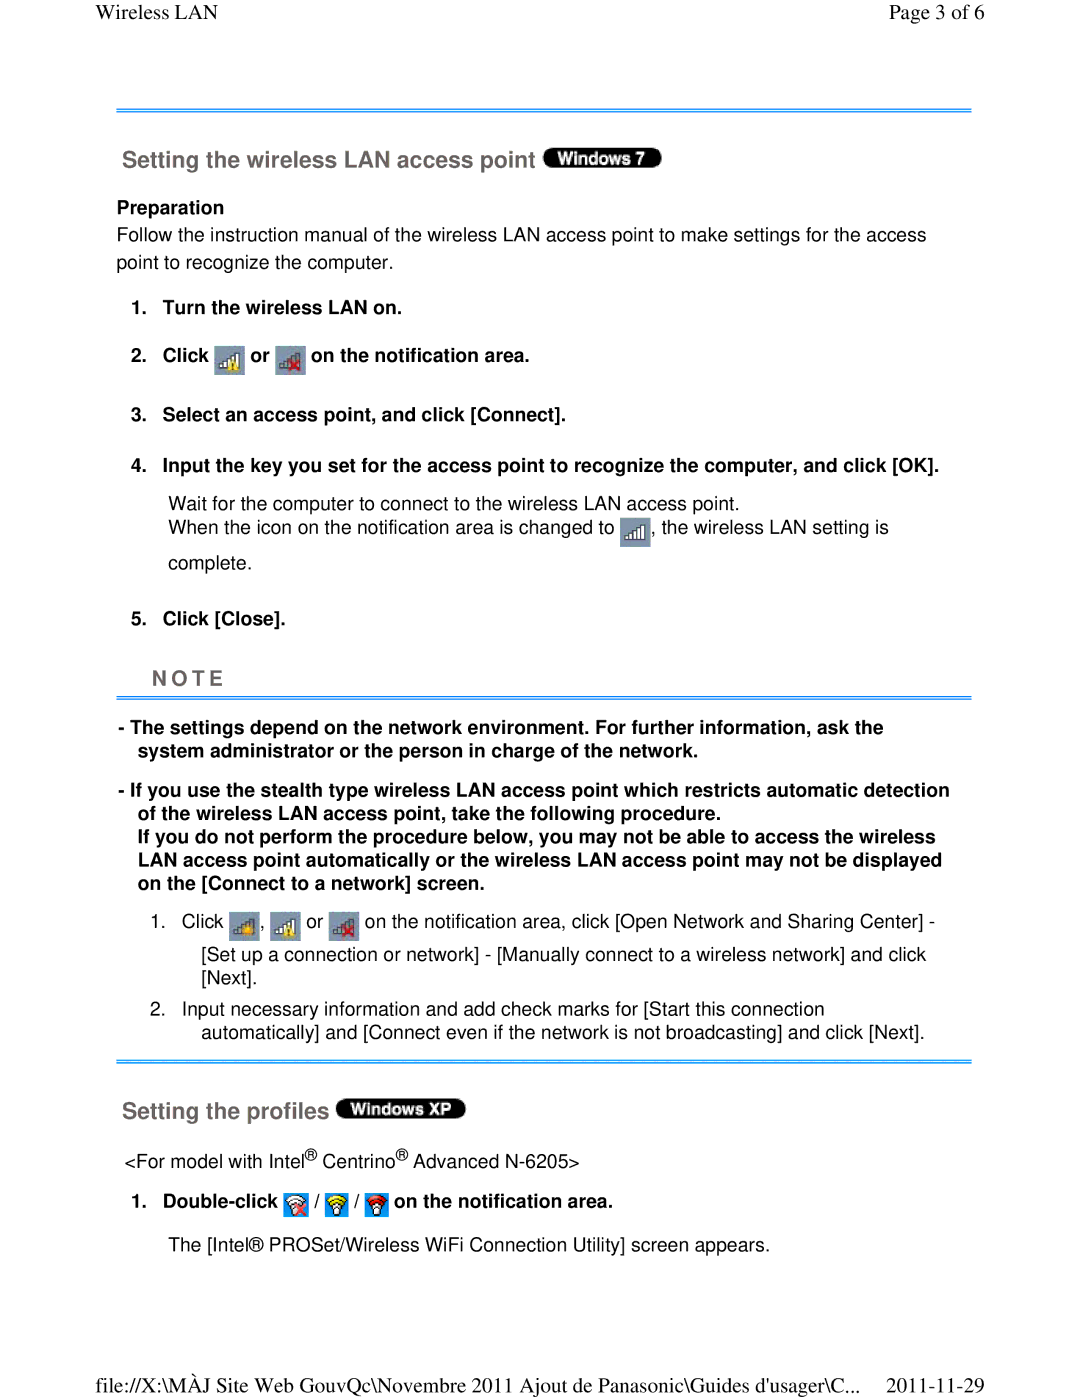
Follow the instruction manual of the wireless LAN access point to make settings for the access point to recognize the computer.
1.Turn the wireless LAN on.
2.Click ![]() or
or ![]() on the notification area.
on the notification area.
3.Select an access point, and click [Connect].
4.Input the key you set for the access point to recognize the computer, and click [OK].
Wait for the computer to connect to the wireless LAN access point.
When the icon on the notification area is changed to ![]() , the wireless LAN setting is complete.
, the wireless LAN setting is complete.
5. Click [Close].
N O T E
-The settings depend on the network environment. For further information, ask the system administrator or the person in charge of the network.
-If you use the stealth type wireless LAN access point which restricts automatic detection of the wireless LAN access point, take the following procedure.
If you do not perform the procedure below, you may not be able to access the wireless LAN access point automatically or the wireless LAN access point may not be displayed on the [Connect to a network] screen.
1. Click ![]() ,
, ![]() or
or ![]() on the notification area, click [Open Network and Sharing Center] -
on the notification area, click [Open Network and Sharing Center] -
[Set up a connection or network] - [Manually connect to a wireless network] and click [Next].
2.Input necessary information and add check marks for [Start this connection automatically] and [Connect even if the network is not broadcasting] and click [Next].
Setting the profiles 
<For model with Intel® Centrino® Advanced
1. Double-click  /
/  /
/  on the notification area.
The [Intel® PROSet/Wireless WiFi Connection Utility] screen appears.
file://X:\MÀJ Site Web GouvQc\Novembre 2011 Ajout de Panasonic\Guides d'usager\C...
