Q
3 – Getting Started with SANbox SSP Setting Up SANbox SSP
To mount SANbox SSP in a rack:
NOTE:
■See manufacturer’s instructions included with the slide mount kit, the rack mount kit, and the brackets.
■Shelf mounting is independent of rack depth.
There are two types of rack mount kits available: the slide kit accommodates rack depths from 20 inches to 30 inches. The direct rack mount kit requires a rack depth of 21.5 inches.
NOTE: Air flows from the fan side to the port side in the SANbox SSP. When installing SANbox SSP in a rack, orient the unit so that the port side faces the rack's air exit.
You can see the Small
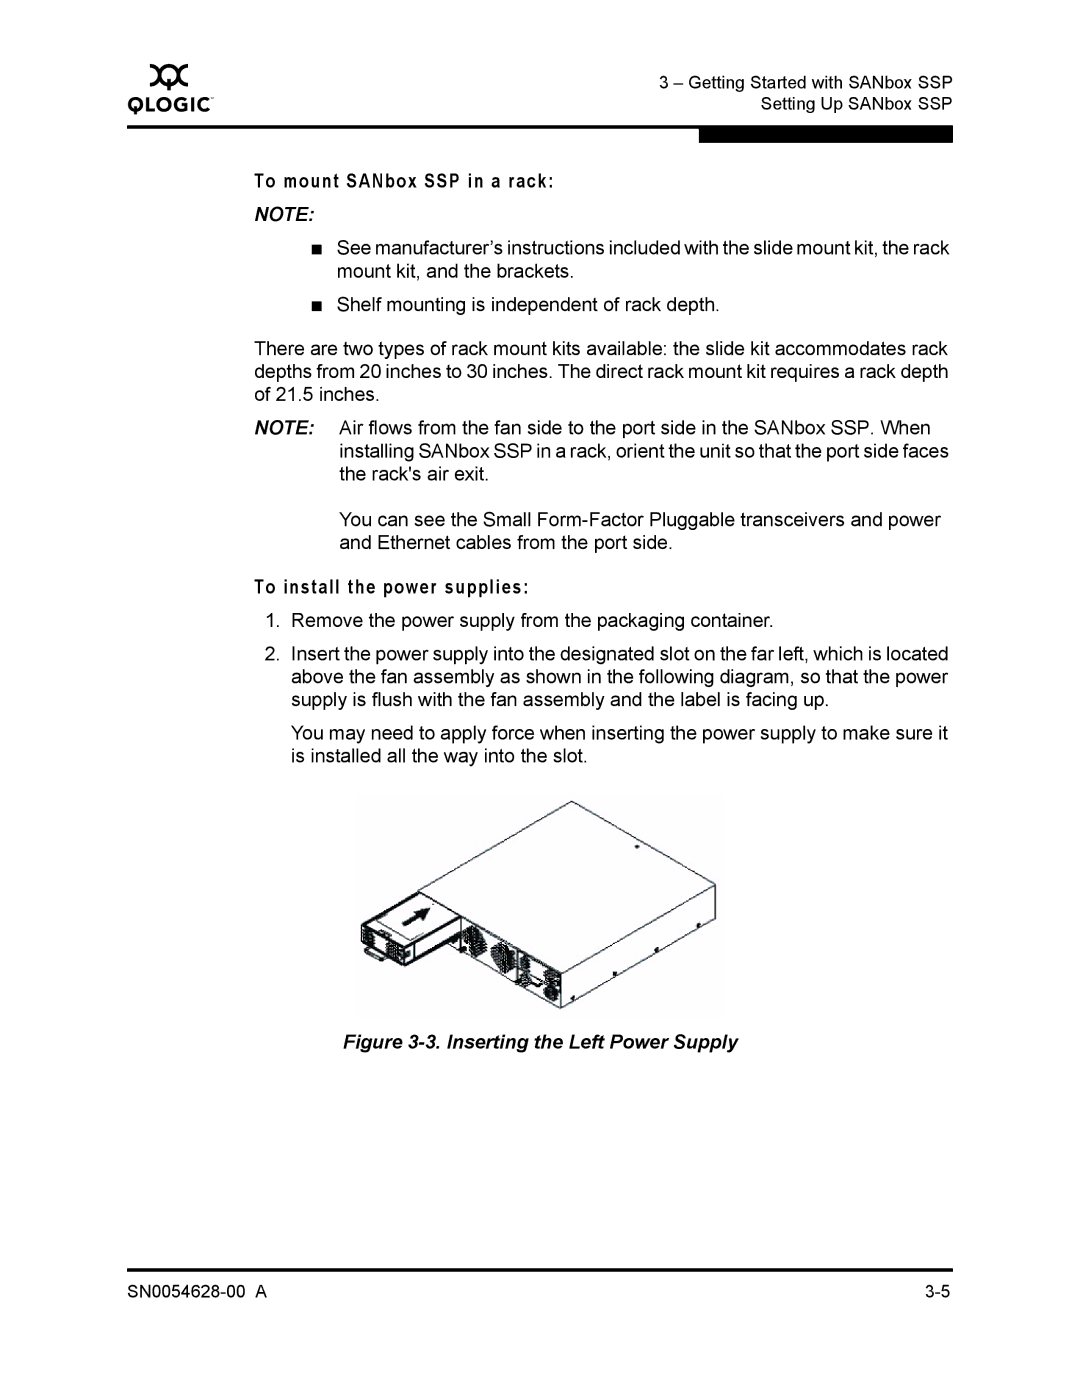
To install the power supplies:
1.Remove the power supply from the packaging container.
2.Insert the power supply into the designated slot on the far left, which is located above the fan assembly as shown in the following diagram, so that the power supply is flush with the fan assembly and the label is facing up.
You may need to apply force when inserting the power supply to make sure it is installed all the way into the slot.