3 – Getting Started with SANbox SSP Setting Up SANbox SSP
Q
3.Lock the supply in place by rotating the knob clockwise until it stops.
4.Once the power supply has been properly inserted, connect a power cable from an electrical outlet to the power connector on the port side.
The corresponding power supply LED should be illuminated indicating that the power supply and power cable have been properly installed.
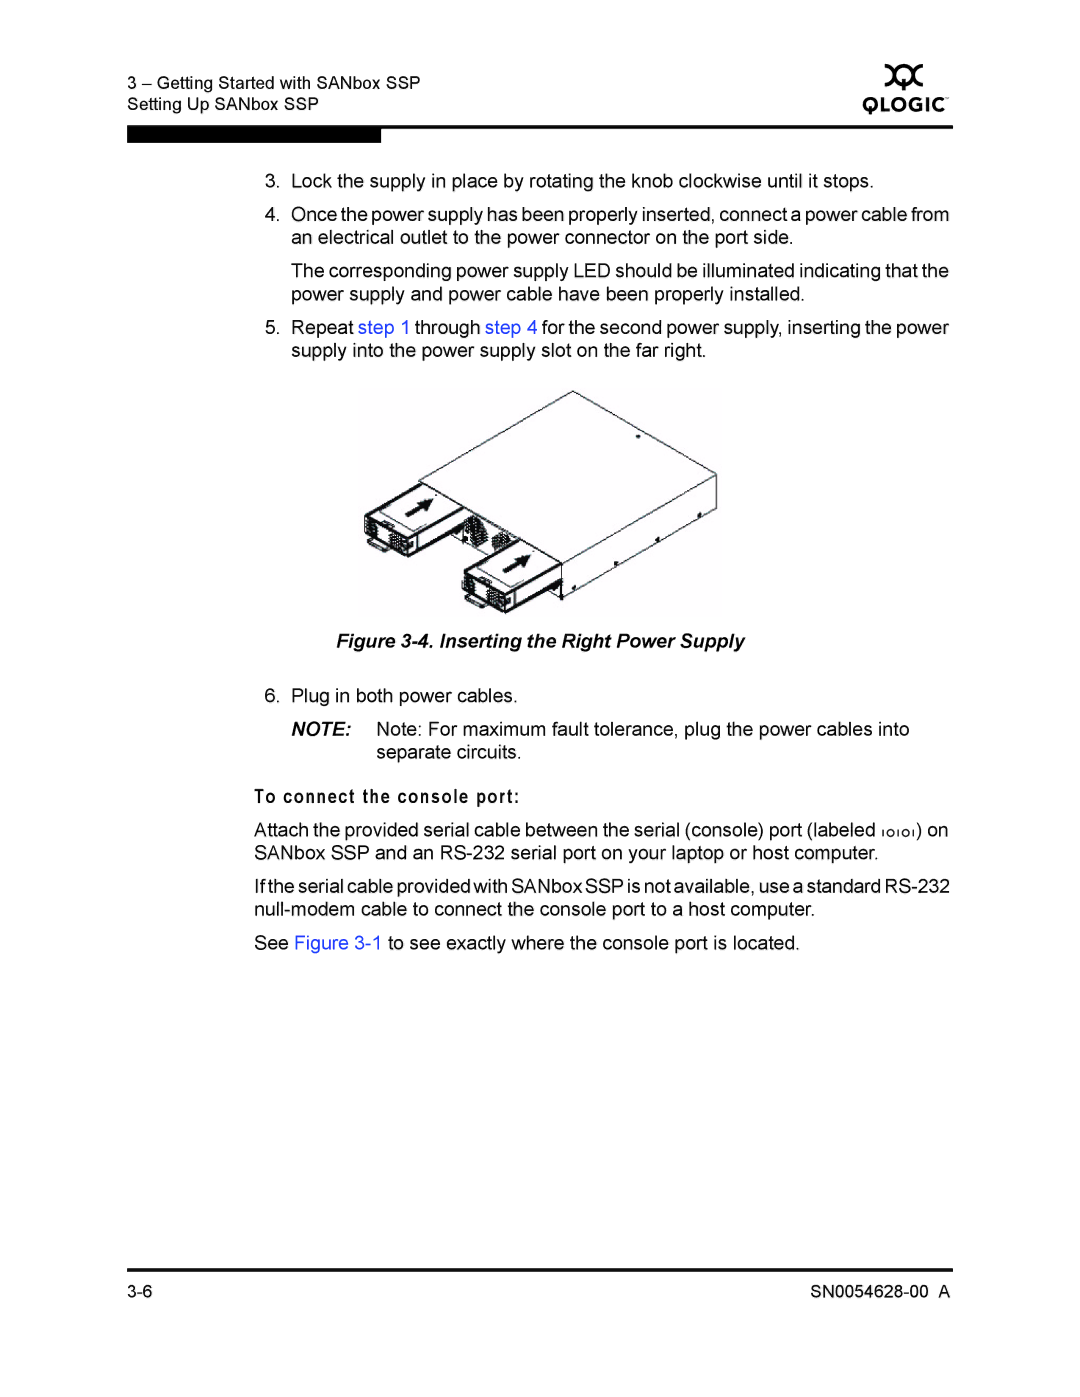
5.Repeat step 1 through step 4 for the second power supply, inserting the power supply into the power supply slot on the far right.
Figure 3-4. Inserting the Right Power Supply
6.Plug in both power cables.
NOTE: Note: For maximum fault tolerance, plug the power cables into separate circuits.
To connect the console port:
Attach the provided serial cable between the serial (console) port (labeled ![]() ) on SANbox SSP and an
) on SANbox SSP and an
If the serial cable provided with SANbox SSP is not available, use a standard
See Figure