Using File Shares![]()
Using HTML-Based File Shares
File shares provide remote users with a secure Web interface to Microsoft File Shares using the CIFS (Common Internet File System) or SMB (Server Message Block) protocols. Using a Web interface similar in style to Microsoft’s familiar Network Neighborhood or My Network Places, File Shares allow users with appropriate permissions to browse network shares, rename, delete, retrieve, and upload files, and to create bookmarks for later recall.
Note The server can be specified either by name or by IP address, for example, \\moosedc or \\10.50.165.2. For names to work, it is necessary that DNS and/or WINS be properly configured by the administrator on the SRA appliance to be able to resolve host names.
To create a file share, perform the following steps:
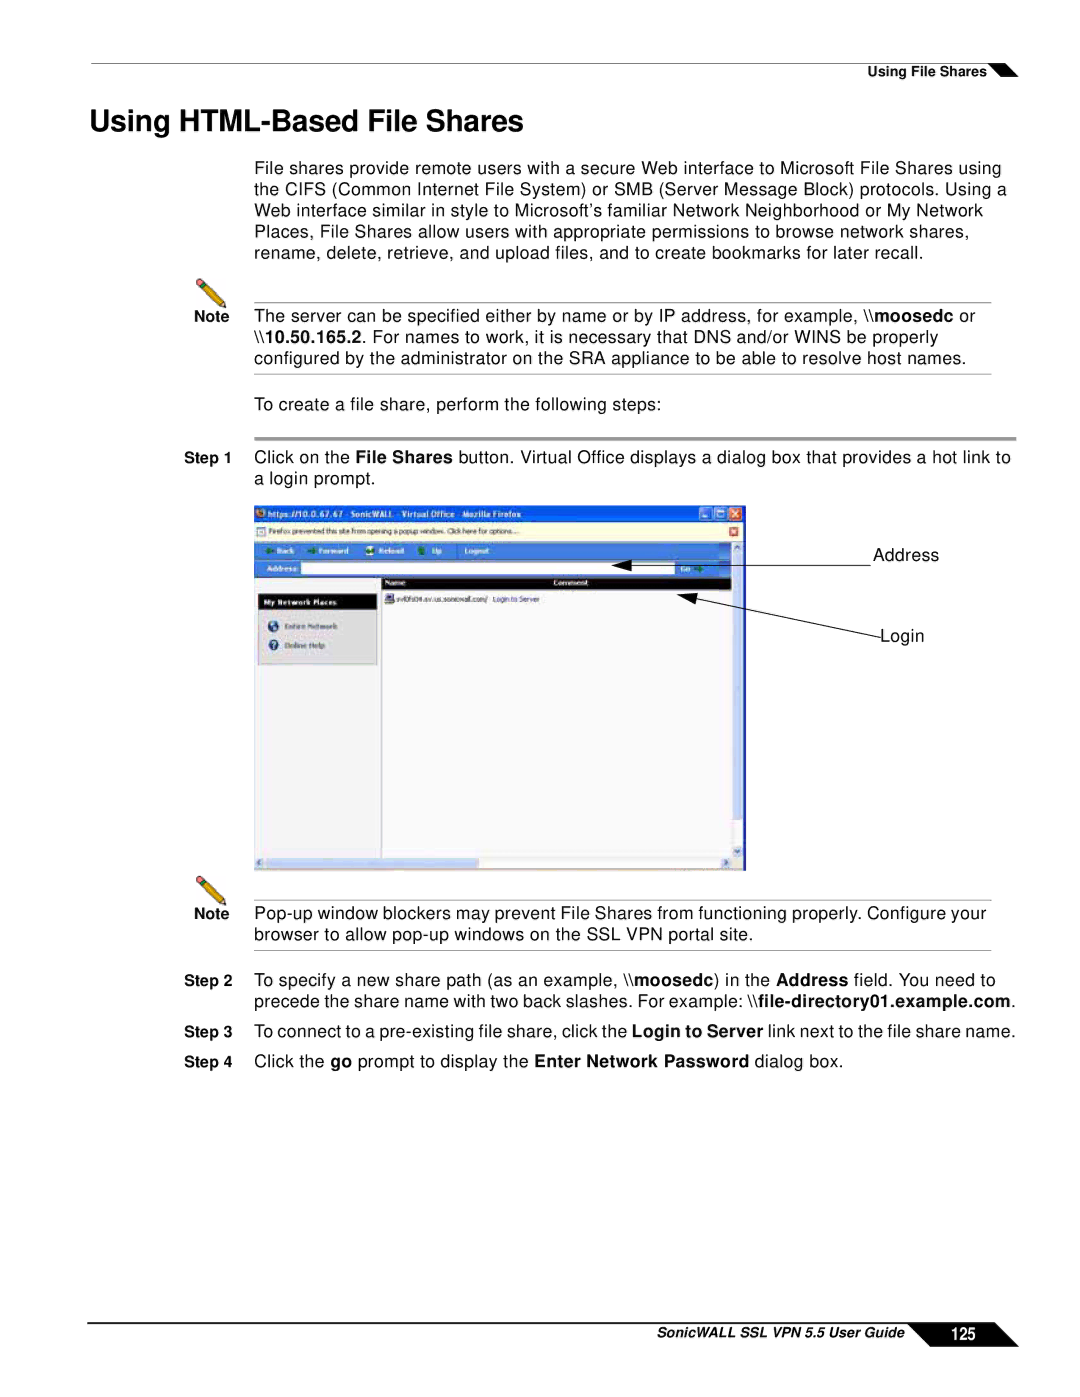
Step 1 Click on the File Shares button. Virtual Office displays a dialog box that provides a hot link to a login prompt.
Address
![]() Login
Login
Note
Step 2 To specify a new share path (as an example, \\moosedc) in the Address field. You need to precede the share name with two back slashes. For example:
Step 3 To connect to a
SonicWALL SSL VPN 5.5 User Guide | 125 |