![]() Using Virtual Assist
Using Virtual Assist
Using Virtual Assist in Unattended Mode
Note Unattended Mode is supported only on Windows clients.
Unattended Mode allows customers to set their computer to be accessible by a technician at a later time when the customer will not be available to click to confirm their consent. To set your computer for Virtual Assist Unattended Mode, perform the following tasks:
Step 1 Launch Virtual Assist.
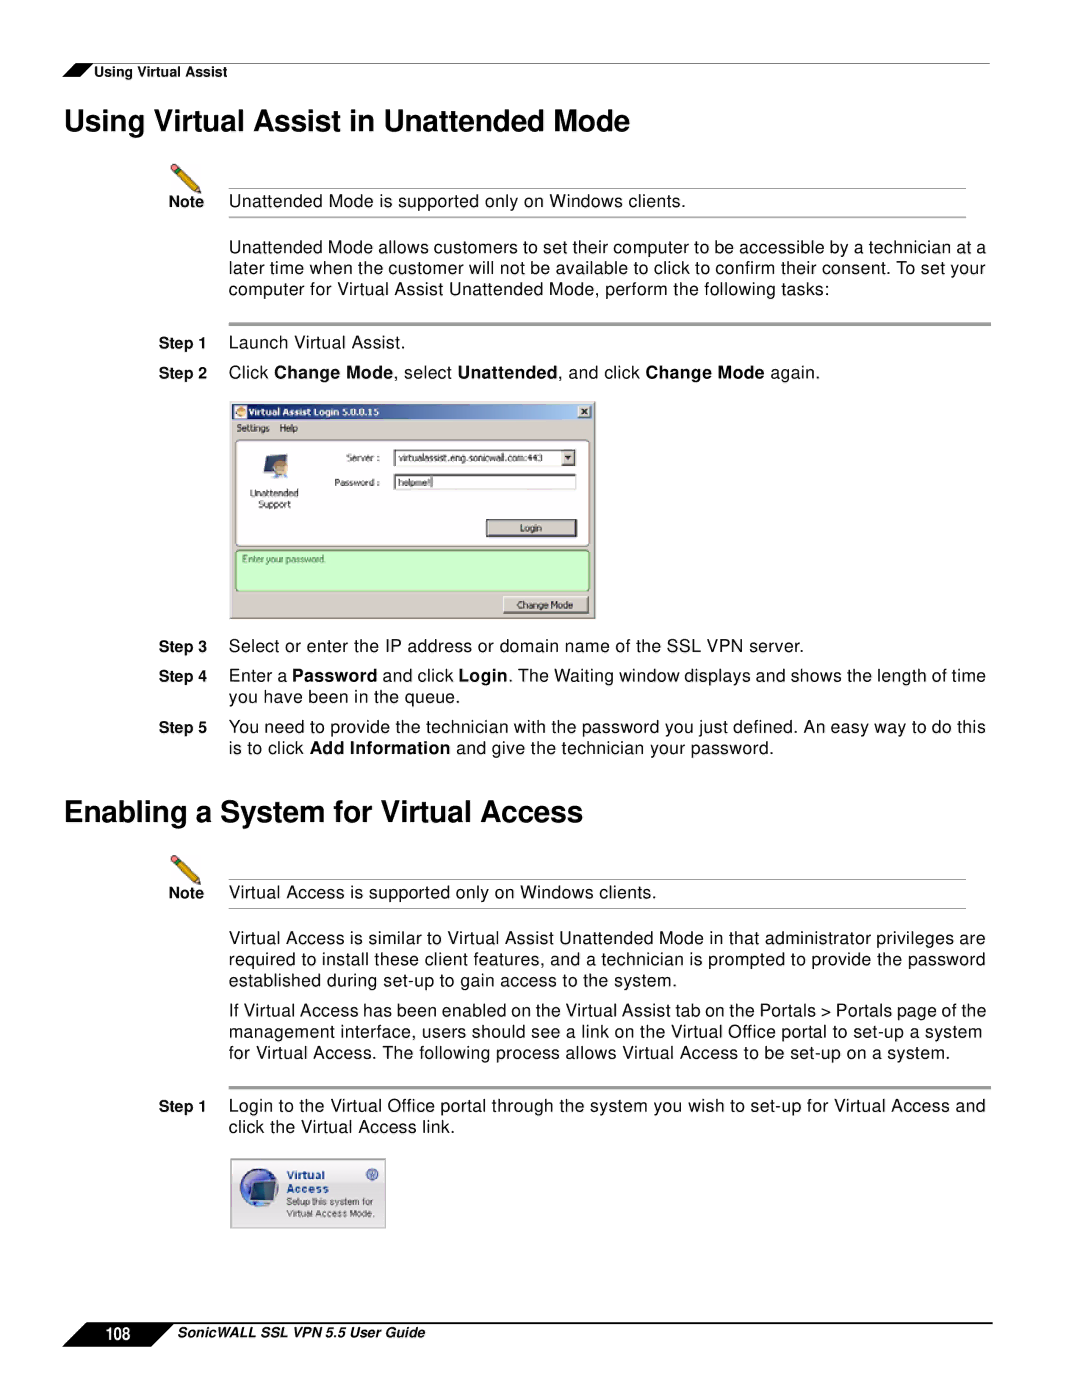
Step 2 Click Change Mode, select Unattended, and click Change Mode again.
Step 3 Select or enter the IP address or domain name of the SSL VPN server.
Step 4 Enter a Password and click Login. The Waiting window displays and shows the length of time you have been in the queue.
Step 5 You need to provide the technician with the password you just defined. An easy way to do this is to click Add Information and give the technician your password.
Enabling a System for Virtual Access
Note Virtual Access is supported only on Windows clients.
Virtual Access is similar to Virtual Assist Unattended Mode in that administrator privileges are required to install these client features, and a technician is prompted to provide the password established during
If Virtual Access has been enabled on the Virtual Assist tab on the Portals > Portals page of the management interface, users should see a link on the Virtual Office portal to
Step 1 Login to the Virtual Office portal through the system you wish to
