8.Adjustthespacingofthetractorunitsbyslidingthemalongthebar,using the clamp lever at the back of each unit to release and lock them in position.Whenthe clampleveris up, theunitis released,and whenit is down, the unit is locked.
9.Nowclosethetractorcovers,againmakingsurethatthepaperholesare alignedwiththepinson thetractorunits.Iftheyarenotalignedproperly, you.willhaveproblemswithpaperfeeding,possiblyresultingin tearing
andjamming of the paper.
10.Turnon thepowerusingthe switchlocatedatthefrontof theprinter.The printer will beep, indicatingthat the paper is not yet fully loaded.The orange POWERindicatorwill alsoflashto confirm this.
11.Now pressthe C =L’A=dEcT)button.Thepaperwillbe fed and’adjusted past the print head to a positionready for printing.
12.If youwantto setthepaperto a
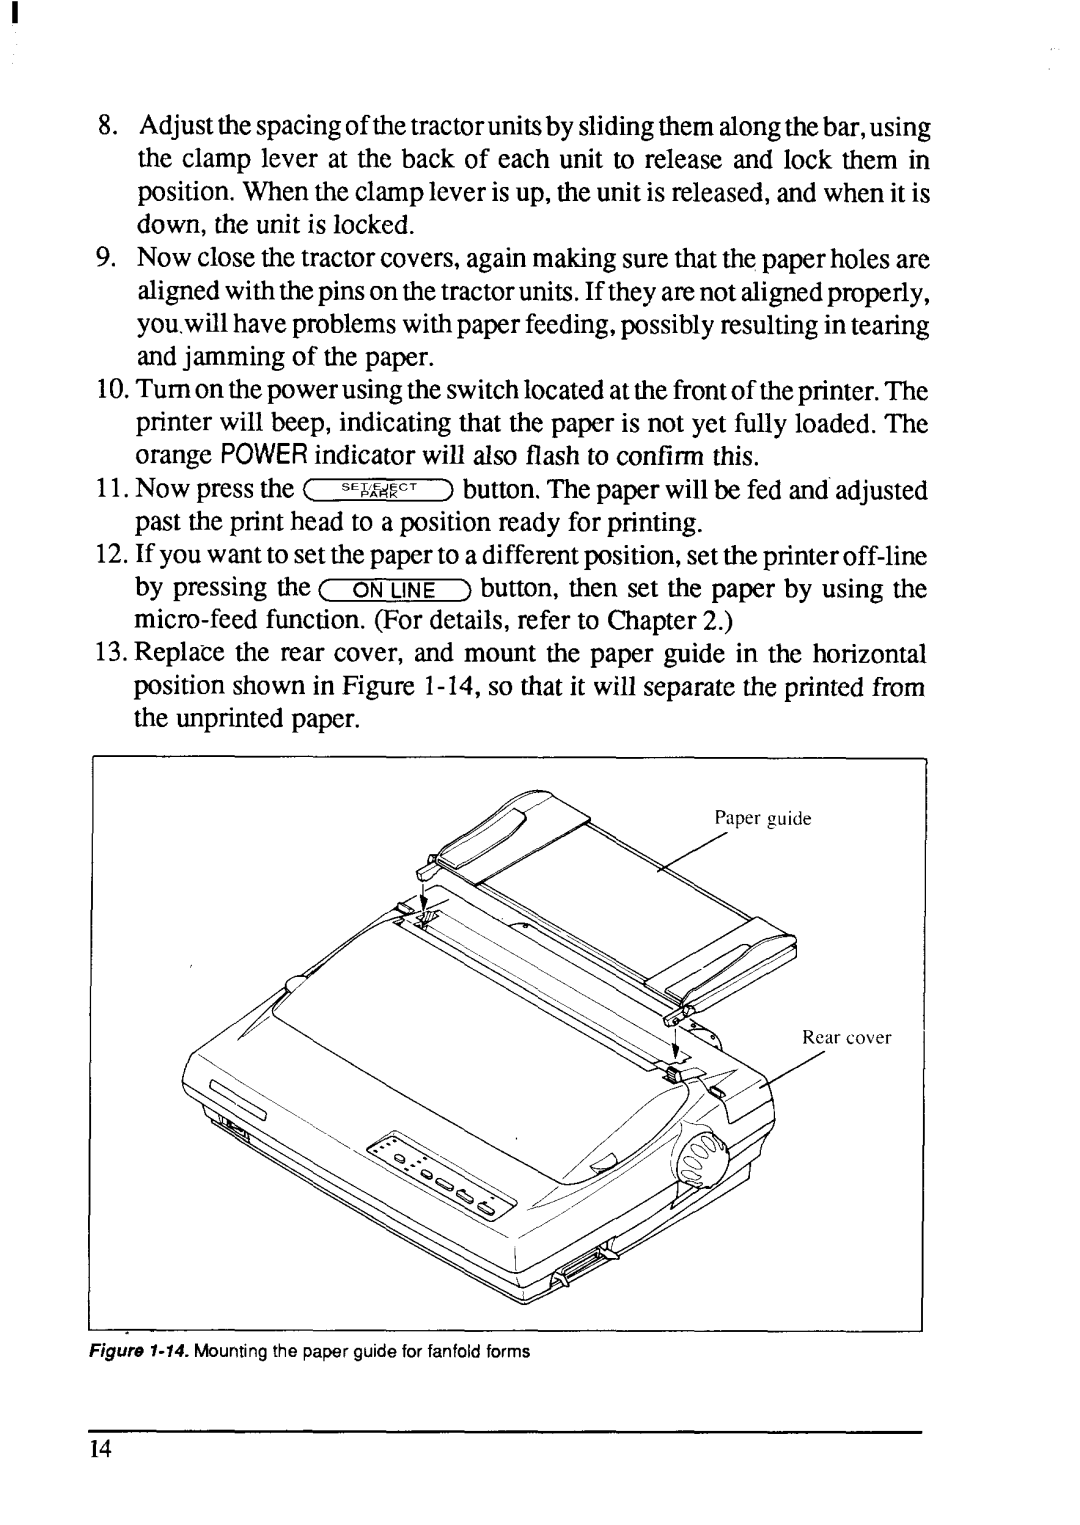
13.Replace the rear cover, and mount the paper guide in the horizontal positionshownin Figure
cover
I
Figure 7-14. Mounting the paper guide for fanfold forms
14