You can add a custom banner image to any auto attendant configured on the MCU as follows:
| 1. | Go to | . |
| ||
| 2. | Click the | tab. |
| ||
| 3. | Click the name of a configured auto attendant. |
| |||
| 4. | Click the | tab. |
| ||
| 5. | Refer to the table below to determine the most appropriate settings. |
| |||
|
|
|
|
|
|
|
|
|
|
|
|
|
|
|
|
|
|
|
|
|
|
|
|
|
|
|
|
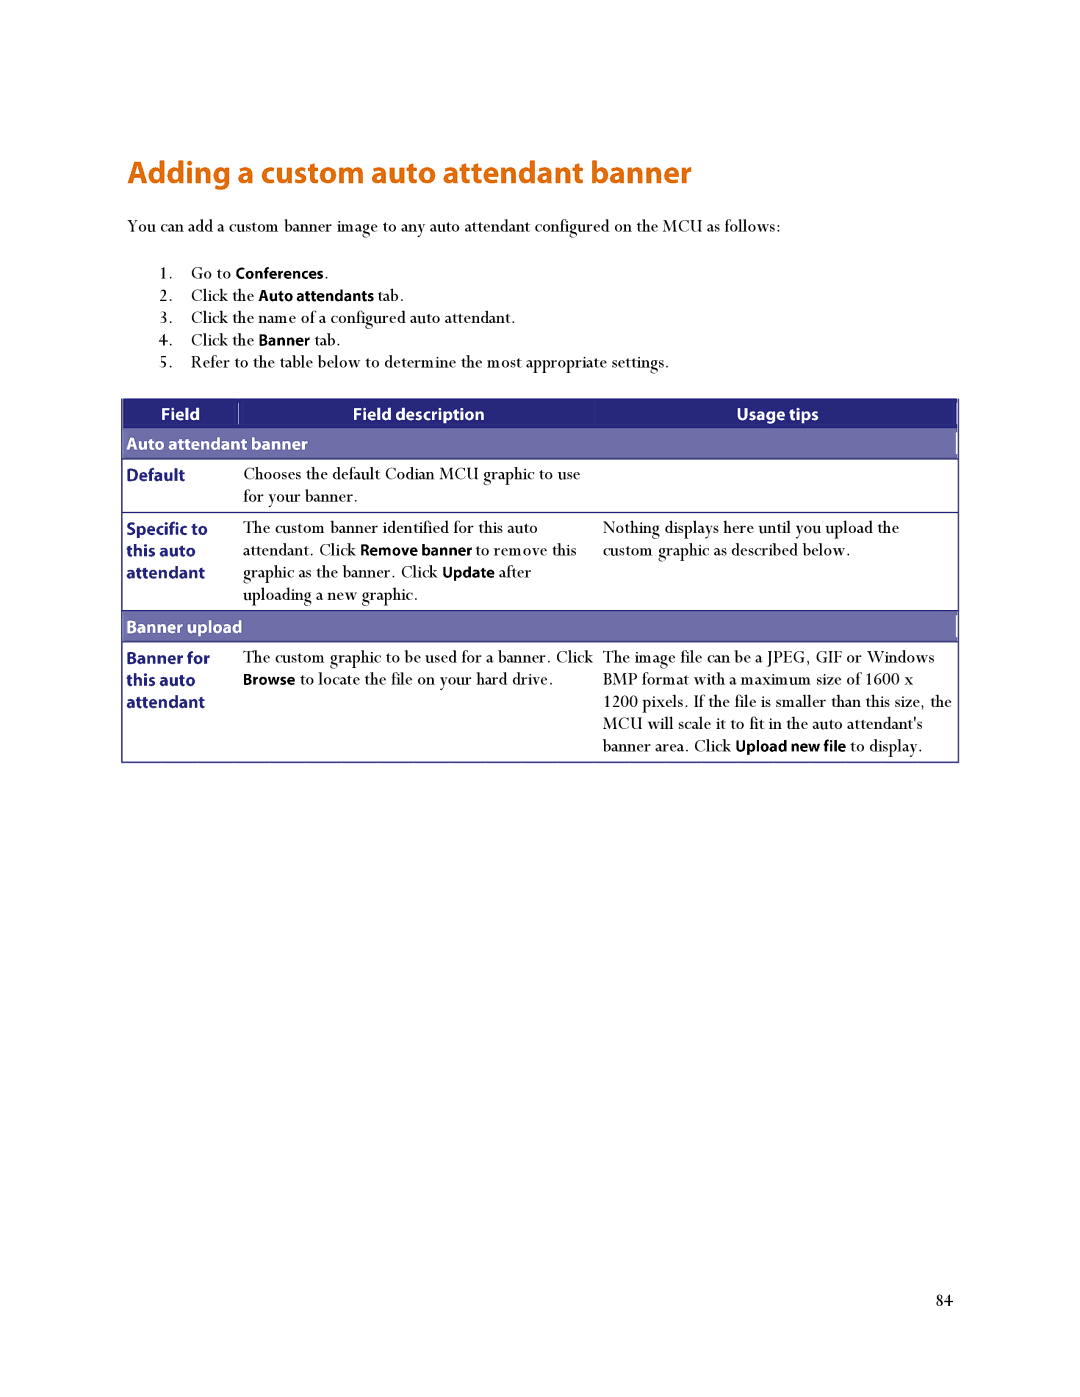
Chooses the default Codian MCU graphic to use for your banner.
| The custom banner identified for this auto | Nothing displays here until you upload the | |||
| attendant. Click | to remove this | custom graphic as described below. | ||
| graphic as the banner. Click | after |
|
|
|
| uploading a new graphic. |
|
|
|
|
|
|
|
| ||
|
|
|
|
|
|
| The custom graphic to be used for a banner. Click | The image file can be a JPEG, GIF or Windows | |||
| to locate the file on your hard drive. | BMP format with a maximum size of 1600 x | |||
|
|
| 1200 pixels. If the file is smaller than this size, the | ||
|
|
| MCU will scale it to fit in the auto attendant's | ||
|
|
| banner area. Click | to display. | |
84
