Troubleshooting
Symptom | Cause | Solution |
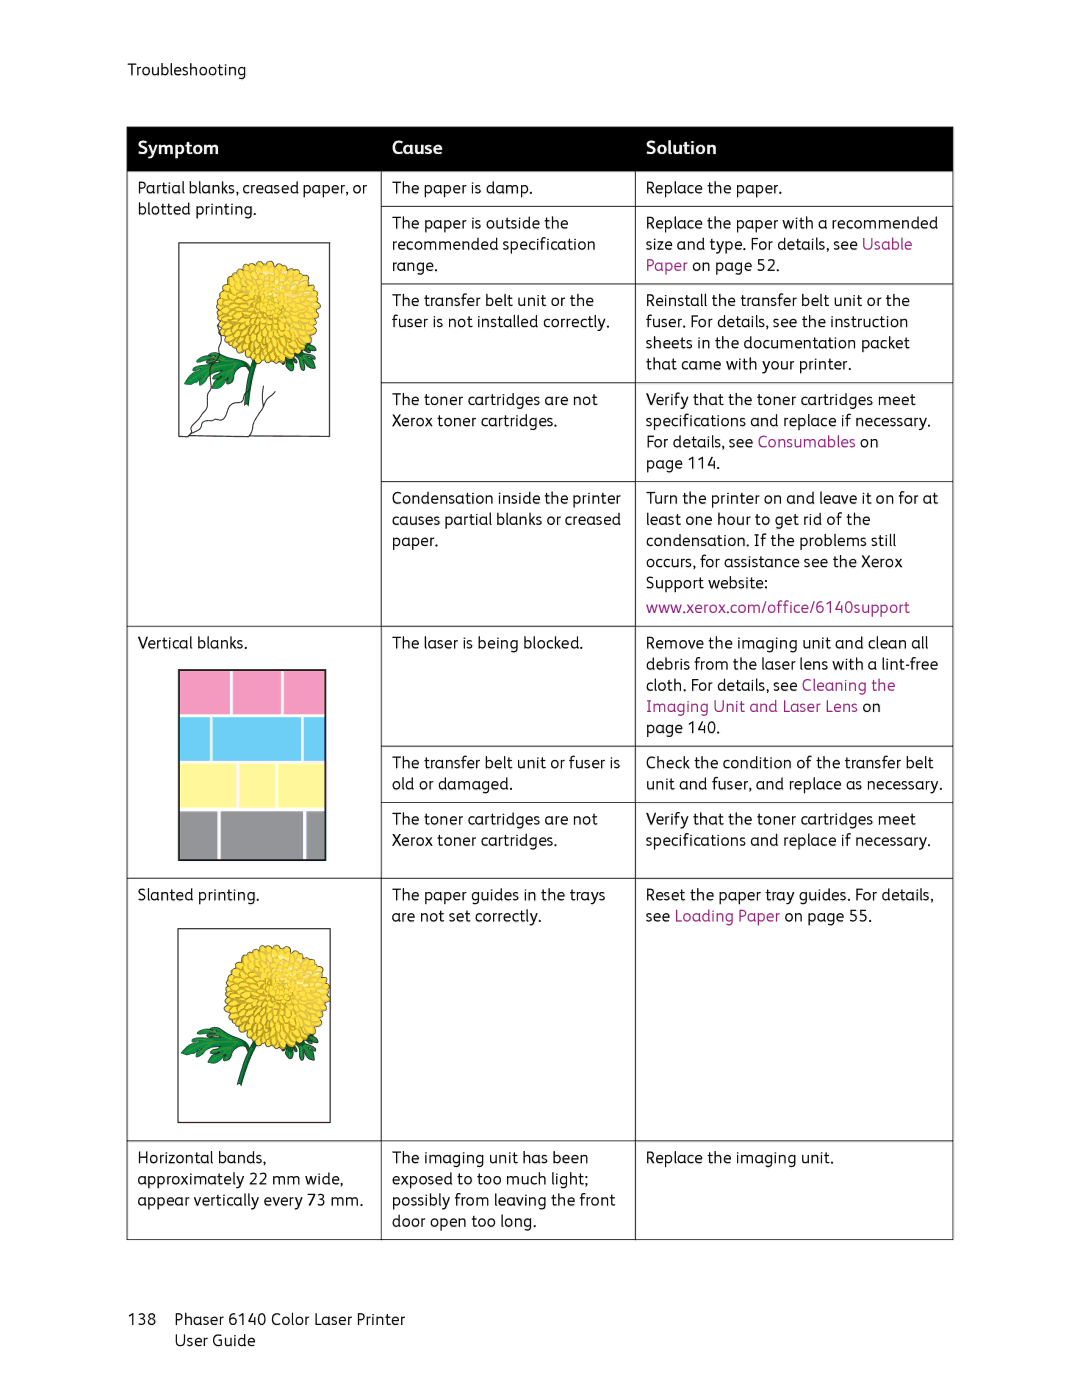
Partial blanks, creased paper, or | The paper is damp. | Replace the paper. |
blotted printing. | The paper is outside the | Replace the paper with a recommended |
| ||
| recommended specification | size and type. For details, see Usable |
| range. | Paper on page 52. |
| The transfer belt unit or the | Reinstall the transfer belt unit or the |
| fuser is not installed correctly. | fuser. For details, see the instruction |
|
| sheets in the documentation packet |
|
| that came with your printer. |
| The toner cartridges are not | Verify that the toner cartridges meet |
| Xerox toner cartridges. | specifications and replace if necessary. |
|
| For details, see Consumables on |
|
| page 114. |
| Condensation inside the printer | Turn the printer on and leave it on for at |
| causes partial blanks or creased | least one hour to get rid of the |
| paper. | condensation. If the problems still |
|
| occurs, for assistance see the Xerox |
|
| Support website: |
|
| www.xerox.com/office/6140support |
Vertical blanks. | The laser is being blocked. | Remove the imaging unit and clean all |
|
| debris from the laser lens with a |
|
| cloth. For details, see Cleaning the |
|
| Imaging Unit and Laser Lens on |
|
| page 140. |
| The transfer belt unit or fuser is | Check the condition of the transfer belt |
| old or damaged. | unit and fuser, and replace as necessary. |
| The toner cartridges are not | Verify that the toner cartridges meet |
| Xerox toner cartridges. | specifications and replace if necessary. |
Slanted printing. | The paper guides in the trays | Reset the paper tray guides. For details, |
| are not set correctly. | see Loading Paper on page 55. |
Horizontal bands, approximately 22 mm wide, appear vertically every 73 mm.
The imaging unit has been exposed to too much light; possibly from leaving the front door open too long.
Replace the imaging unit.
138Phaser 6140 Color Laser Printer User Guide