Printing
4.Click the Properties button.
5.In the Paper/Output tab, do the following:
a.From the Paper Size list, select the size of the sheet of labels.
b.From the Paper Type list, select Labels.
c.From the Paper Tray list, select Manual Feed Slot.
6.Click OK and then, in the Print dialog box, click OK (or Print) to start printing.
Printing on Glossy Paper
This section includes:
•Glossy Paper Printing Guidelines on page 80
•Printing on Glossy Paper from Tray 1 on page 80
•Printing on Glossy Paper from the Manual Feed Slot on page 81
Glossy Paper Printing Guidelines
•You can print on glossy paper from Tray 1 and from the manual feed slot.
•You cannot perform automatic
•Do not open sealed packages of glossy paper until you are ready to load them into the printer.
•Leave glossy paper in the original wrapper and store unopened packages in the original shipping carton until ready to use.
•Remove all other paper from the tray before loading glossy paper.
•Load only the amount of glossy paper you plan to use, and remove the unused portion from the tray when you are finished printing. Put the unused glossy paper back in the original wrapper and seal it for later use.
•Rotate stock frequently. Long periods of storage in extreme conditions can cause glossy paper to curl and jam the printer.
Printing on Glossy Paper from Tray 1
1.Gently pull out the paper tray and slide open the paper guides, then open the output tray to hold the printed sheets. For details, see Loading Paper in Tray 1 on page 55.
2.Fan the sheets to release any that are stuck together.
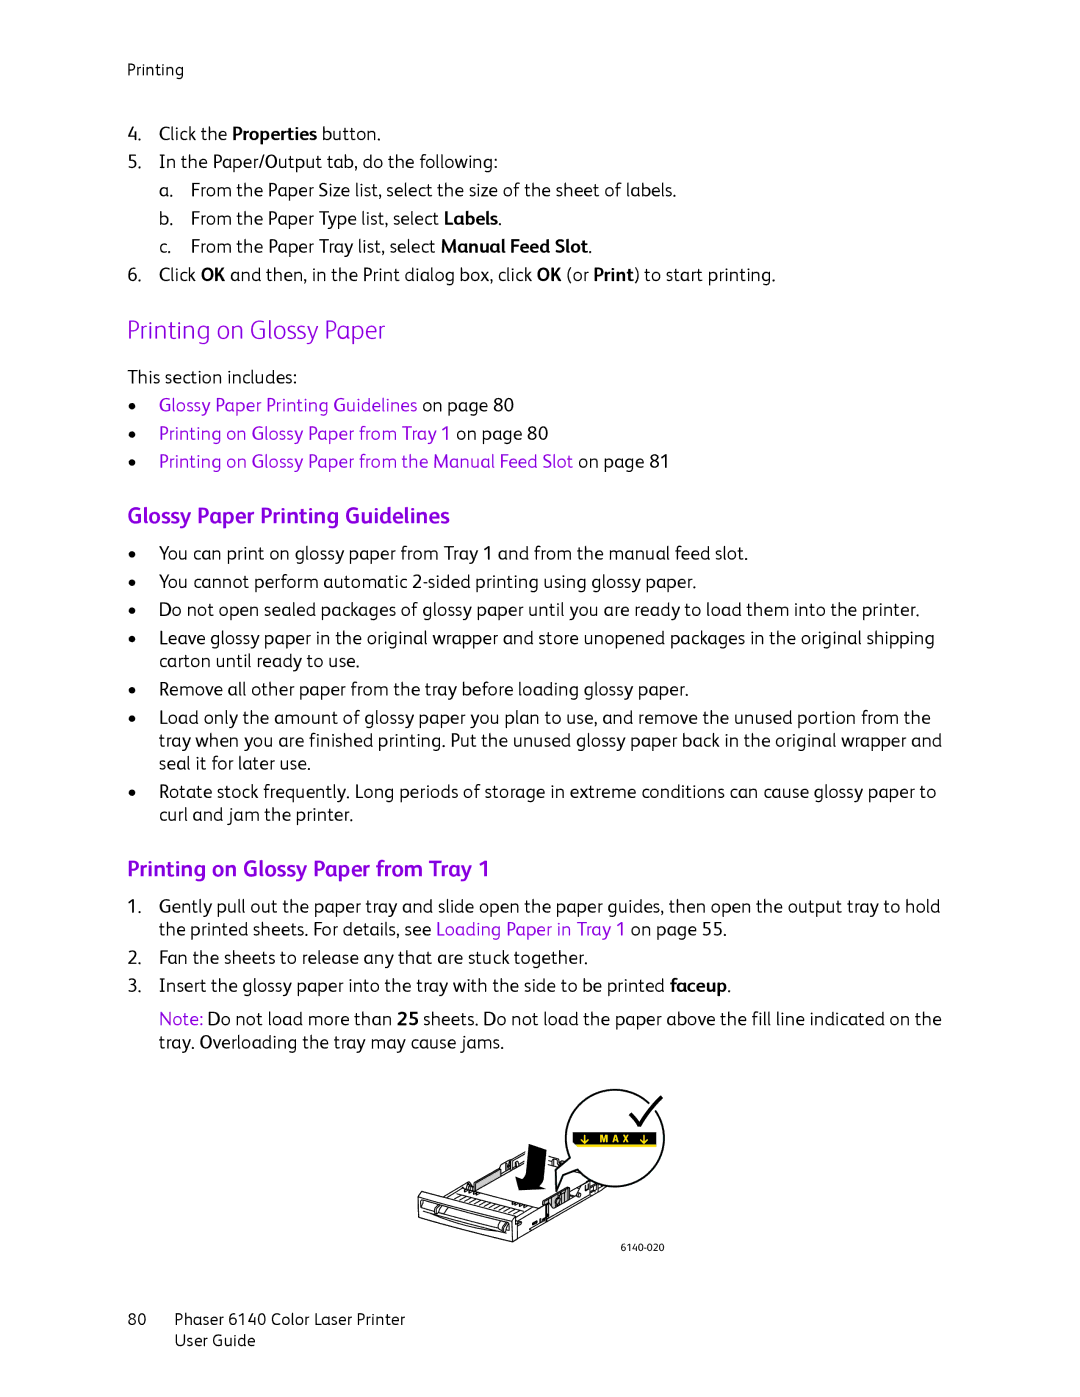
3.Insert the glossy paper into the tray with the side to be printed faceup.
Note: Do not load more than 25 sheets. Do not load the paper above the fill line indicated on the tray. Overloading the tray may cause jams.
80Phaser 6140 Color Laser Printer User Guide
