9-1-4 Replacing the Laser Printer cartridge
| An Laser Printer cartridge is capable of printing more than 6,000 A4 or |
| letter size pages with a coverage of 5% of the page at the density level |
| set at the factory. However, if you routinely print graphics or text that |
| covers more than 5% of the page, the toner in your Laser Printer |
| cartridge may run out sooner. |
| A sign that the toner is low is frequent printing of pages that are too light |
| or have white streaks. If these problems occur, See |
| Quality Problems” first to try to solve the problem. If this does not work, |
| replace the Laser Printer cartridge. The order code for the Laser Printer |
| cartridge is 113R34. |
| Only use Laser Printer cartridges designated for use with this printer. |
1 | Press the power switch to the [O] position to turn off the printer. |
Then disconnect the power cord from the grounded power | |
| outlet and from the printer. |
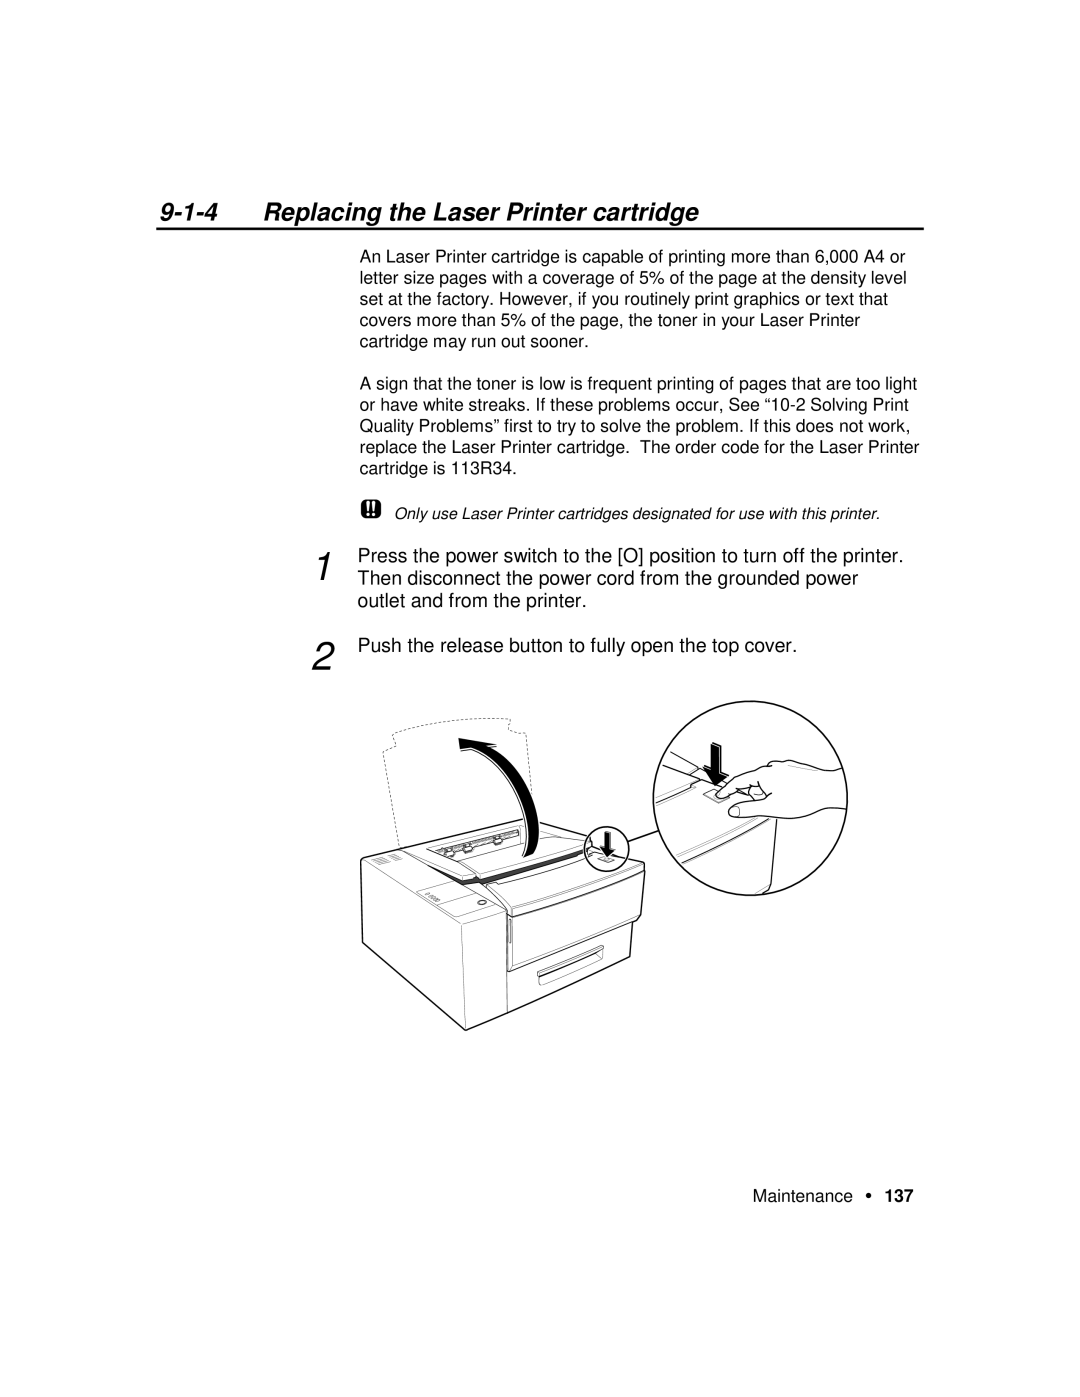
2 | Push the release button to fully open the top cover. |
Maintenance • 137